Category: Blog

  • Creating a Table–Sabbatical continued

    My sabbatical officially ended on Jul 14, but I still had a few weeks of class left. And I need to get my flagpole mounted, but that’s another tale.

    I missed a week of classes with travel to SQL Bits and the Red Gate office, and last week I ended up cutting my wood in to pieces for the final project. Not a lot getting done there, and some simple planing of edges and sides, but I walked into class on Tuesday with this:

    Photo Jul 29, 5 03 08 PM

    The left boards were planed at home to size (perhaps a touch small), but were square and ready to become legs. The middle stack is the aprons, which were planed (by hand) and squared, and then machine planed to thickness. The right stack is the top, which I managed to get fairly smooth and needed to glue.

    My first step was to mark up the legs for mortises. That’s one of those tasks I couldn’t do at home, so I wanted be sure I did that.

    Photo Jul 29, 5 30 01 PM

    I was in class early, with no instructor, so I had to remember from the last month how to mark these up. I did two, and then the instructor showed up to note I only needed one as the machine would do the rest.

    This is my favorite machine.

    Photo Jul 29, 6 03 29 PM

    It’s a specialty machine, but it does such a consistent job of making mortises, way better than I could. Without it, I’d dread cutting more than 1 or two and certainly wouldn’t be sure I’d do them well. With it, I’d use this joint much more often.

    It took 10 minutes or so to set up, and then another 20 to cut 12 mortises. By hand I’d likely have 2 done, tops. They looked good, too.
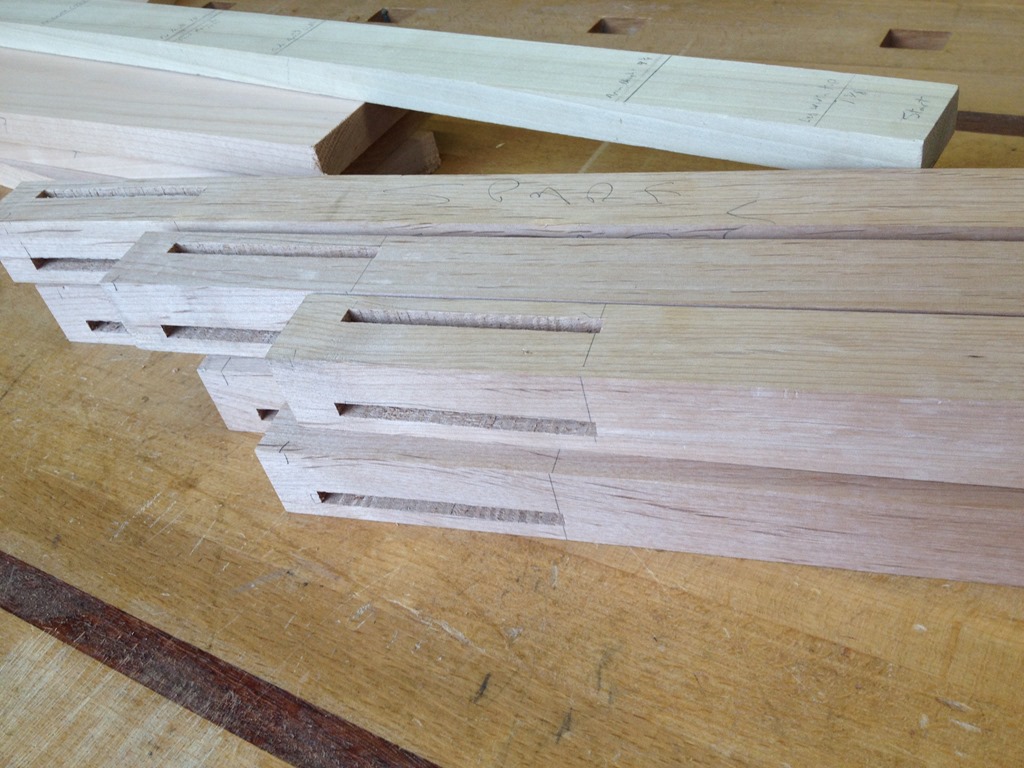
    Photo Jul 29, 6 48 14 PM

    With those cut, and the instructor around, I turned my attention to the top .He looked at my boards, and with a slight gap in the centers (more by accident than design, though I did want this), he clamped them dry and proclaimed them good. We added glue, clamped and set them to dry.

    I wanted to watch him do this, even though I’d clamped a few boards at home. I was looking for hints and got a few. Hopefully I’ll do a better job next time. While those were drying, I went back to legs.

    First I had to smooth them. While I can use a little sandpaper at the end, I needed to plane them first.
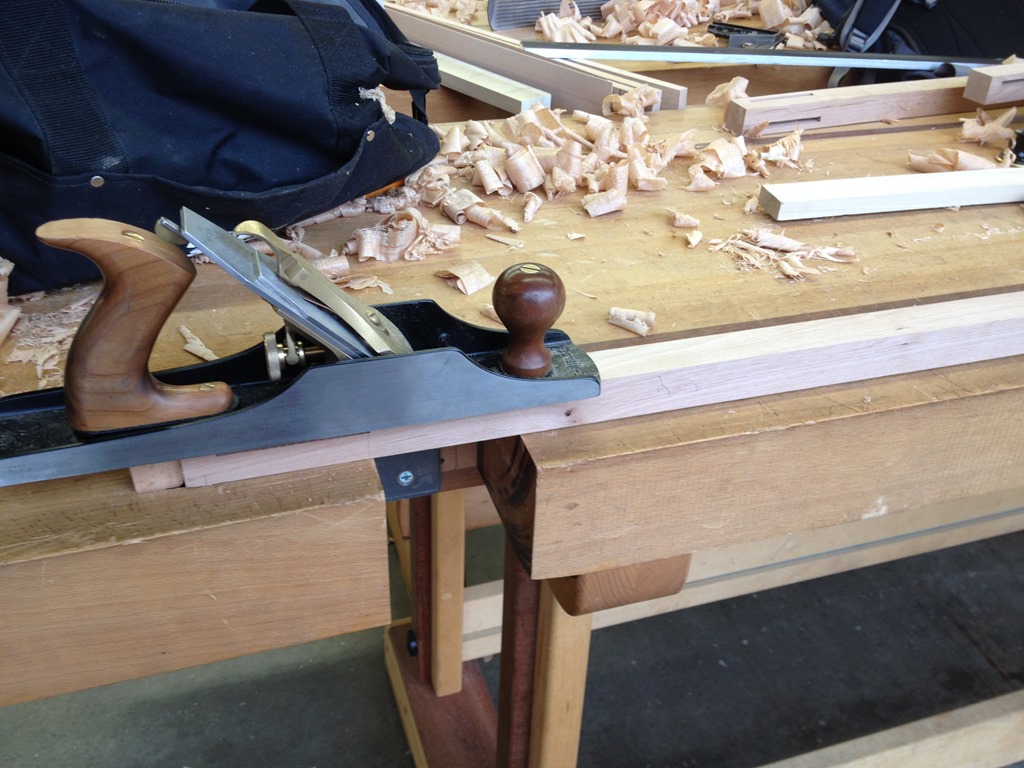
    Photo Jul 29, 7 32 24 PM

    Once that was done, I dropped them in the jig and cut tapers on the bandsaw. My first tapering, and while it was easy, it was also nice to have someone else build the jig and show me how to use it to build confidence.

    Photo Jul 29, 7 47 54 PM

    Once the top was dry, I had to flatten and square the edges. That went quicker than I thought and I managed to get it done with a few minutes to spare. The sides were easy, the top ,a little more challenging, but in the end, it was flat enough to grip the bed of a planer when I dropped it on.
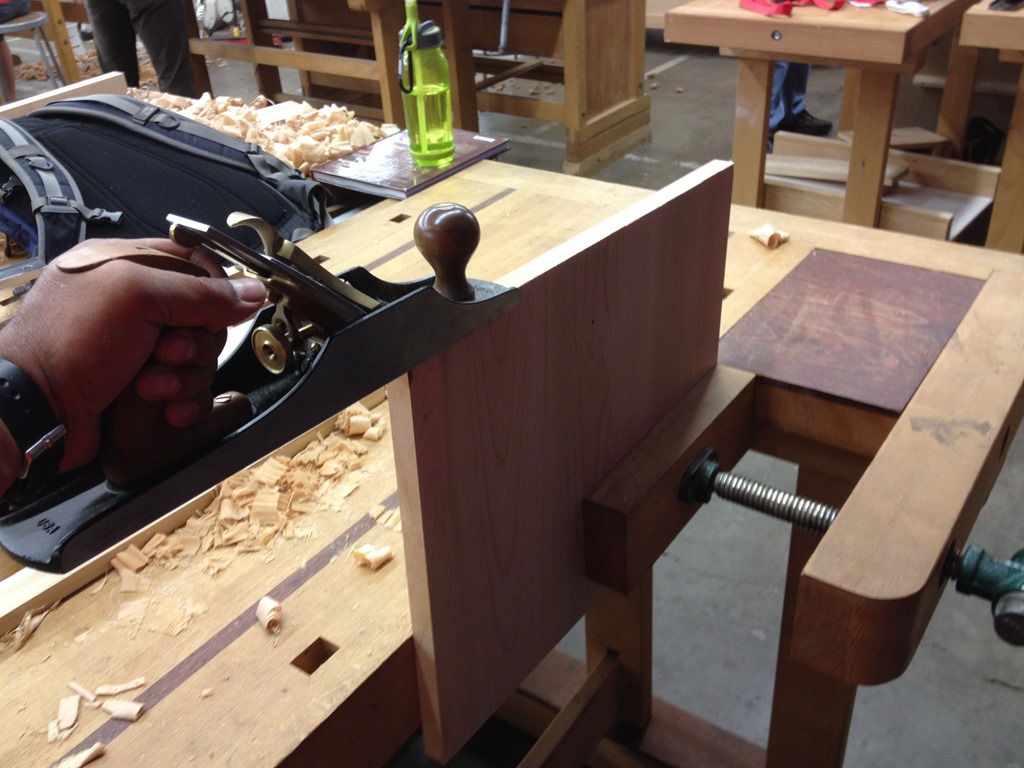
    Photo Jul 29, 8 32 18 PM

    With time left, I needed to bevel the bottom. One student was doing this by hand with a planer, but the instructor took pity on my lost week in the UK. He let me use the table saw. I lined it up and then he showed me how to safely run it through. I’d never run a board through vertically, so it was good to see how someone else does it

    Photo Jul 29, 8 56 03 PM

    I ended up with a nice pile of parts, including a beveled top.

    Photo Jul 29, 9 07 38 PM

    The next major step is to cut tenons and then assemble the thing.

    And hope it fits.
  • Continuous Database Delivery from the Command Line

    I’ve been working with Red Gate to learn more and the different ways in which we can help you ease and smooth the database deployment process. I know that I’ve dreaded deployments to production in most of my jobs, and only enjoyed them in one. The mission of one of the teams at Red Gate is to make this easier and easier and I’m learning about how they do that.

    They’ve also been working with many others in the world of software, providing them with tools, getting feedback, and learning from their experiences. One of the people that has done some work with our tools is Matt Whetton, and he wrote a piece on how he’d gotten SQL Compare to work with his version control system (VCS) to get a Continuous Integration (CI) process in place. He’s using TFS, as many of you are, though he has the SQL Source Control plug in to SSMS to make managing his database code easier.

    I won’t duplicate his process here, though it’s one that should work well. It has lots of pieces and parts, and might seem confusing, but it’s not. He describes in detail how he runs tools from the command line to build a more automated process. If you want us to do more of the work, we have an automation pack to smooth the entire process, and we’re improving it all the time.

    I would encourage you to think about building your own automated process for database changes. It might seem like adding work for no good reason, but it can pay off as you expand the process through later environments to deploy to QA, Staging, UAT, Production and any other environments you might need to. If you move to the cloud, having automated processes become even more important.

    You can also take a look at the Red Gate “Learn more about databass delivery and continuous integration” page.  We’ve got some resources up there and are looking to add more all the time.

  • On the Go

    So much for limiting events. There was a time in May when I had nothing scheduled as far as speaking goes.

    Now I have 12 events, and 9 trips in the pipeline. At least a few are local, with just an hour or so drive to speak.

    Crazy and I still need to plan a trip with my wife in there somewhere.

  • Quick Tips–SQL Prompt Custom Aliases

    I love SQL Prompt, and think it’s a great productivity tool. Even before I worked at Red Gate, I love the tool and had a copy before Red Gate bought the technology from the original developer. Recently I’ve run into a few people that weren’t aware of some of the ways in which it can help you. This is a quick look at one of the ways I use SQL Prompt.

    Custom Aliases

    SQL Prompt can automatically create aliases for tables. However, as I’ve worked on different systems, I’ve often found that development teams like to use specific aliases consistently to ensure that everyone can easily read the code and understand which tables are being queried.

    Suppose I decide that I have these tables:

    • Product
    • Product Details
    • Orders
    • OrderDetails

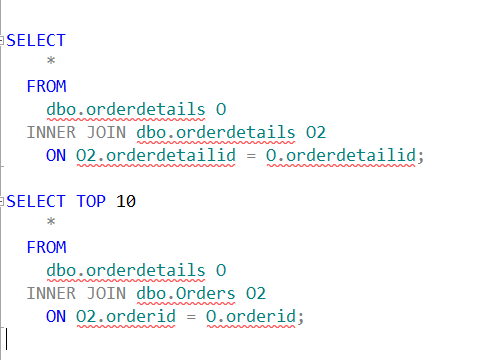
    I often use these tables in queries in my system, and I want to have consistent aliases. Right now, I could have these two queries with the default SQL Prompt alias settings:

    aliases20

    Note that the Orders table has “O” as an alias in the first query, but “O2” as an alias in the second query. This isn’t an issue when I’m writing a query, but when I revisit this code in a month or two and add an enhancement, it can be tricky.

    What I’d like to do is ensure I had consistent aliases for my tables, so that every developer always knows that “o” is Orders and “od” is OrderDetails. I want these aliases

    • Product – P
    • Product Details – PD
    • Orders – O
    • OrderDetails – OD

    I can do that in SQL Prompt with custom aliases. Let me go back to the Options dialog and select Aliases.

    aliases_21

    I’ve already added an item in the Custom aliases section for the product table. However I can click New (highlighted above) and I’ll get a little dialog.

    aliases22

    I repeat this process for each table, and soon I have all four entered.

    aliases_23

    Now I can rewrite my query. I start typing each table, and once it’s highlighted, click “tab”. When I get done, I have:

    aliases_24

    A quick way to ensure that all of your tables are consistently aliased, no matter in which order you type things.

    aliases_25

    You can see a complete list of SQL Prompt tips at Redgate.