Category: Blog

  • A few quick time calculations

    Have you ever needed to do a quick time calculations of the amount of hours/minutes/seconds that have passed? Suppose you needed to get the total number of minutes that have passed for a total time of ‘2:24’.

    There are some easy ways to do this, and the normal calculation that you might make is to multiple hours by 60 and then add minutes, so something like:

    DECLARE @t TIME, @n INT SELECT @t = '2:24' SELECT @n = DATEPART( hh, @t) * 60
              + DATEPART(mi, @t) SELECT @n

    That returns 144, which is the correct value (60 * 2 = 120, adding 24). However there’s an easier, and cleaner, way.

    SELECT DATEDIFF(mi, 0, @t)

    You can let SQL Server do the math, grabbing the DATEDIFF function and using 0 as a starting point.

    Number of seconds in a day?

    DECLARE @t TIME, @n INT, @d DATETIME SELECT @t = '11:59:59PM' SELECT DATEDIFF(ss, 0, @t) + 1
  • Returning Results from an Insert – OUTPUT clause

    I needed to return an identity value recently from an insert for use in another piece of code. For a client front end, you can easily encapsulate your insert in a stored procedure and then SELECT scope_identity() to get the last identity. However there’s an easier way: the output clause.

    The OUTPUT clause is a clause that goes in your INSERT statement and allows you access to the INSERTED table, just like a trigger (also the DELETED table.

    A short example below, where data is being added by the server in the state of an identity and a default. I am returning them with the OUTPUT clause.

    CREATE TABLE mytesttable
    ( MyID INT IDENTITY , mychar VARCHAR(20) , mydate DATE DEFAULT GETDATE() ) GO DECLARE @mytable TABLE ( i INT, d DATE); INSERT dbo.mytesttable (mychar) OUTPUT INSERTED.myid, INSERTED.mydate INTO @mytable
    VALUES ( 'First Row') SELECT i, d FROM @mytable

    There are any number of ways to use this data, especially in terms of logging or inserts into another table. It should be cleaner code, but it doesn’t mean that you should be running inserts from the client without stored procedures, or at least without explicit parameters. Make sure you still use those.

  • A Quick Export with SQL Packager

    Disclosure: I work for Red Gate Software

    Someone asked me the other day if I’d ever used SQL Packager to export a table to send to another person. I hadn’t, and in fact hadn’t even ever run the tool, but this individual said it worked great.

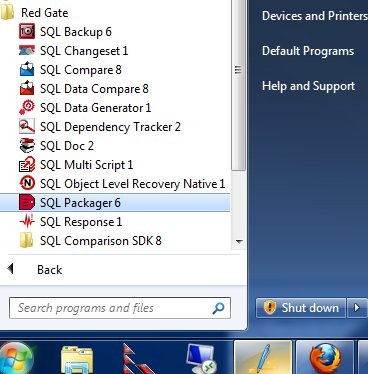
    Since Red Gate tools are designed to be simple and intuitive, I thought I should give it a try and see what happens. I went through the Start Menu and found SQL Packager in my toolbelt installation:
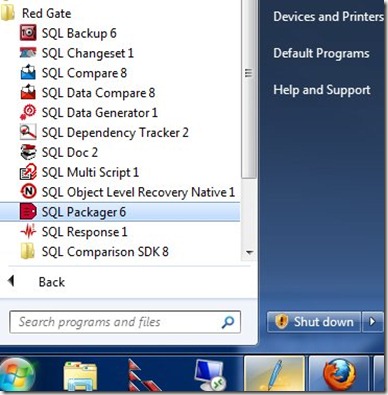
    packager0

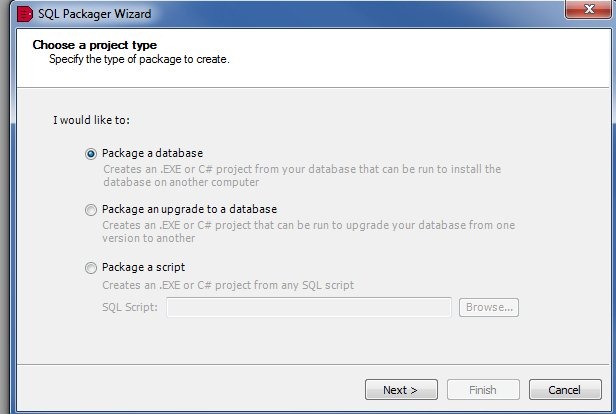
    I documented this as I went, shooting this images as I went through the process for the first time. As soon as Packager started, it began the packing wizard.
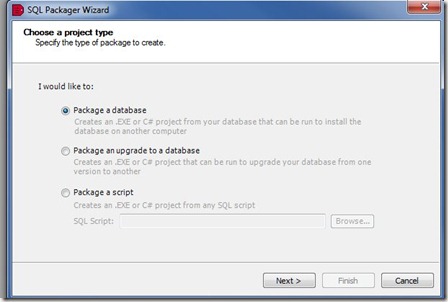
    packager1

    SQL Packager is designed to help you bundle up a database, or part of a database, as a part of an installation in your application. It can produce an .exe, a C# project, or a set of scripts that you can include as a distributable item in your application installation (or upgrade). The information can be compressed, so you reduce the requirements for your customers.

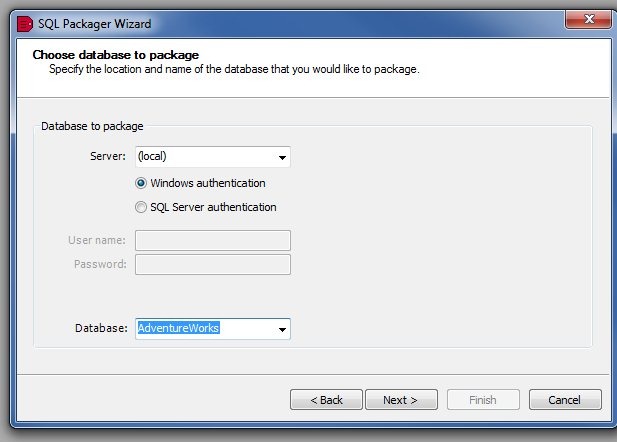
    In my case, I decided to just package up a table. I first signed into my local instance, and chose the AdventureWorks database.
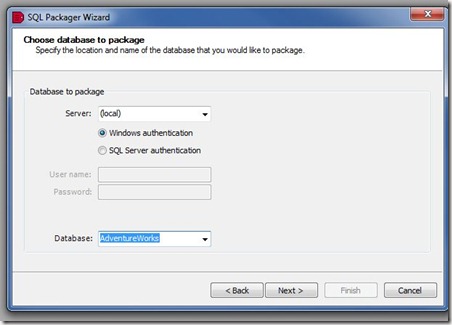
    packager2

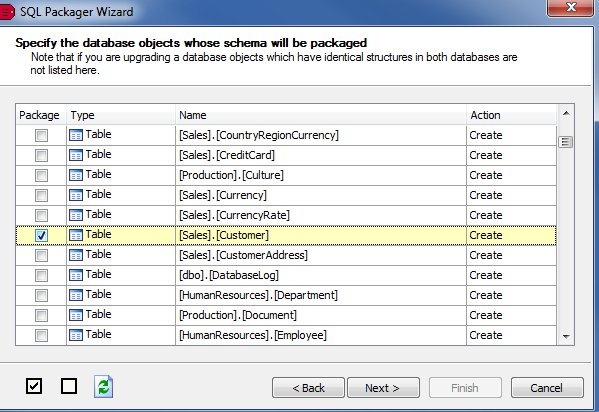
    Next, I chose just one table, the Customers table. The Red Gate tools tend to follow a similar, intuitive design, and try to do the most common things for most customers. In this case, the entire database was selected (this is a database packaging tool), so I deselected all, and then chose the Customer table.
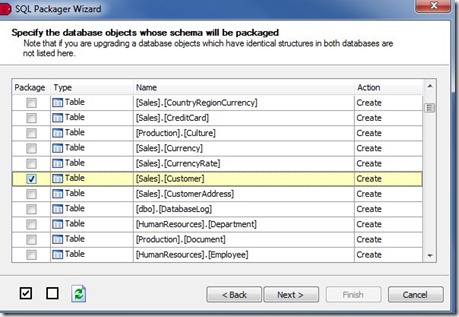
    packager3

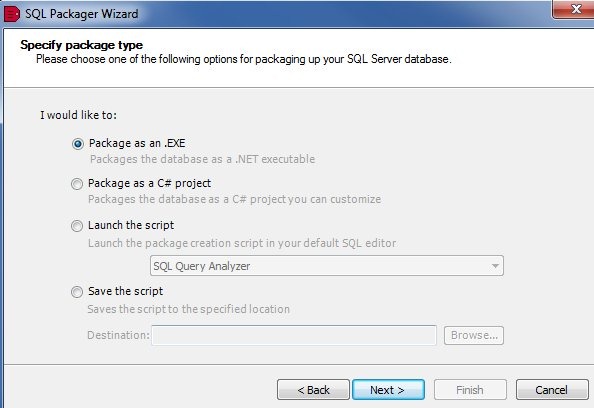
    Once I choose the table and click next, and confirm the selection, the packaging begins. I get some options as to how I might choose to build my package.
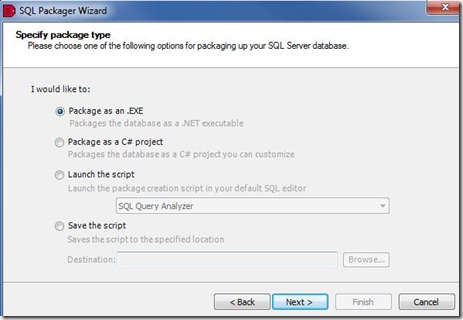
    packager6

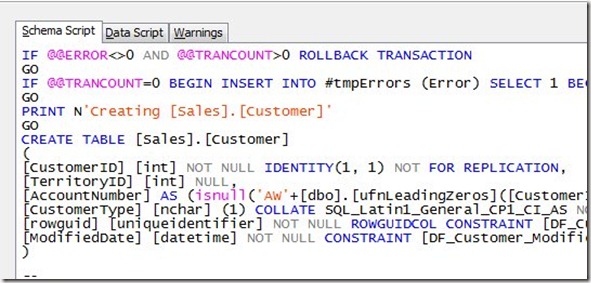
    The options are shown, and in this case I choose to save the script. Once I clicked next, I had a change to see the final script. First there was the schema tab:
    packager4

    On this tab, all the DDL for my table is there, including a couple dependent tables, and some functions needed for defaults or computer columns. Keys and indexes were included.

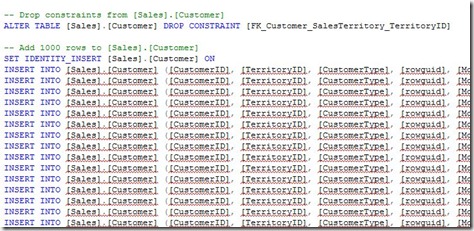
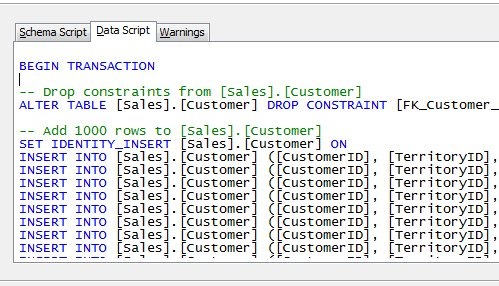
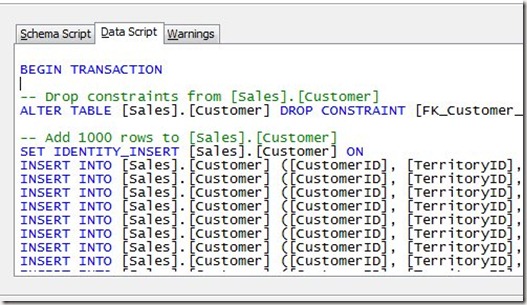
    On the data tab, I had the DML for the actual data.
    packager5

    The comment says “Add 1000 rows”, which seems like a default. However I went back and checked in SSMS, and sure enough, my table had 1000 rows.

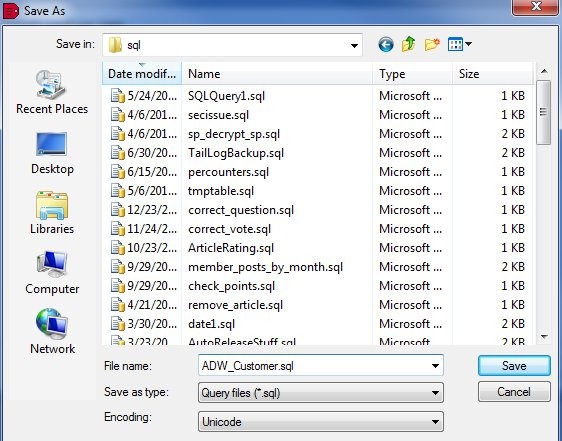
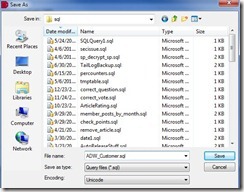
    I clicked next, and had the chance to specify a save location.
    packager7

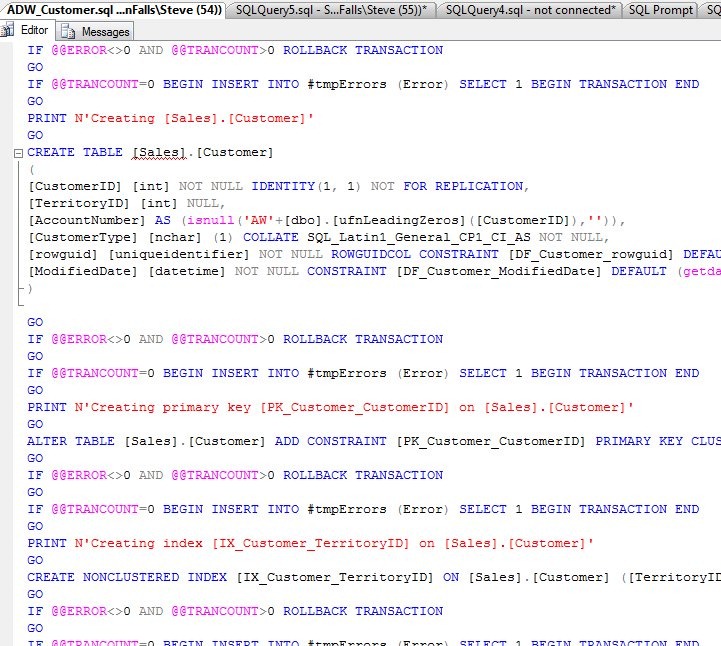
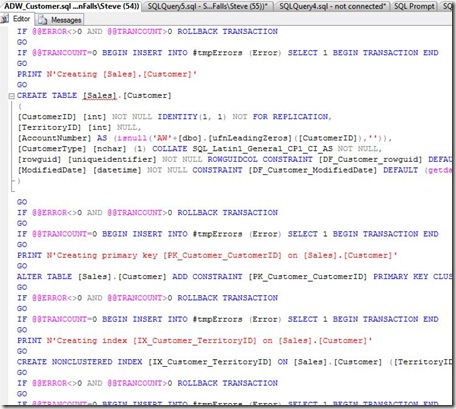
    After saving, I opened the script in SSMS, just to check. Sure enough, the DDL was at the top:
    packager8

    and the data at the bottom:

    packager9

    Simple, and easy.

    If you are looking for a way to move certain sections of your database for a deployment, like all the lookup tables, give SQL Packager a try.

    If you need to send some stuff to a client or friend, it might be a simple way as well to export the DDL and DML into one package.
  • Enabling Compression? Update your baseline

    I wrote recently about capacity planning, with an item near the end about disk usage. Someone pointed out to me that compression can dramatically affect your baseline, and as you implement it, or de-implement it, you need to update your baseline.

    That’s an important point, and if you make changes, you want to do one of two things.

    • Recalculate the old numbers to be in line with the new ones
    • Make a note in your documentation somewhere

    Whether you restate the history is up to you, but I wouldn’t. I hate changing the old values, but I can see someone not being aware of changes and perhaps getting confused. If that is a problem, and you are sure you’ll keep compression around, then you can run a quick test of compressed and uncompressed backups, get a rough idea of the ratio, and then alter your old numbers.

    For me, I prefer to make a documentation note, and update everyone to be aware of the change, perhaps even adding filters to my extrapolation routines to not use the older data.