Category: Blog

  • PowerShell–Don’t Use Write-Host

    I’ve written a few scripts and programs lately, mostly just for fun. In those scripts, I’ve used Write-Host to return output. To me, it’s been like “Print” in various languages where I can get output of a program. Often I’ll use a method/function to get info and then use print to output that to the caller.

    However a few people noted that in my last script, Write-host wasn’t necessary. When I asked why, both Mike Fal and Drew Furgiule responded. I got these two items:

    I learned something new today. I had assumed that I’d need a way to get the output to the screen and manage output with my own logic. I’ve had this before

    $debug = 1

    if $debug  = 1 { write-host $somevariable}

    However a quick check shows this isn’t really what I want. Instead, I’d use Write-Debug or Write-Verbose. A quick test shows I can do this:

    2016-03-02 12_10_16-Windows PowerShell ISE

    That’s much better than passing in a debug parameter or changing a value as I run scripts.

    Looks like I have some refactoring to do.

  • Quick Folder Size with PowerShell

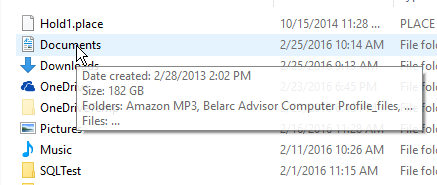
    This is a fairly simple idea, and one I’m sure many people have done in the past. Personally, I have tended to just hover a mouse over a folder when I want a size. That seems to work fairly well, but not only is it slow, it’s not programmatic.

    2016-02-25 10_24_01-Settings

    I saw Jose Barreto write a quick OneDrive size script in PowerShell (PoSh), and thought it was interesting. It didn’t work for me as I’ve moved the OneDrive folder to my D: drive, so I had to alter this to get information. However in doing so, I decided to play with a function.

    Here’s the code I used, altering Jose’s slightly.

    UPDATE: Thanks to Mike Fal, one of my go-to PoSh experts, I’ve removed the aliases for Dir and %.

    function Get-FolderInfo($folder) {
    $OneDrives = $folder
    Get-ChildItem $OneDrives | ForEach-Object {
    $Files=0
    $Bytes=0
    $OneDrive = $_
    Get-ChildItem $OneDrive -Recurse -File -Force | ForEach-Object {
    $Files++
    $Bytes += $_.Length
    }
    $Folders = (Get-ChildItem $OneDrive -Recurse -Directory -Force).Count
    $GB = [System.Math]::Round($Bytes/1GB,2)
    Write-Host “Folder ‘$OneDrive’ has $Folders folders, $Files files, $Bytes bytes ($GB GB)”
    }
    }

    Note that I’ve passed in the folder name and then kept Jose’s code. This worked fine for me, as you can see below.

    2016-02-25 10_24_11-Windows PowerShell ISE

    The next step for me was to make this programmatic and useful. All that text isn’t helpful. What I really want is just a size. I guess I need a folder name as well, so I built a function to return that information. I merely changed the last line to:

      Write-Host “$GB”

    I also moved this to the end of the function, rather than for each subfolder. With this change, I can now call this for a folder and get the size in GB returned.

    2016-02-25 10_31_22-Windows PowerShell ISE

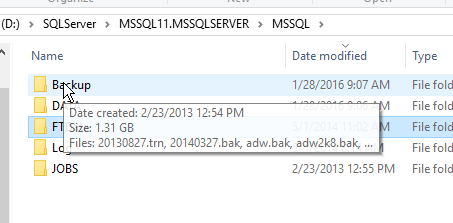
    And this checks out from Windows

    2016-02-25 10_31_16-Settings

    I know there are better ways to write this function, but this was more of a programming exercise. This was really a 10 minute chance to practice and experiment a bit with PoSh and work on skills.

    BTW, I used dot sourcing to load this as a function I could callIn love

    2016-02-25 10_33_42-Jump List for VMware Workstation Pro

  • Create a Database Master Key–#SQLNewBlogger

    Another post for me that is simple and hopefully serves as an example for people trying to get blogging as #SQLNewBloggers.

    One of the first things you need in a SQL Server database in order to implement encryption is a database master key, DMK. This is simple to create, though you need one in each database that will support encryption.

    The syntax is easy, with only really an option to specify a password. There is no name, as there’s a single DMK per database. Set your context to the correct database and end enter:

    CREATE MASTER KEY ENCRYPTION BY PASSWORD = ‘Som3thingR3ally$|tr0ng’;

    When you execute this, you’ll just get a result message. At least, if it works you will. The password must conform to the password requirements of your Windows OS, which is good.

    Note: This is a securable code, like the password for a user account. Make sure you store this in a password manager for your organization.

    By default, this is protected by your password as well as the Service Master Key (SMK) on your instance. In practice this doesn’t usually mean much for you, but be aware of this.

    You do need CONTROL permission on the database, though usually I’d expect a db_owner or more permissions to actually create these keys.

    And, of course, back up the key as soon as you can.

    SQLNewBlogger

    This was about 5 minutes work for me. I would guess most new bloggers could read, understand, and produce an explanation of this in 30 minutes.

    References

    CREATE MASTER KEY – https://msdn.microsoft.com/en-us/library/ms174382.aspx

    Create a Database Master Key – https://msdn.microsoft.com/en-us/library/aa337551.aspx

  • The Jarvis–Standing Desk Update

    I started using a standing desk a few years back. While visiting the Redgate Software office, I saw one of my coworkers standing and using boxes of books to lift their keyboard and mouse. I tried that.
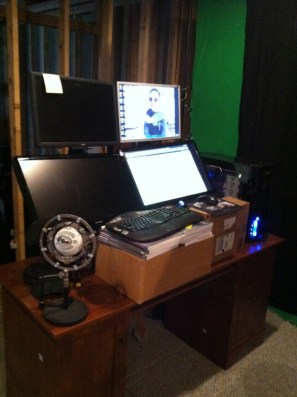
    My first desk from 2012.

    It worked OK, and I found myself adding and removing books to experiment with the process. I first moved upstairs, swapping the desk in the basement for the one upstairs. I added flooring to make things easier on my legs.

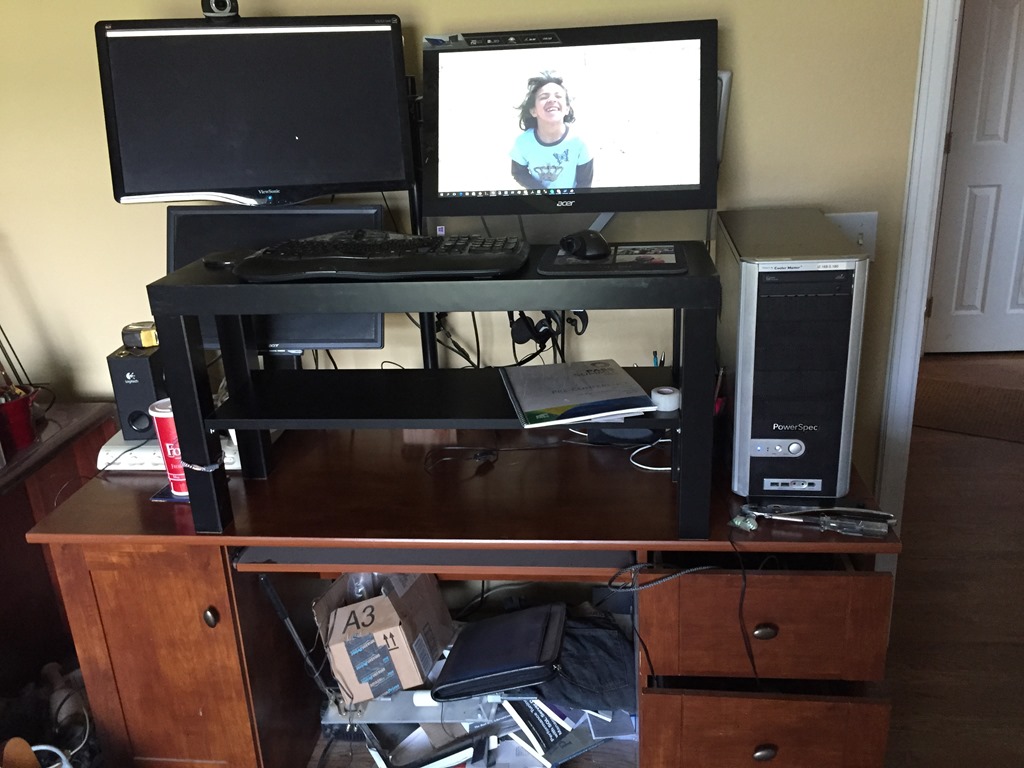
    Things were fine for a few years, and then last year, I upgraded the platform to a piece of furniture. This was really to give me stability, a place for coffee ( probably the most important) and just a bit more space. That worked OK.

    Photo Aug 24, 10 43 42 AM

    However I’ve found myself getting a bit worn out at times. I often work most of the day standing, and there are certainly days my knees or back will ache. I do switch over and sit at the kitchen counter, or on a couch with my laptop, but those aren’t ideal. What I’d really like is a desk that’s a desk. I could also use space for my laptop, as I’ll use two machines at times.

    With that in mind, I started looking at motorized desks. I saw Tim Mitchell get one for his home office, and found someone that rated desks. The Jarvis was well rated, and it wasn’t too expensive. An IKEA desk is around $500, so this wasn’t much more.

    Fortunately I work for a company that values employees, and they do allow for some work related infrastructure. Redgate agreed to buy my desk, and I ordered it immediately. Of course, it wouldn’t ship and arrive until I was gone, but I came home to find boxes in my office. I began unpacking and assembling.

    Well, actually I started clearing a space in the office. I needed room to assemble, while I continued to work during the couple days I put things together.

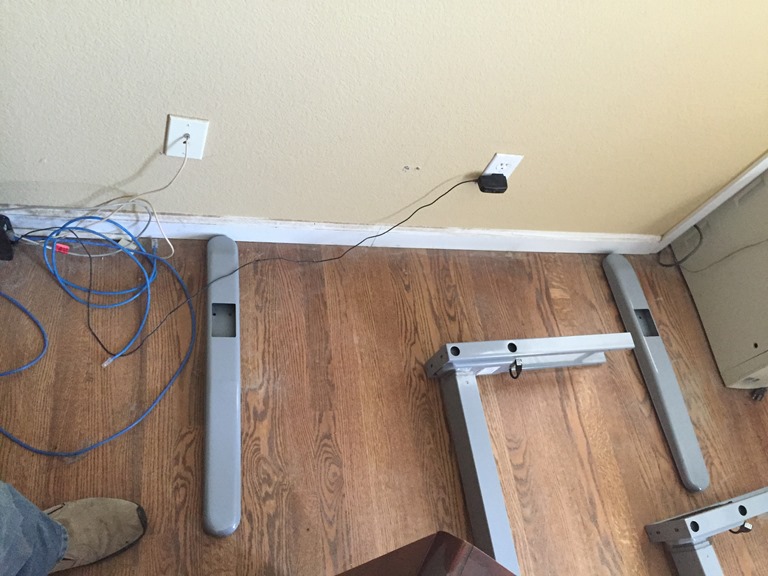
    Photo Jan 26, 1 35 01 PM

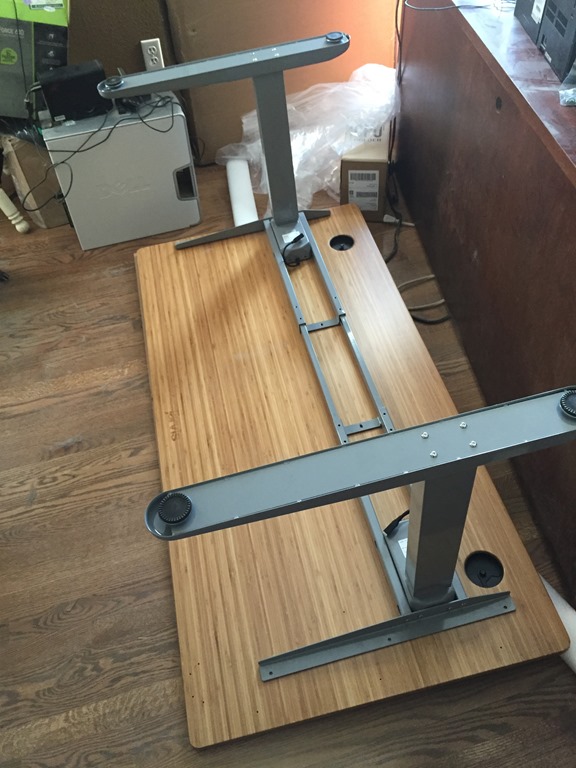
    I’m somewhat handy, but this assembly was easy. There are feet (to the right and left) and then two legs (middle) with a brace (top middle) that connect together. Lots of Allen screws, but no real tools needed.

    Photo Jan 26, 2 01 17 PM

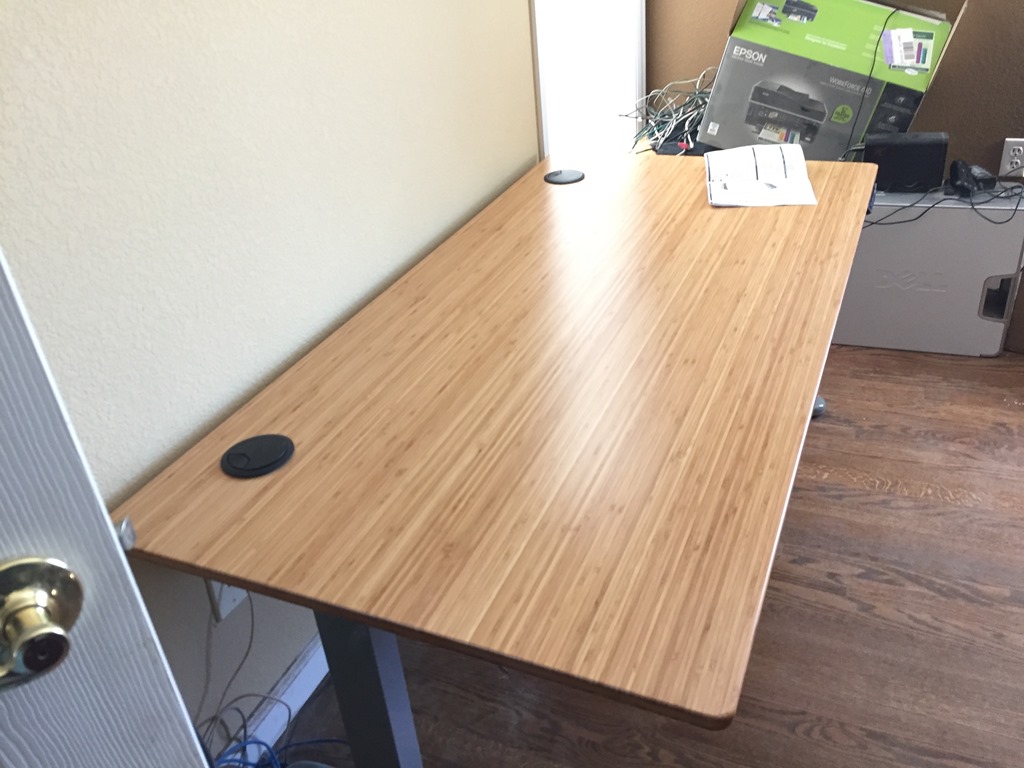
    I got the bamboo top you see above, with grommets in it for wires. I wasn’t sure about the grommets, and haven’t used them a lot, but they are nice for a few things.

    Photo Jan 26, 2 30 27 PM

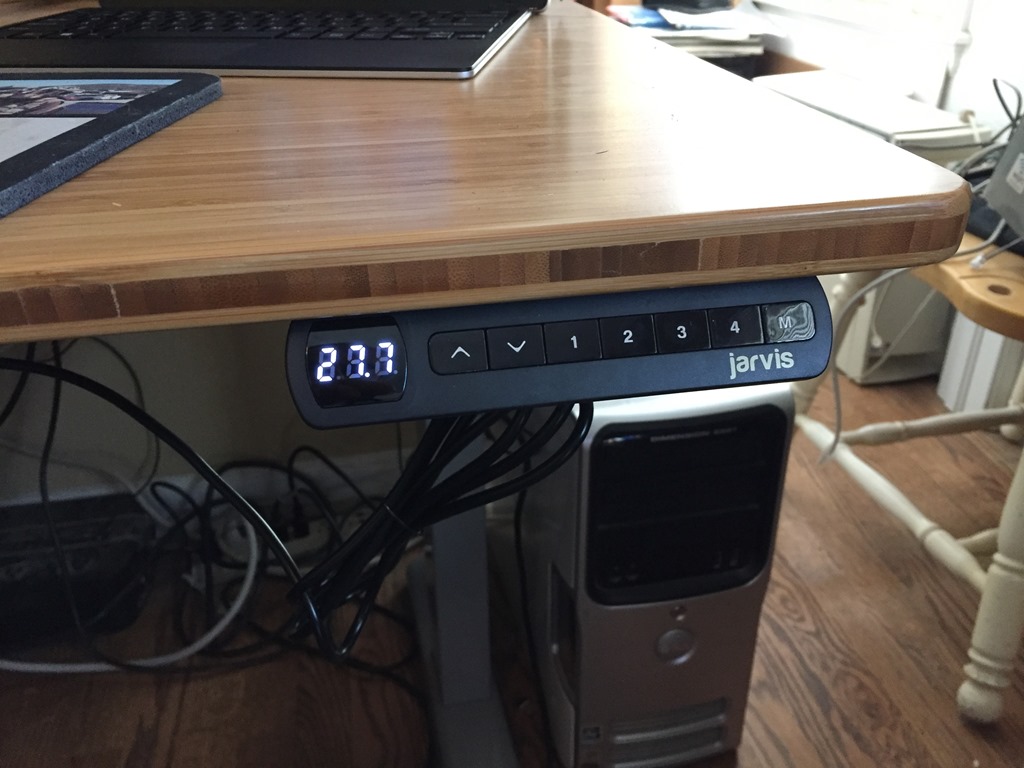
    Getting things together felt good, and once I installed the lift, I was ready to try things.

    Photo Feb 25, 11 29 56 AM

    Unfortunately, one of my legs didn’t work. The desk lowered, but wouldn’t reset or go back up. A quick call to Ergo Depot got me support, a few things to try, and then a replacement shipped the next day. Once again, I left town, not having a desk to use.

    However the leg arrived and was ready for me when I returned. I managed to swap out the leg with minimal hassles, and without taking everything apart. Once back together, the lift mechanism worked great. I started moving things over and getting setup late one night.

    Photo Feb 06, 6 57 40 PM

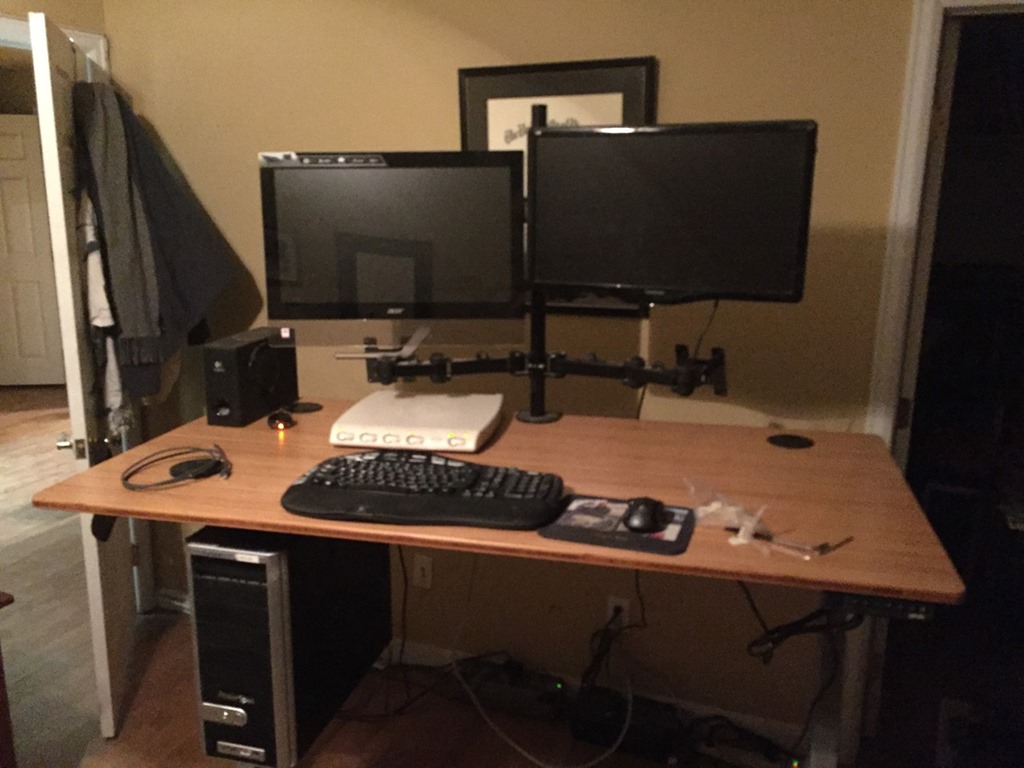
    I really just duplicated my existing setup, with the exception that I’d ordered a CPU holder to store and lift my desktop with the desk itself. It’s below the desk to the left.

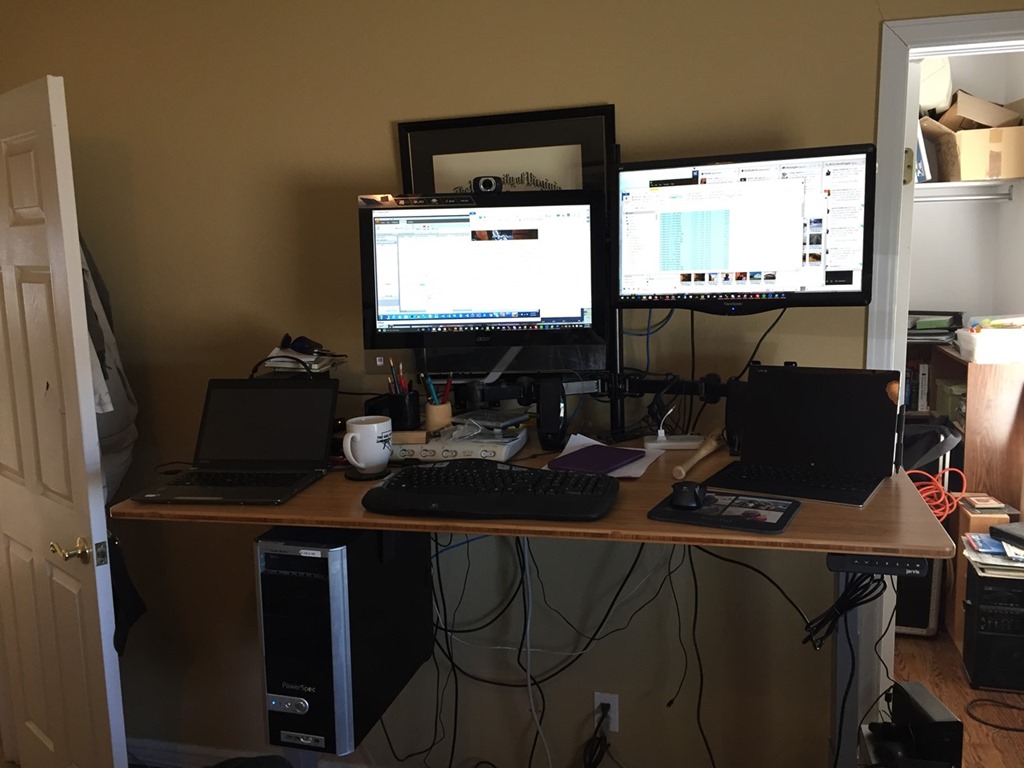
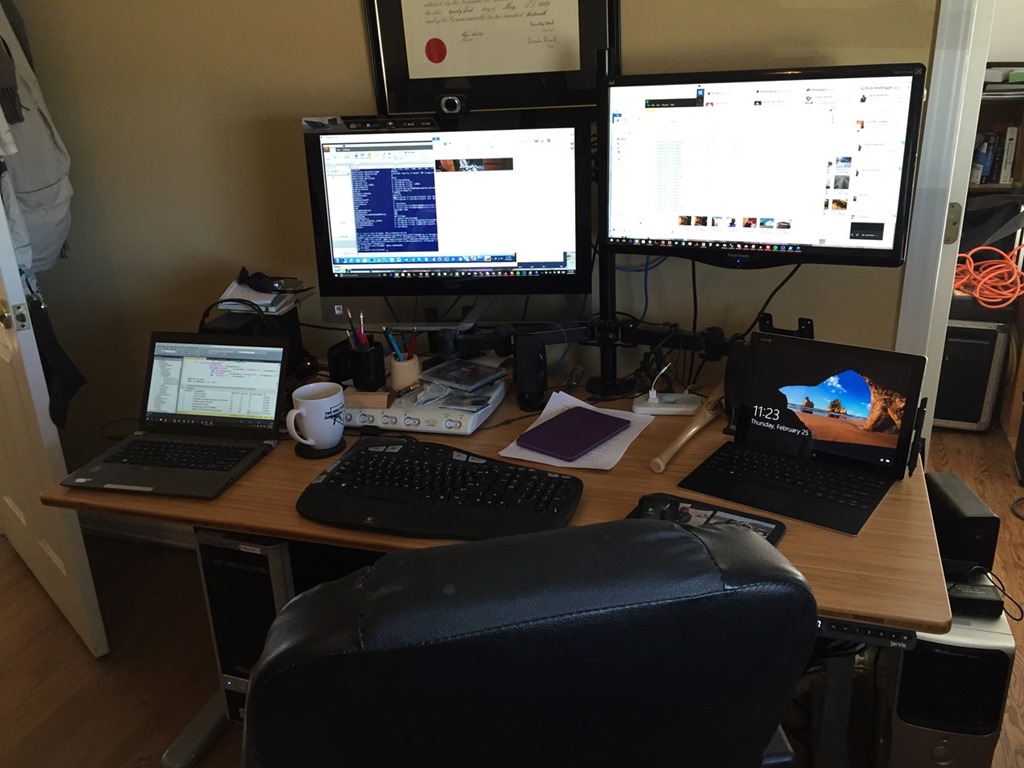
    Here we have the current setup, raised:

    Photo Feb 25, 11 23 30 AM

    and lowered:

    Photo Feb 25, 11 24 11 AM

    I did find that I wanted my monitors offset to the right, which took a few days to determine. I’ve moved the monitors up and down a bit, trying to find a good height relative to the desk.

    I’m also still torn on whether I want the keyboard at desk height. I can change the height, and I use a few different settings, but I think I may get a keyboard tray that lets me lower the keyboard slightly and also get more desk space to use.

    I’ve moved over my mat, which is a bit of a pain when I switch back to the chair. I still have to work out some sort of process to make this easier.

    However overall I like the setup. I usually raise the desk if I check things at night, and start the next day standing. If I have webinars or calls, I often lower the desk and sit, and usually after lunch (often yoga or running), I’ll eat at my desk and lower it for the afternoon.

    I think I’ve benefitted from not sitting for long periods of time, and plenty of people see my at events, where I often avoid sitting, even in sessions. However I also know I need a balance, and a motorized, standing desk has helped me feel better.

    If you can afford it, I’d urge you to get one. However I’d suggest you start with boxes of books, and see what works for you.