Tag: sabbatical

  • The 2014 Sabbatical Journey

    I was able to take a six week sabbatical from work in the summer of 2014. I had planned out a few things, and used a tag to keep the posts, but I realized over time that I will take another one and wanted to collect all the posts in one place from my 2014 time. Here they are:

    Pre-Sabbatical Prep and Decisions

    These were the posts leading up to the time off, getting my plan ready.

    Sabbatical Posts

    Here are the posts I made while on sabbatical.


    Post Sabbatical Posts

    I added a few final and looking back posts later.

  • Final Project–Sabbatical

    My company, Red Gate software, has given me a 6 week sabbatical. I’m documenting the time with all the posts under a tag if you want to follow along. The sabbatical is over, but I’m still catching up on things.

    Thursday, July 31. Final day of class for this semester. I knew I was close, and wasn’t too worried. I got to school early to miss traffic and was working on my laptop as a few other students walked by around 5. We chatted for a minute and they were heading in to finish. Around 5:40, I started to feel pressure and closed the laptop and got started.

    Most of my table was together, dry fit, but I wanted to pin it, and also needed to clean up shoulders. I walked in early and sharpened a chisel to begin work on the shoulders. Sharp tools make a big difference.

    Photo Jul 31, 5 58 38 PM

    I managed to clean things up so they fit well. Looking back, I should have checked lengths as I ended up shortening a few shoulders more than I wanted, meaning two aprons were different lengths. However I had things fitting well.

    Next the instructor showed us how to pin the joints, and gave us the option of pins or glue. He also showed us glue, but I wanted to avoid that. I went back to my bench and got everything fitting well and then started to drill.

    Things went quick on the drill press, though once again, I learned something. Good to have an instructor there to help guide and give hints. I might have drilled the wrong edge, which a few students did. Pay attention to the details.

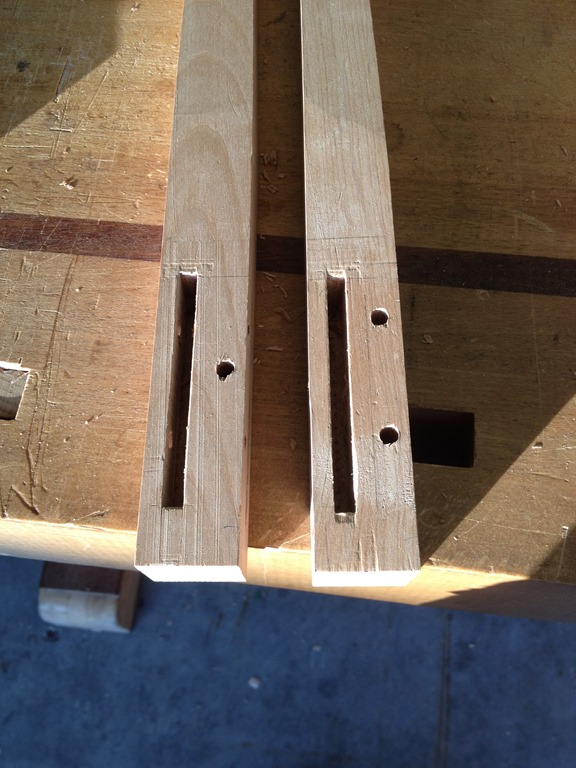
    The plan was two pins on one side (each leg) and one pin on the other. I marked carefully and then punched them out. Here’s the pattern. Roughly 3/4” from the top and bottom of the tenon (not apron) and then the one I between those.

    Photo Jul 31, 7 25 34 PM

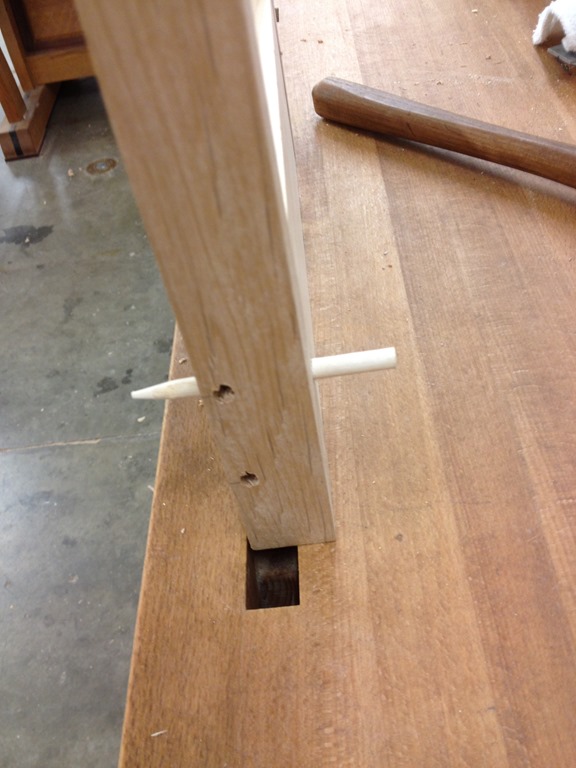
    With those all cut, and then offset (1/16” holes in the tenons, I was ready to pin. Here’s the first one going on. A dowel, sharpened on one end, driven through.

    Photo Jul 31, 8 20 56 PM

    Once through, I had to cut them off.

    Photo Jul 31, 8 29 53 PM

    The saws don’t get that close. I did borrow a flush cut saw from one guy, but didn’t want to keep using it, so I moved on to the old fashioned method.

    Photo Jul 31, 8 33 44 PM

    It’s slow, and I learned to put the direction of the chisel perpendicular to the grain, and then saw sideways to get things cut. Once I had them down, they were pretty flush.

    Photo Jul 31, 8 27 28 PM

    Next I needed to attach ledgers for the top. Glued on and then stapled to hold them. It seems like less hand tools over time, though another instructor said this is hard in the summer. Things are shortened up, moving at almost twice the speed of the fall/spring semesters.

    Photo Jul 31, 8 11 06 PM

    I continued on, pounding in the long sides with two pins each.

    Photo Jul 31, 8 39 59 PM

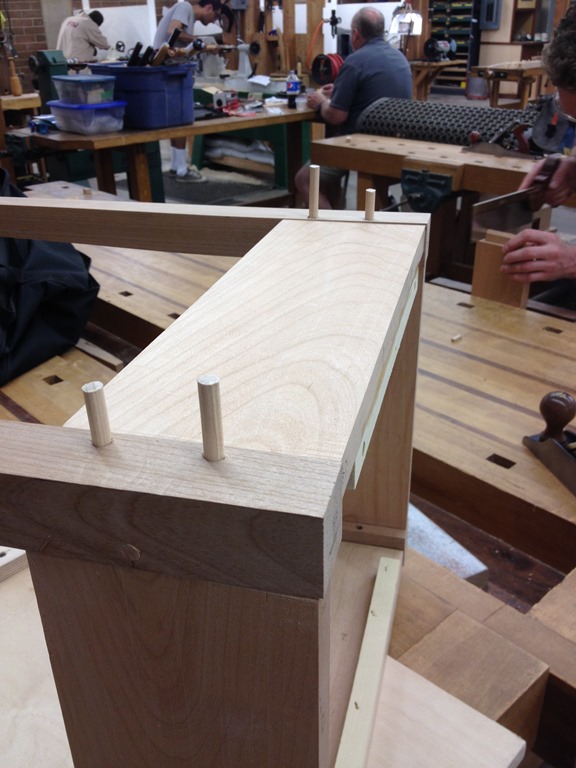
    Since this was final assembly, I ended up putting in four, then cutting off and chiseling all four at once. The a repeat on the other side.

    Photo Jul 31, 8 40 45 PM

    With all four sides on, and almost 9:00, I measured and then put the top down with the legs on and screwed things down. This is where I realized that the top wasn’t square, with 1/16” off on two sides. A lesson, but it’s hard to tell with the table that it’s not square. Another lesson.

    Photo Jul 31, 9 04 38 PM

    The only screws (and glue) are holding these ledgers to the aprons and then the top on. Overall, a success.

    I set it down in front of the instructor at 9:15, 15 minutes early. Close, but better than most. I was first done, though 3-4 were done in the next few minutes, so not bad. A few people were still getting legs tapered or tops beveled.

    To be fair, I didn’t use a plane for the bevel, which a few people did, but I wasn’t overly concerned. I’m confident I can, and I was running short of time with travel for work. I also learned a bit about how I might bevel things on the table saw.

    Photo Jul 31, 9 27 07 PM

    I set the table on the floor, put a glue bottle on it and it didn’t roll. Considering I hadn’t double checked leg measurements, that’s a bit of a success.

    Final project done, though I need to sand and finish it this weekend with some poly.

  • A late night–sabbatical catch up

    My company, Red Gate software, has given me a 6 week sabbatical. I’m documenting the time with all the posts under a tag if you want to follow along. The sabbatical is over, but I’m still catching up on things.

    I took an extra day in the wood lab last night. The instructor offered to show up Wed night, with all projects and work due Thur, and I wasn’t the only one that needed the time. Almost the entire class was there, and it was fairly quiet with no other students or instructors working.

    With my piles of parts close, the first thing I needed to do was cut tenons. I’ve done this before, by hand, with limited success. However since time is short this semester, we were given permission to use the bandsaw (and a little instruction).

    I first marked things up.

    Photo Jul 29, 5 47 21 PM

    As with the mortises, I was thinking I could mark one board and use the setup for others. However when I showed the TA, he saw some problems. First, I needed to center the tenon. That messed up my reveal, but I could always plane the board to fix that. Then he noticed that when I’d cut left and right hand mortises, my setup was slightly off, so that they are slightly (1/64”) low on one side. Not a huge deal, but it means I need to account for R and L tenons differently.

    So back to marking, spending the better part of an hour marking all 8 sides of the 4 boards, in stages to separate right from left. With that done, I turned to the bandsaw to cut the tenons.

    Photo Jul 30, 8 14 15 PM

    I went a little fat, having had experience with too thin. I ended up too fat, and spent most of the night fussing to get thickness, and then height, to the correct settings. Once they were cut, I felt like I was making progress, but little did I know.

    Photo Jul 30, 7 53 50 PM

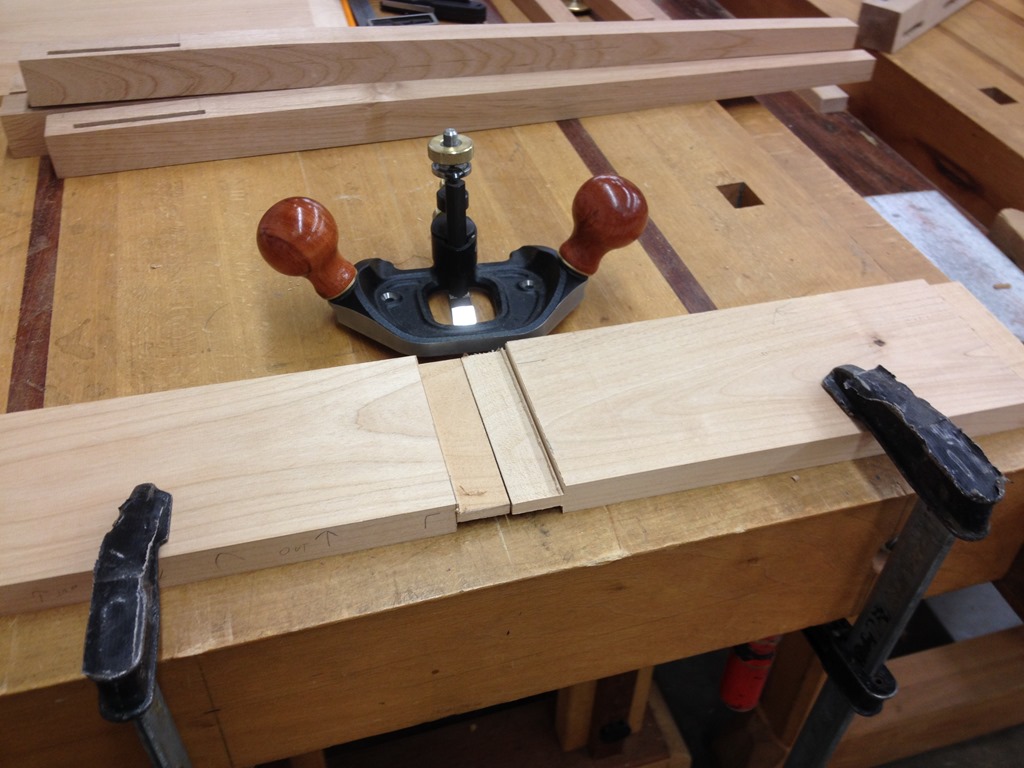
    I went very slow on the router plane, making some passes that didn’t cut anything or generated dust. However I wanted a tight fit. Things were tight on the right tenons, but later I had to come back to this to thin a couple left ones. However I had tight fits all around.

    Photo Jul 30, 7 53 44 PM

    Once those were done, I re-marked, and shaved off the upper part of the tenon. Things still seemed to fit well, and I had a decision to make. The bottom shoulder was about 1/16”-3/32”, depending on left or right. I could lengthen the mortises and have no shoulder (tempting) or cut a small one. I opted to cut a small one. As much as I like the mortiser, it takes time to setup and at this point, I’d blown 2 of my 3 hours and wasn’t terribly close to having a single joint. I still knew I’d have shoulder work.

    I lightly trimmed the bottoms, and as I worked on squaring the shoulders to the joint, I went back to the bandsaw a few times for small trims. I was trying to be careful, but also feeling pressure. Never a good combination.

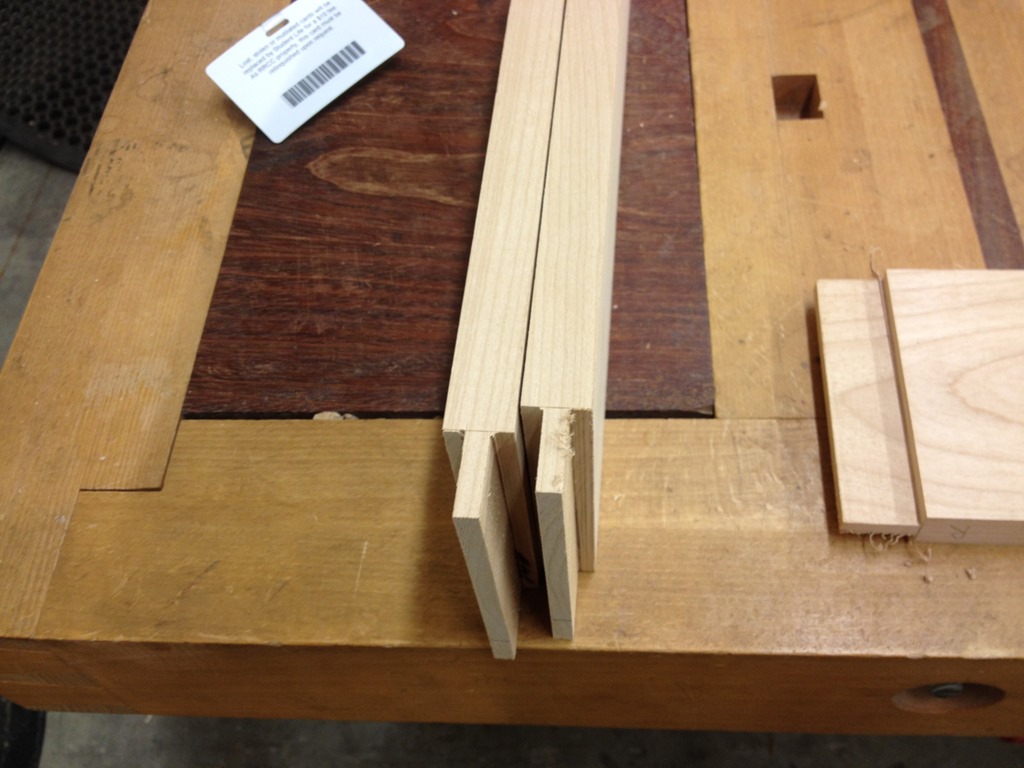
    Once things were cut, and thinned, I test fitted them together. The right hand ones seemed to do OK.

    Photo Jul 30, 8 26 05 PM

    You can’t see it well, but the shoulders on most were slightly off to way off. I spent about 15 minutes trying to get one to fit, before I got too frustrated and decided to work on them in the order of the closest to fitting to least.

    Photo Jul 30, 8 26 00 PM

    Back and forth to the vise, using a chisel to square, and then fit again. I’d hit the bandsaw for the ones that were way off to save time. Chiseling is satisfying, but slloooooowwwww and things are due Thursday.

    When I had a good fit, with almost no gap, I’d mark the back of the board. I got the short aprons (sides) done first and I could put two legs on an apron and felt good. The long sides were harder, and 3:15 into extra lab time, people were cleaning up. I decided to try a test fit and see where I was.

    Photo Jul 30, 9 42 06 PM

    Things went together. I was amazed, and also somewhat proud. After all, I’d started with a pile of rough lumber board. I dropped the top on, just to see.

    Photo Jul 30, 9 42 21 PM

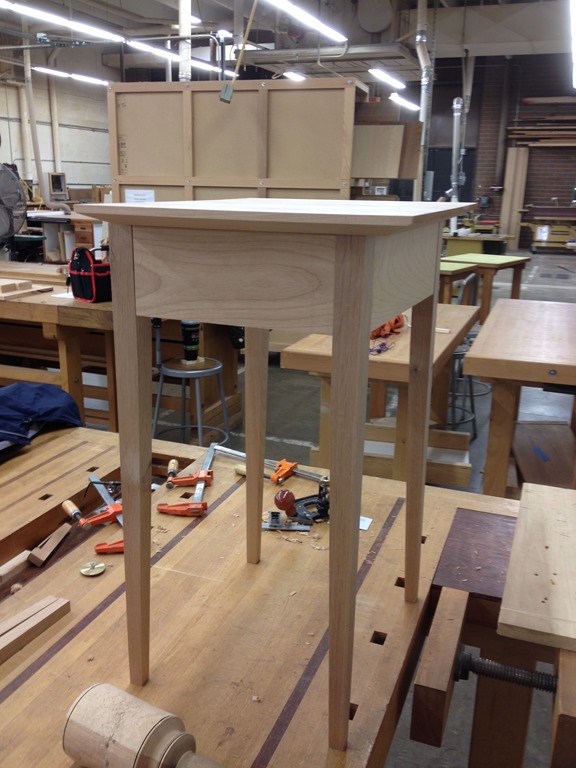
    It looks good. I actually built a piece of furniture that doesn’t need glue or screws, and looks decent.

    Photo Jul 30, 9 42 27 PM

    There are three bad gaps on the long aprons (front/back) that I need to fix tonight. I also need to run the bottom of the top (if that makes sense) through the planer to thin it and shorten my bevel. A little long for the side of the bottom.

    I’ve also got the dimensions slightly smaller than I’d like, so I have to decide if it’s worth trying to shorten aprons slightly from a design aspect. Probably won’t do that, but it’s something I’ll think about.

    Hoping to get to pin it with dowels tonight, but if I don’t, I’ll drill and add faux pins for decoration.

  • Creating a Table–Sabbatical continued

    My sabbatical officially ended on Jul 14, but I still had a few weeks of class left. And I need to get my flagpole mounted, but that’s another tale.

    I missed a week of classes with travel to SQL Bits and the Red Gate office, and last week I ended up cutting my wood in to pieces for the final project. Not a lot getting done there, and some simple planing of edges and sides, but I walked into class on Tuesday with this:

    Photo Jul 29, 5 03 08 PM

    The left boards were planed at home to size (perhaps a touch small), but were square and ready to become legs. The middle stack is the aprons, which were planed (by hand) and squared, and then machine planed to thickness. The right stack is the top, which I managed to get fairly smooth and needed to glue.

    My first step was to mark up the legs for mortises. That’s one of those tasks I couldn’t do at home, so I wanted be sure I did that.

    Photo Jul 29, 5 30 01 PM

    I was in class early, with no instructor, so I had to remember from the last month how to mark these up. I did two, and then the instructor showed up to note I only needed one as the machine would do the rest.

    This is my favorite machine.

    Photo Jul 29, 6 03 29 PM

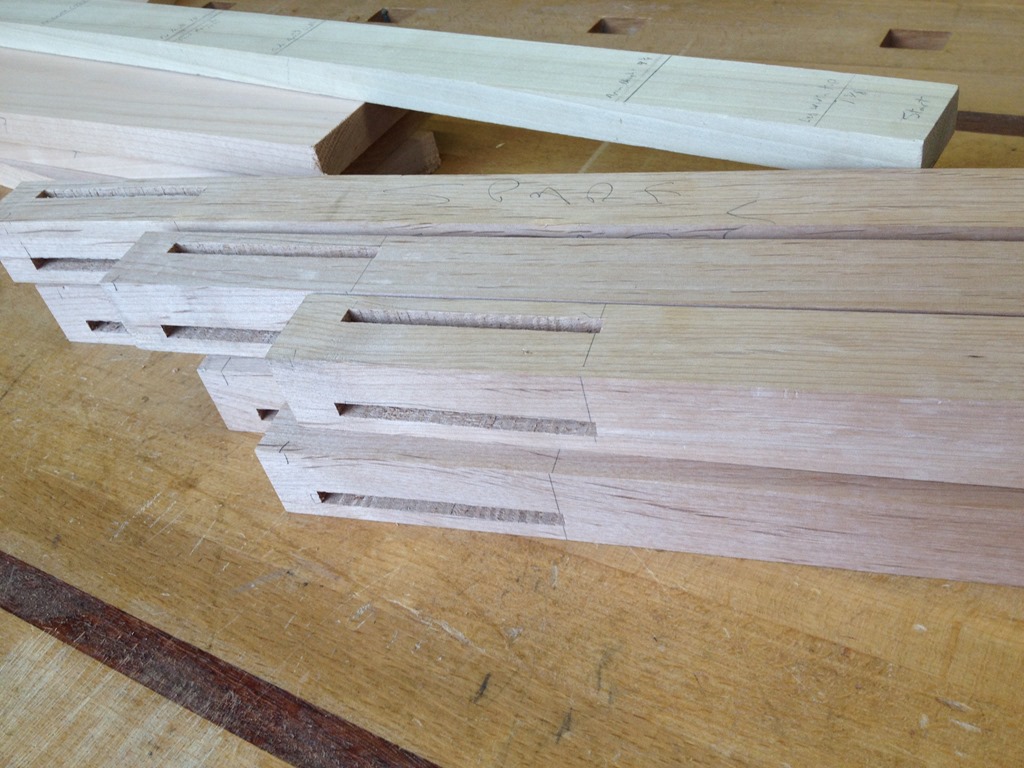
    It’s a specialty machine, but it does such a consistent job of making mortises, way better than I could. Without it, I’d dread cutting more than 1 or two and certainly wouldn’t be sure I’d do them well. With it, I’d use this joint much more often.

    It took 10 minutes or so to set up, and then another 20 to cut 12 mortises. By hand I’d likely have 2 done, tops. They looked good, too.

    Photo Jul 29, 6 48 14 PM

    With those cut, and the instructor around, I turned my attention to the top .He looked at my boards, and with a slight gap in the centers (more by accident than design, though I did want this), he clamped them dry and proclaimed them good. We added glue, clamped and set them to dry.

    I wanted to watch him do this, even though I’d clamped a few boards at home. I was looking for hints and got a few. Hopefully I’ll do a better job next time. While those were drying, I went back to legs.

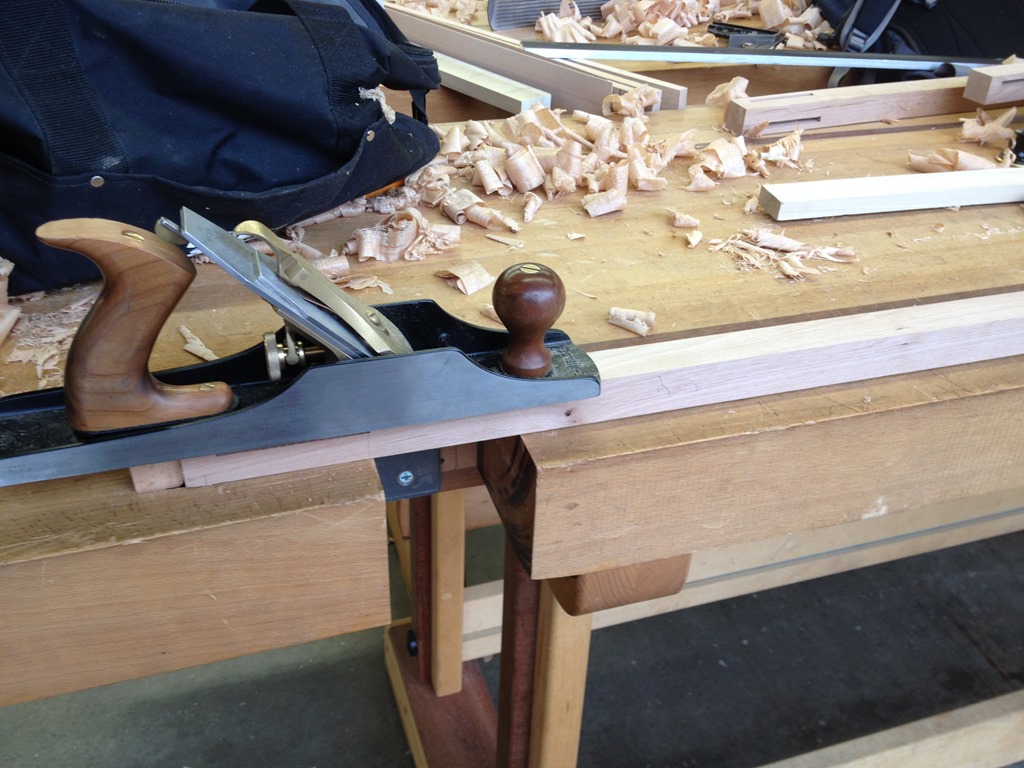
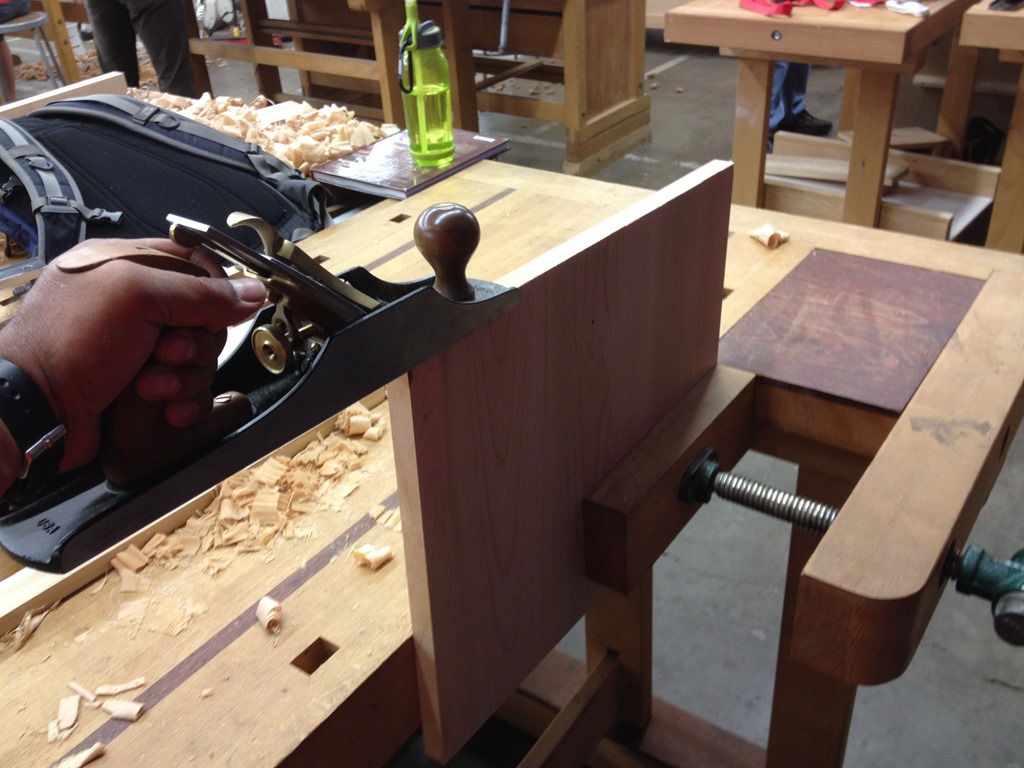
    First I had to smooth them. While I can use a little sandpaper at the end, I needed to plane them first.

    Photo Jul 29, 7 32 24 PM

    Once that was done, I dropped them in the jig and cut tapers on the bandsaw. My first tapering, and while it was easy, it was also nice to have someone else build the jig and show me how to use it to build confidence.

    Photo Jul 29, 7 47 54 PM

    Once the top was dry, I had to flatten and square the edges. That went quicker than I thought and I managed to get it done with a few minutes to spare. The sides were easy, the top ,a little more challenging, but in the end, it was flat enough to grip the bed of a planer when I dropped it on.

    Photo Jul 29, 8 32 18 PM

    With time left, I needed to bevel the bottom. One student was doing this by hand with a planer, but the instructor took pity on my lost week in the UK. He let me use the table saw. I lined it up and then he showed me how to safely run it through. I’d never run a board through vertically, so it was good to see how someone else does it

    Photo Jul 29, 8 56 03 PM

    I ended up with a nice pile of parts, including a beveled top.

    Photo Jul 29, 9 07 38 PM

    The next major step is to cut tenons and then assemble the thing.

    And hope it fits.