Category: Blog

  • Sabbatical Day 32 – Catchup with Paint

    My company, Red Gate software, has given me a 6 week sabbatical. I’m documenting the time with all the posts under a tag if you want to follow along.

    I’m almost out of time and I leave Monday for the UK. So it’s another Saturday catch-up day.

    I started the day with a trip to the store. I had to go out anyway, so I grabbed a few more sanding belts and got back to work on things.

    Photo Jul 12, 1 59 17 PM

    Using some new 36 grit sandpaper, I first hit a few rough spots where one of the 3 boards making up a side was taller than others. This went quickly, giving me a relatively smooth surface.

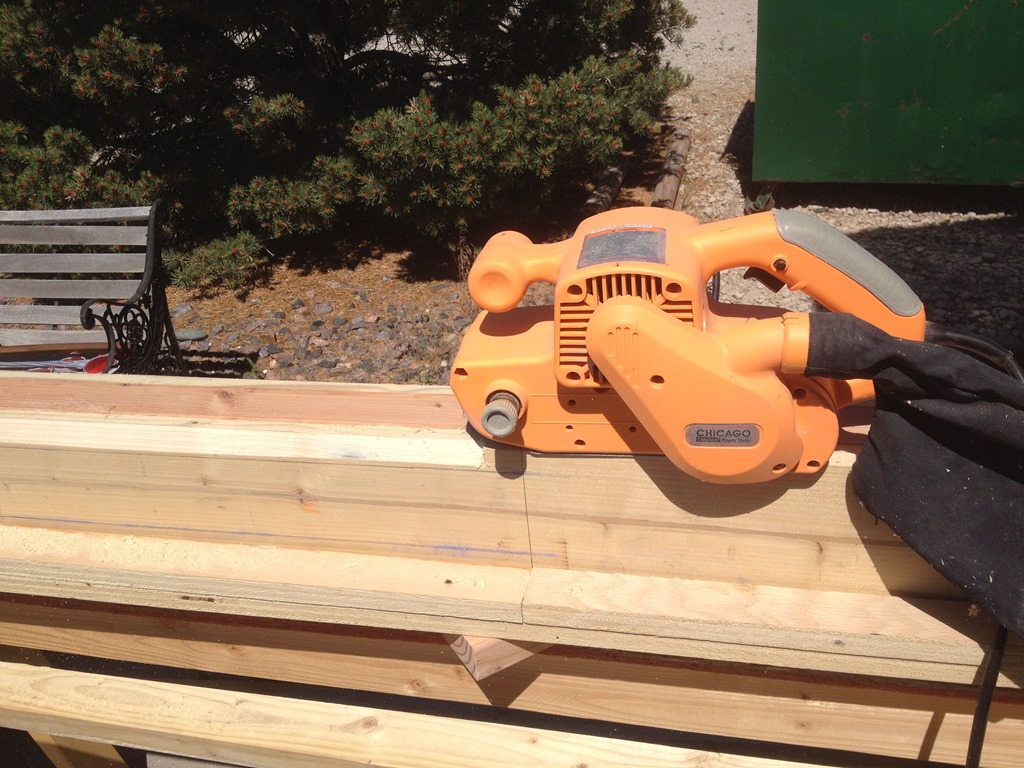
    Then I switched to 80 grit and went up and back, flipping the pole after each passage until all 4 sides were done at that level.
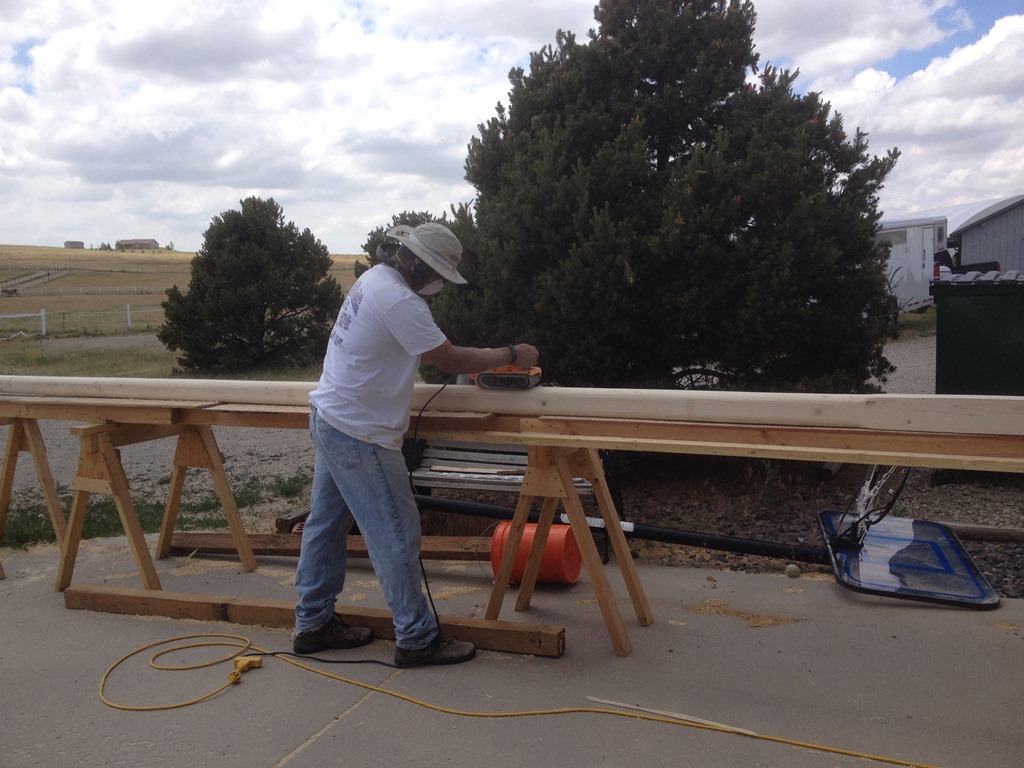
    Photo Jul 12, 2 00 29 PM

    I next went to 120 grit, which is good surface prep. It’s slow going and messy, as I cut lots of wood dust from the tops, along with some epoxy, but as I worked each side, it was becoming more and more of a pole.
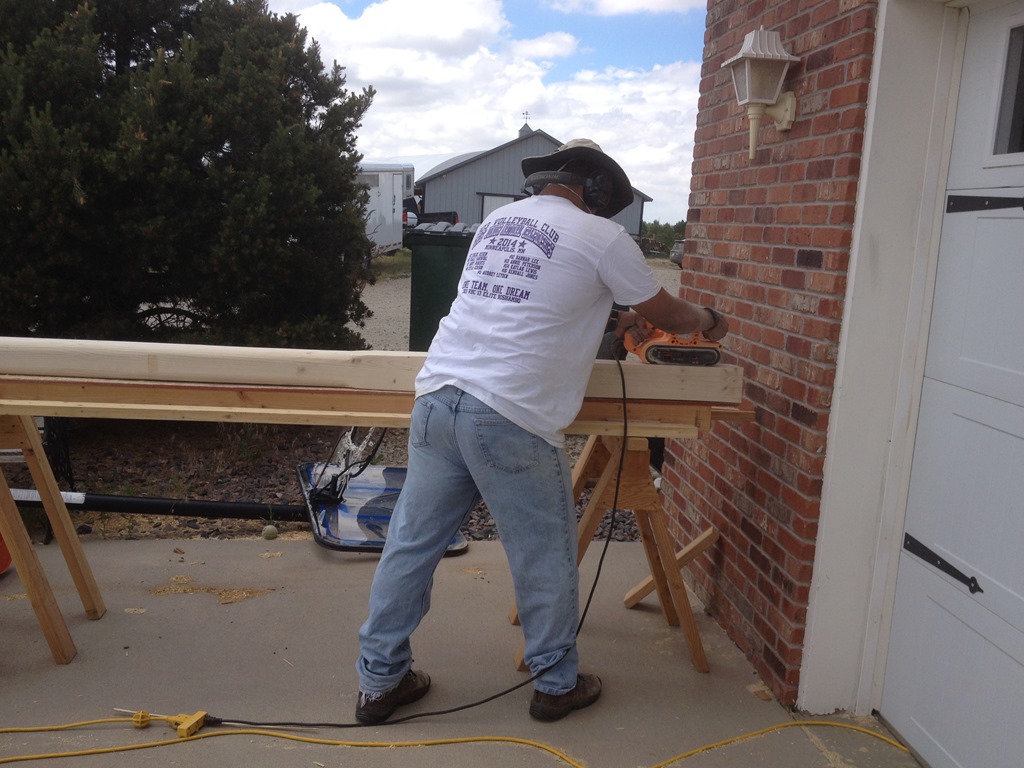
    Photo Jul 12, 2 01 10 PM

    The first two grits also helped me round the top more, breaking and easing the edges on all sides, even where the router didn’t cut deep. At the end, I had a heck of a pole.


    Priming

    I wanted to get moving, so I decided to prime the pole. However I first needed to fill in a few spots, which I did with wood filler.

    Photo Jul 12, 2 24 23 PM

    Then I started with the first coat of primer. I’m actually thinking to do a couple here, and the plan I had was to do the top and one side, then go back and do the other side and the top again.

    Photo Jul 12, 3 18 51 PM

    I completed one coat, the flipped it over and did the same thing on the other side. This was all "four" sides get two coats.
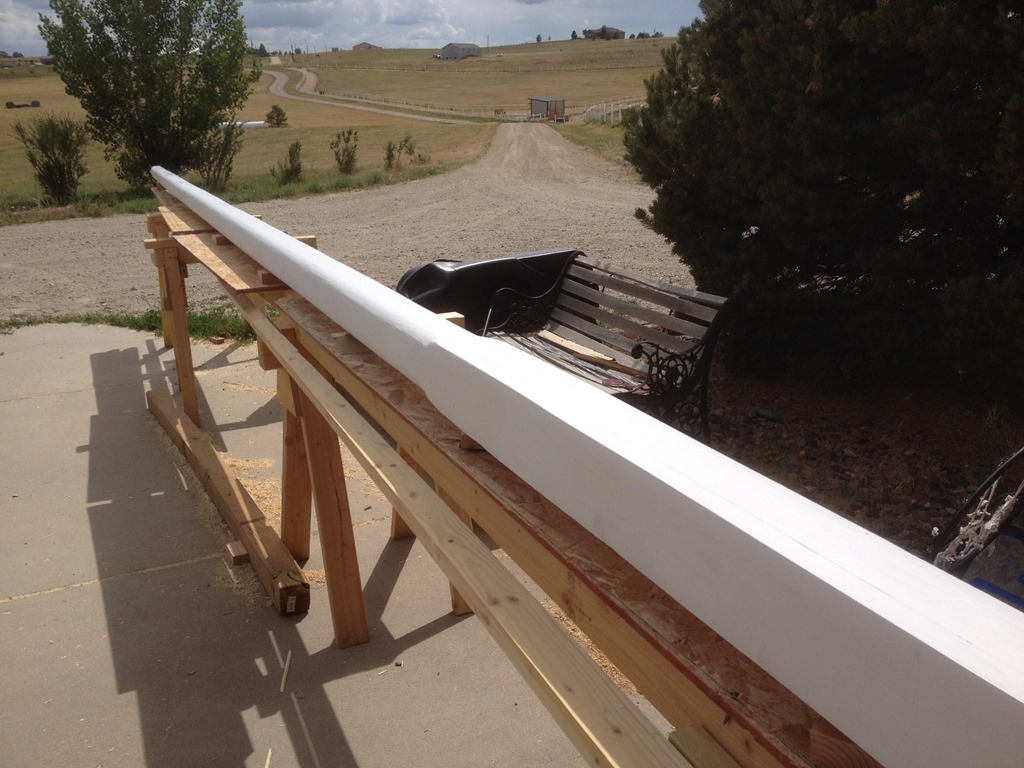
    Photo Jul 12, 3 34 34 PM

    The last coat wasn’t completely dry when weather came in and I had to hurriedly cover things as the rain started to fall.

    I need to order my truck now that I know the top size (2 1/2") and then also get more paint. Hopefully I can paint things tomorrow sometime and then start working on the base.

  • Sabbatical Day 31 – Rounding

    My company, Red Gate software, has given me a 6 week sabbatical. I’m documenting the time with all the posts under a tag

    Finally, it’s starting to look like a flagpole.

    I was hoping my router bit would arrive early Friday, but I actually got lucky and the UPS guy brought it late Thur night as I was heading out with my daughter on an errand. With that in mind, I got up Fri morning and started to work.

    A Setback

    I was prepping things in the morning and realized I had a problem.

    Photo Jul 11, 2 12 37 PM

    My variable speed router has these wings for a collet and they prevent a large bit, such as this one, from being used. I have another router, but it isn’t a plunge, nor variable speed, and with a bit this large, you want it spinning relatively slow.

    I checked a few sites and many people have recommended just cutting these off. I’ve never used them in the 4 years I’ve had this router, so I decided to do just that.

    Photo Jul 11, 2 13 04 PM

    I grabbed my Dremel tool and added a metal cutting bit. I put the plunge base in a vise and went to work. Having cut metal before, I learned to put on long pants, long sleeves, get gloves, and use a hat with eye protection. My full face plastic visor was handy. It was slow, but I cut the wings off.

    Photo Jul 11, 2 26 38 PM

    Now I was ready to work.

    Rounding

    The idea was to take the 45 degree cuts I’d made on each side and apply the roundover bit to create a pole. I set up the router with my bit and started at the top of the pole.

    Photo Jul 11, 2 56 06 PM

    I went to work, cutting down each side and back up the other.

    Photo Jul 11, 3 02 40 PM

    With a couple of trips, things were looking good.

    Photo Jul 11, 3 03 54 PM

    I flipped it and managed to rout all sides. One wasn’t quite a clean cut as I think I cut a little deep with the circular saw, but overall things looked good.

    Photo Jul 11, 3 23 52 PM

    Wow, a pole.

    I started to sand the whole thing with 80 grit on the belt sander, but weather came in with some rain drops, so I bailed.

  • Sabbatical–Day 30–Knocking off edges

    My company, Red Gate software, has given me a 6 week sabbatical. I’m documenting the time with all the posts under a tag if you want to follow along.

    Today is day 30, really giving me just 3 days (plus the weekend) to complete things. Actually only 2.5 days as I fly out Monday to the UK.

    I started today by uncovering things and marking out lines to taper the edges. My router bit should arrive tomorrow, and I’ll continue tapering, but for now I can get started by removing some wood.

    The pole isn’t perfect and has a touch of warp in it, but I guess it’s no worse than a single pole I might have bought.

    Photo Jul 10, 10 11 00 AM

    The plan doesn’t talk about this part, and the video says that a 3/4” line is what was removed, but with the top being 3” wide, I didn’t want to remove 3/4” from each side. I’d like to have 2” when I’m done, so I started with 1/2” at the top, moving to 3/4” at the end of the tapered part. The bottom 49” is straight, so I marked that and then chalked my lines.

    Photo Jul 10, 10 34 48 AM

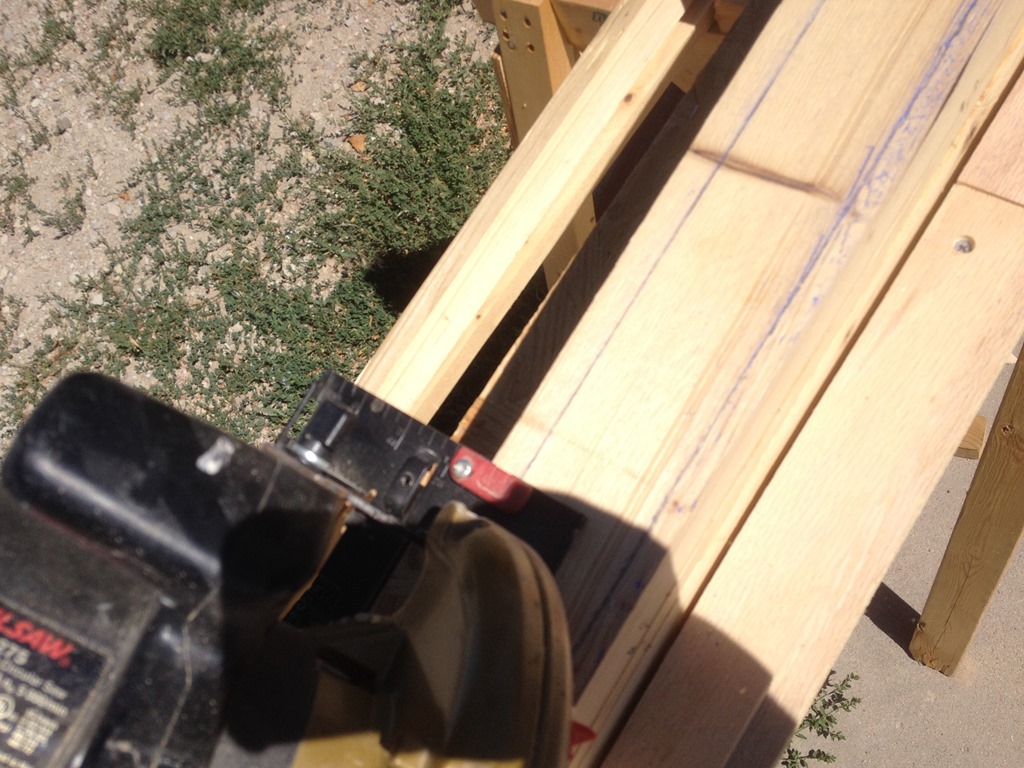
    I made two lines on top, but I wasn’t thinking. The saw only tilts one way, so I used just the left one to cut a 45” angle from that side. I flipped the flagpole 90 degrees and repeated this four times. Here’s after the first cut

    Photo Jul 10, 11 36 12 AM

    At the end, I had a semi-tapered pole.

    Photo Jul 10, 11 36 25 AM

    As I completed each side, I also did some sanding, trying to smooth out the pole. I had mixed luck with my Harbor Freight, cheap belt sander. I’m considering buying another one tomorrow.

    Photo Jul 10, 10 54 42 AM

    With all that done, I inspected my work. I found a few spots that had space in them, which bothered me.

    Photo Jul 10, 11 36 37 AM

    I hemmed and hawed a bit, but decided to use some of the epoxy and fill them. I mixed some up, thinner than before and spread it. I sprinkled some filler on top and then blended it in with a brush to get it to fill gaps.

    Photo Jul 10, 12 01 52 PM

    I checked it after a few hours and it wasn’t perfect, but it looked much better. Tomorrow I’ll sand again and then taper with the router.

    No class tonight with other commitments for my daughter, so I’ll be pressed to work on my project when I get home from the UK.

  • Sabbatical – Day 29 – More Glue

    My company, Red Gate software, has given me a 6 week sabbatical. I’m documenting the time with all the posts under a tag if you want to follow along.

    I got started early today, not wanting the day to get away from me, as the sabbatical has. Not completely, but it looks like I’ll be struggling to finish the flagpole this week and Monday is it.

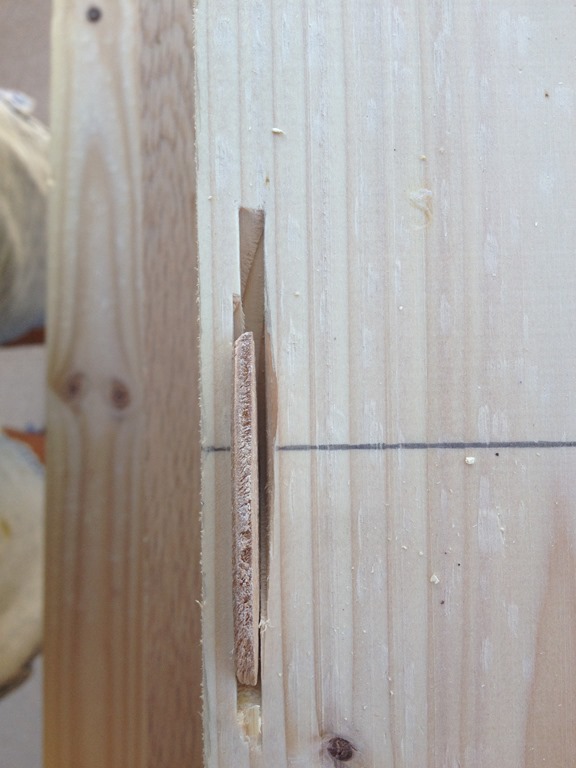
    Today I started by clamping down the top boards and checking the biscuit slots. I found problems.

    Photo Jul 09, 10 24 24 AM (1)

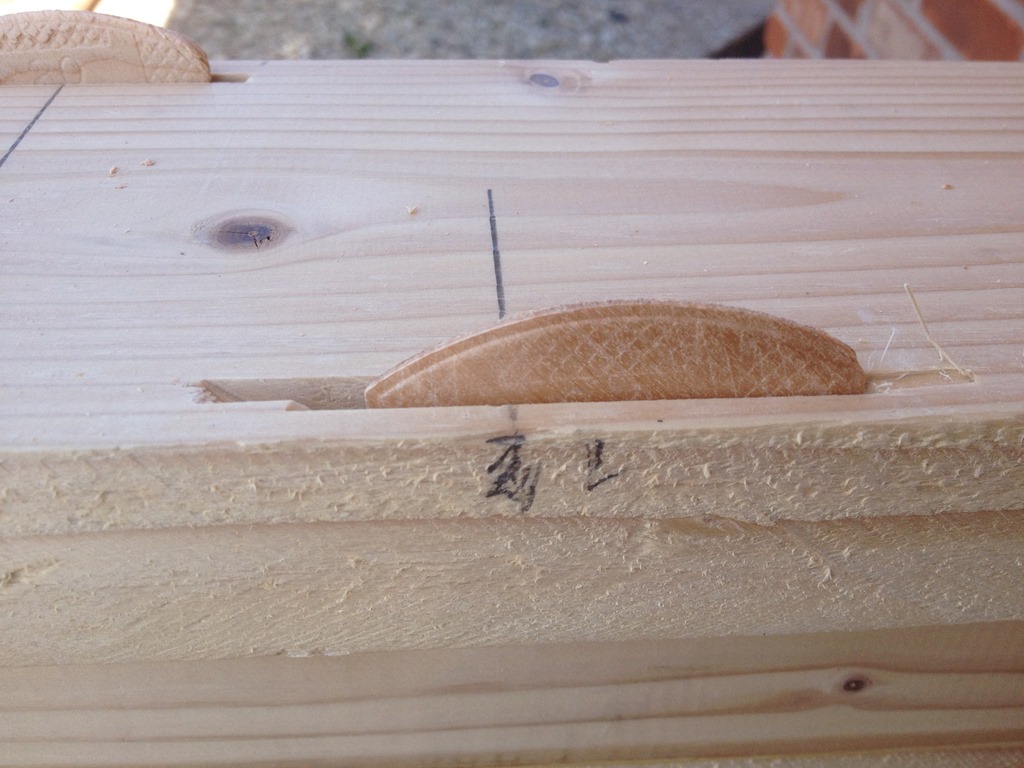
    The mark on the left is where I marked and cut the first slot. When the top didn’t fit, I removed a number of biscuits, lined things up and clamped them down. I then managed to re-mark (the right mark) and re-cut slots.

    With the lower board done, things lined up nicely. I left it clamped and did the upper board, re-cutting many more slots there. As you can see, they aren’t far off, but it’s enough to cause issues.

    Photo Jul 09, 10 24 21 AM (1)

    With that done, I decided to quickly mix more glue and then get the boards moving. Once again, no pictures of the process because I was wearing gloves and didn’t want to get the phone stuck to them. I mixed more glue (7 pumps), which was enough with a  touch left over.

    Photo Jul 09, 12 08 46 PM (1)

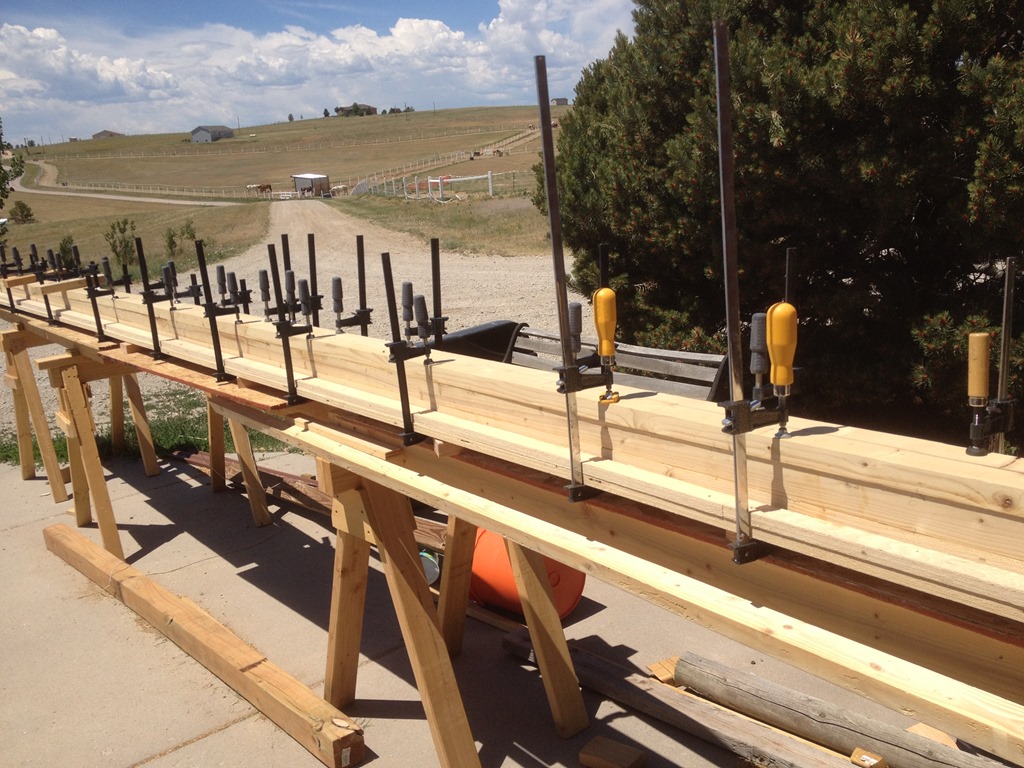
    The clamps went back on and with an afternoon commitment, I was in a hurry. This time I wished I had bought 10 more clamps Tuesday because these boards were more twisted. Not a ton, but more. As I looked later, a few spots were high and I am debating about mixing more glue and filling in spots.

    In any case, I had a completed, albeit rectangular, flagpole.

    Photo Jul 09, 12 08 55 PM (1)