My company, Red Gate software, has given me a 6 week sabbatical. I’m documenting the time with all the posts under a tag if you want to follow along.
This has been a crazy week. It’s the first week of time off, but I’ve found myself as busy, or busier, than I am most weeks. My son coming back from China, extra kid volleyball, doctor appointments, and more.
Yesterday started with a slow wakeup, blogging, and planning a few things. I had a list of supplies from woodworking class, and I spent a bit of time looking at the various options and trying to decide what was worth spending money on. If there’s one thing I’ve learned, it’s that woodworking isn’t cheap, so I had to decide if the $15, $36, or $80 squares were better decisions. I also dug out some chisels that I’d received as a gift. These were Stanley chisels and my plan was to bring them to class and see if they were acceptable.
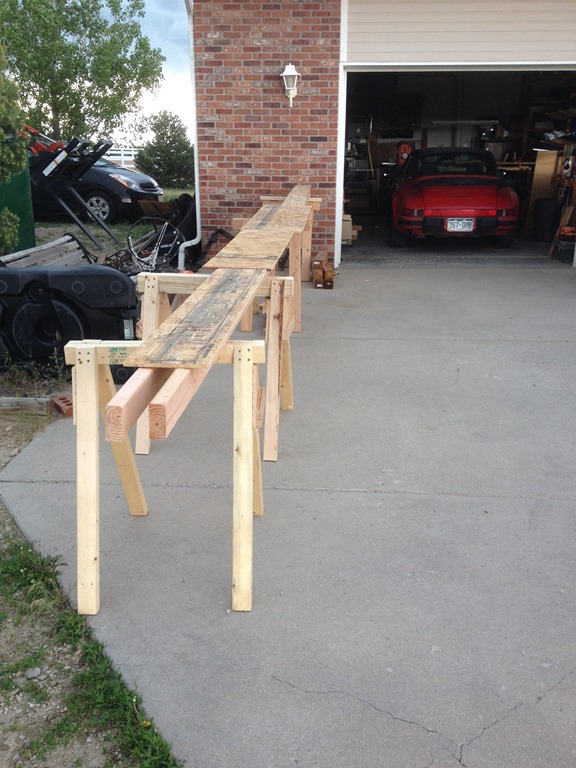
I lost a bit of time at a doctor appointment (knee is doing well), and swung by Lowes on the way home for a few pieces of wood to finish the sawhorses. I also got slightly lost in the miter saw section. The one I inherited from a delinquent tenant year ago is a basic miter saw, no tilting cuts and the flagpole plan calls for a beveled cut. I’m not sure if I can get a vertical cut from this saw, so I spent a few minutes drooling over DeWalt and Hitachi compound miter saws, and debated a Kobalt brand. Ultimately I think any would work, but I deferred the decision.
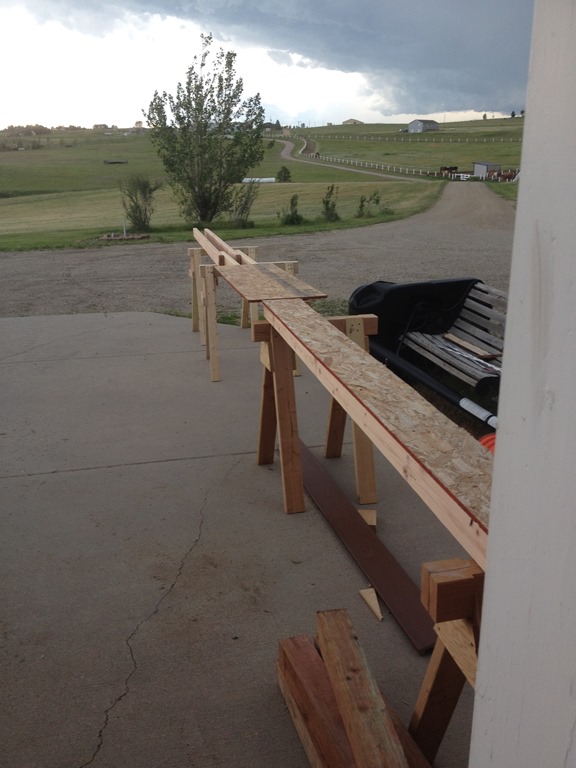
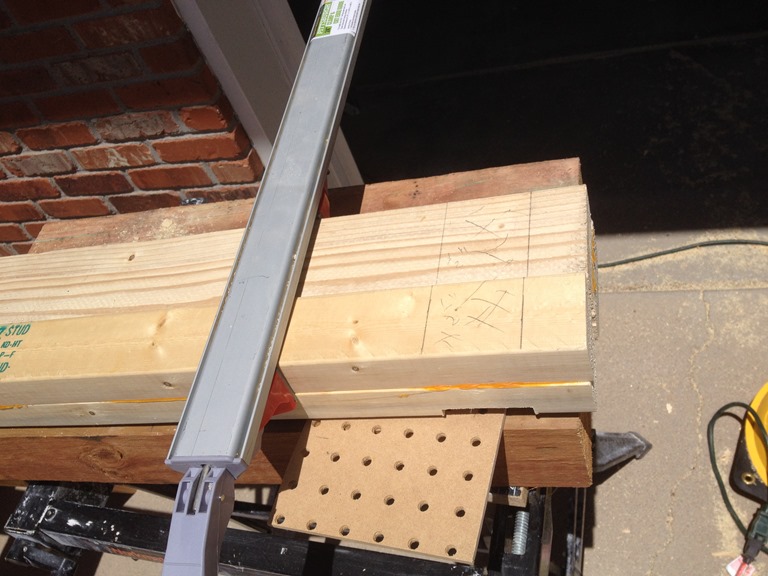
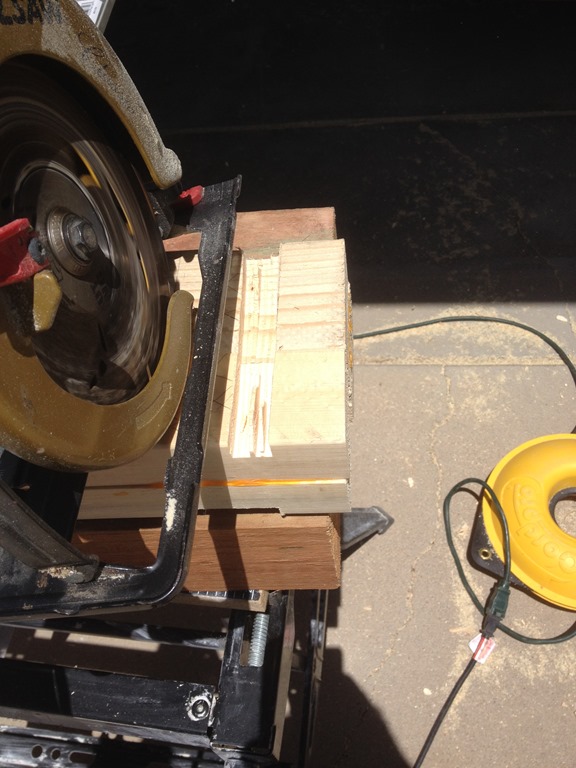
The afternoon was assembling two more sawhorses. I dado’ed out the tops, working my way across with the circular saw. I suppose the table saw would work, but this was quicker, and less messy. Plus I was in the cool afternoon.
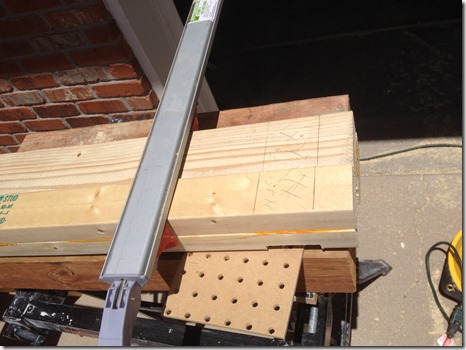
With my guide, I marked and then cut the slots in the wood. This might be overkill, but it adds a lot of strength to the legs. I’m surprised how much more stable these legs are then sawhorses I’ve thrown together in the past.
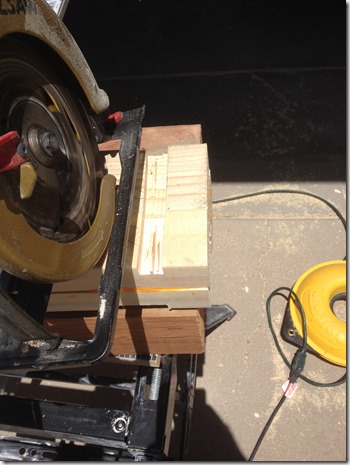
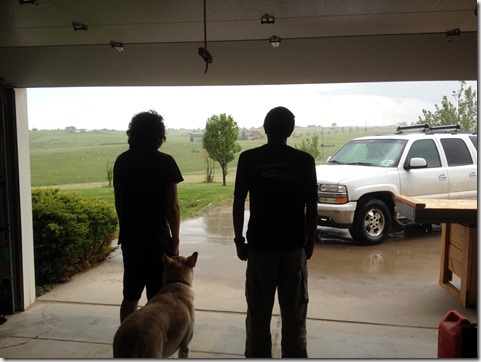
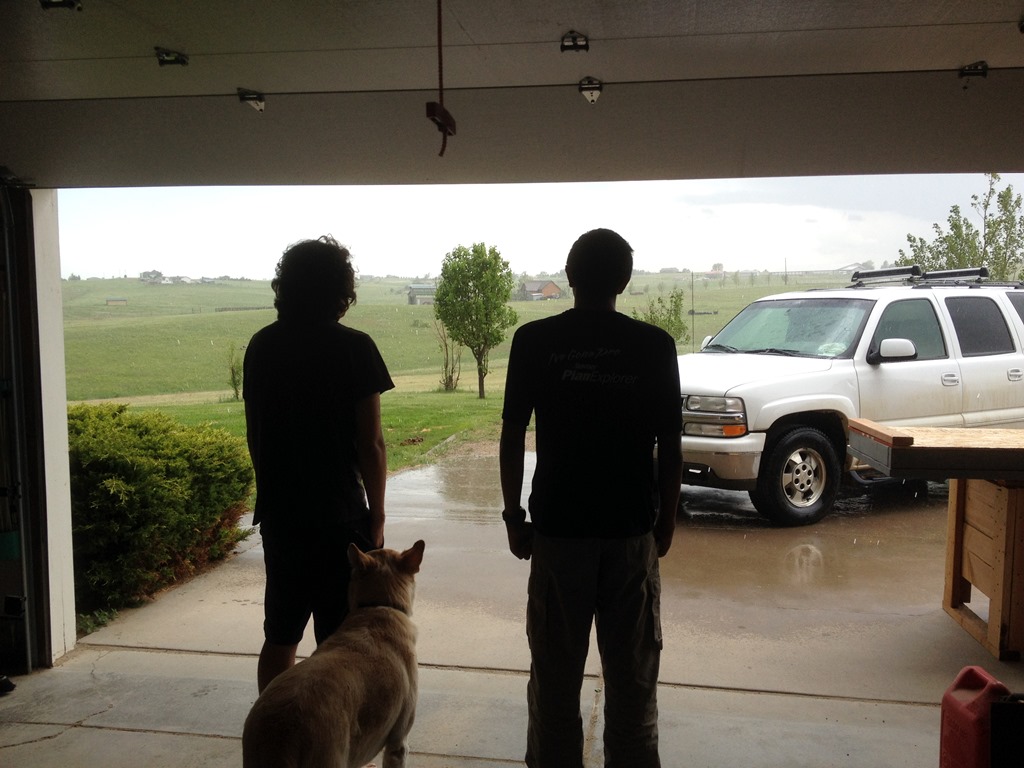
It’s slightly messy, but it went quicker today. I was better at cutting closed to a dado than a series of grooves I needed to use a hammer to clean out. However the weather didn’t cooperate. It started hailing and raining and I got chased inside.
The boys, however, enjoyed the view.
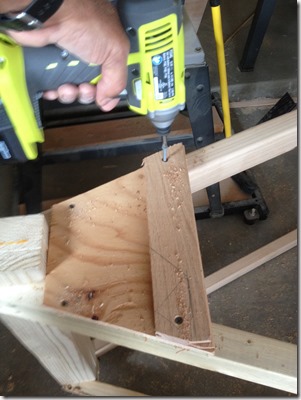
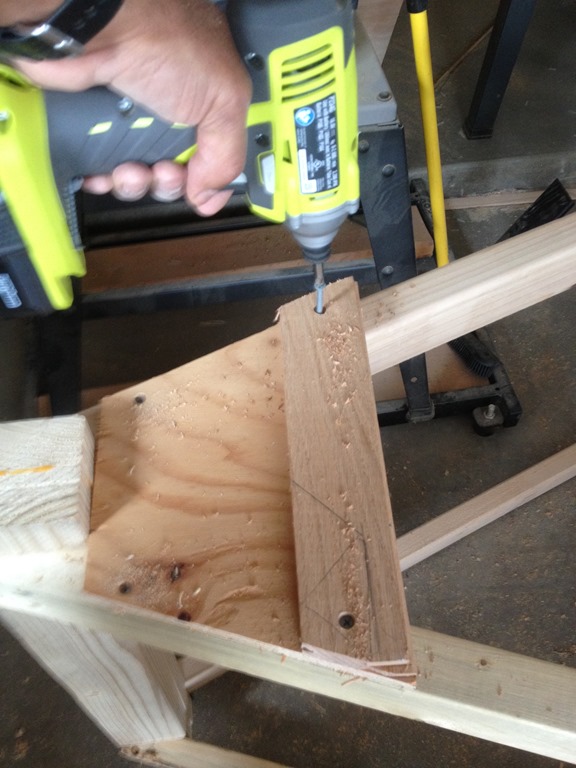
I did manage to get everything inside, and I cut a few braces from scrap plywood to use on the legs. I assembled one and then stopped when I had to close my side of the garage. Still, I marked up the other braces to cut today.
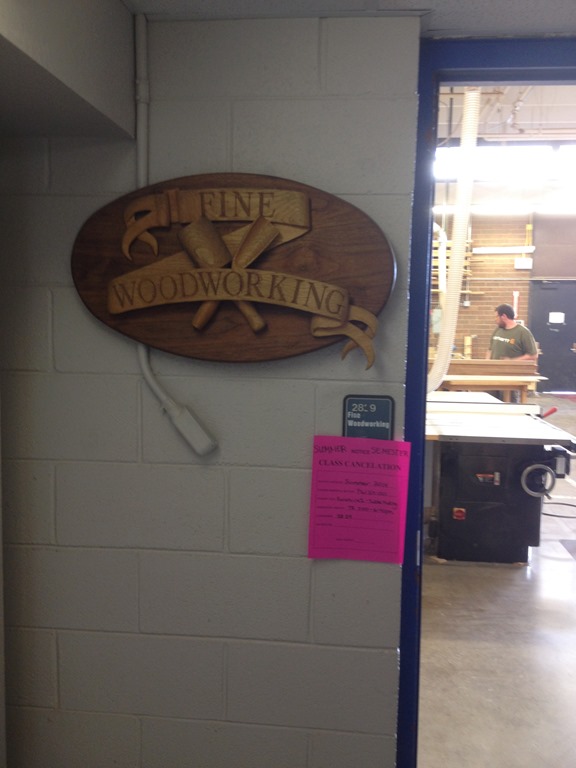
After that, it was off to class. I brought my phone inside and took a few pictures this time. Feels good walking into the classroom. It’s like I’m improving my life with some learning in a way I haven’t done in years.
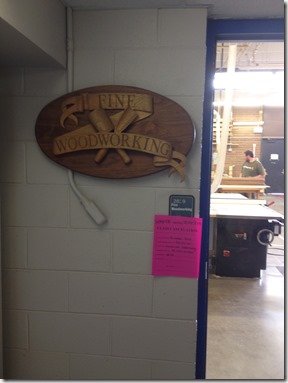
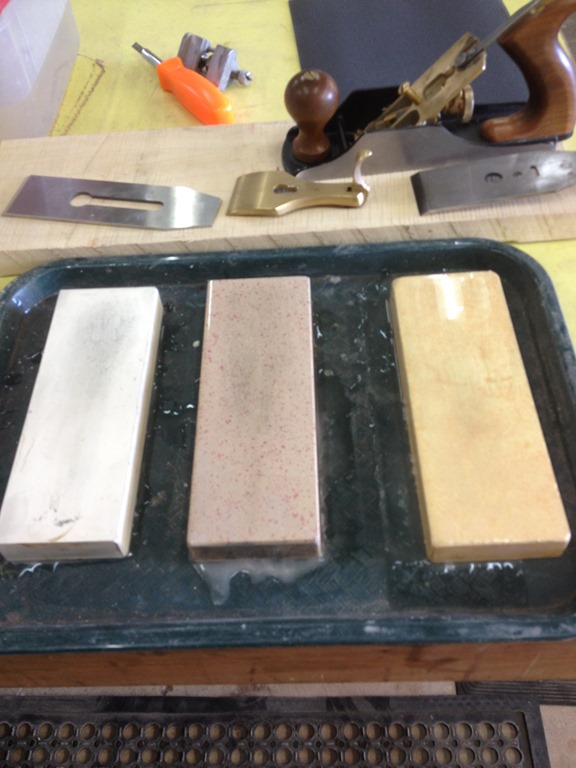
Class was better as we started with actual work right off. I was in the group that started with sharpening. Each of us grabbed a plane and removed the iron for sharpening. I was a little slow, or too polite, and all the waterstones were gone by the time I got over there. So I got the Japanese waterstones to work with. There isn’t much of a difference. These are natural and the others are synthetic, but the same process applies.
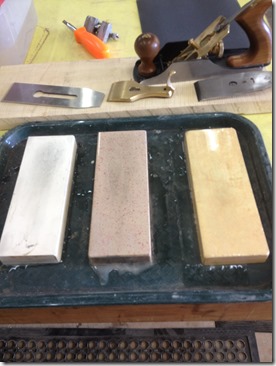
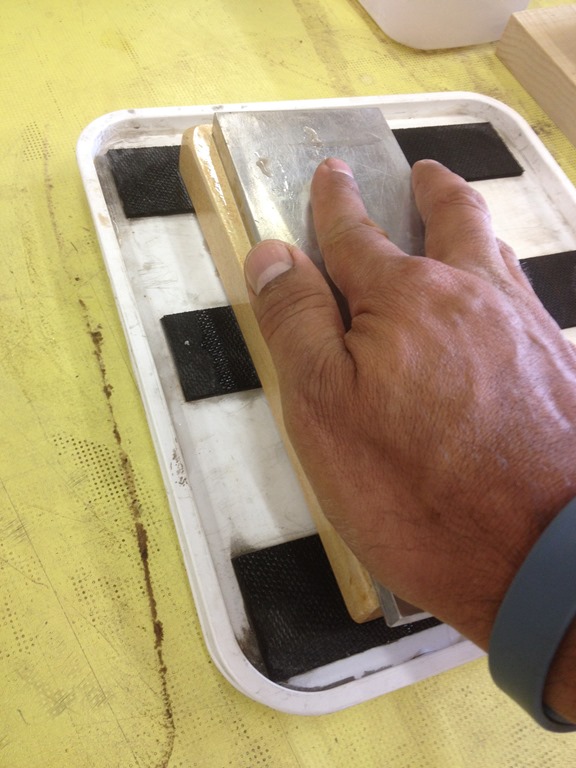
First I had to flatten the stone. I hadn’t worried too much about this in the past with my mechanical sharpener, but I see the importance here. Instead of a marble base, I had a metal/diamond plate to flatten the top.
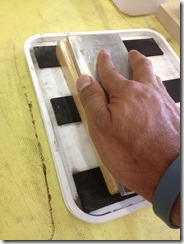
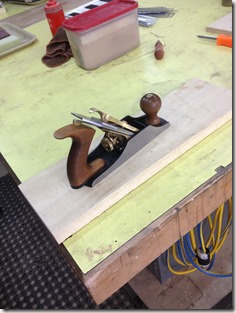
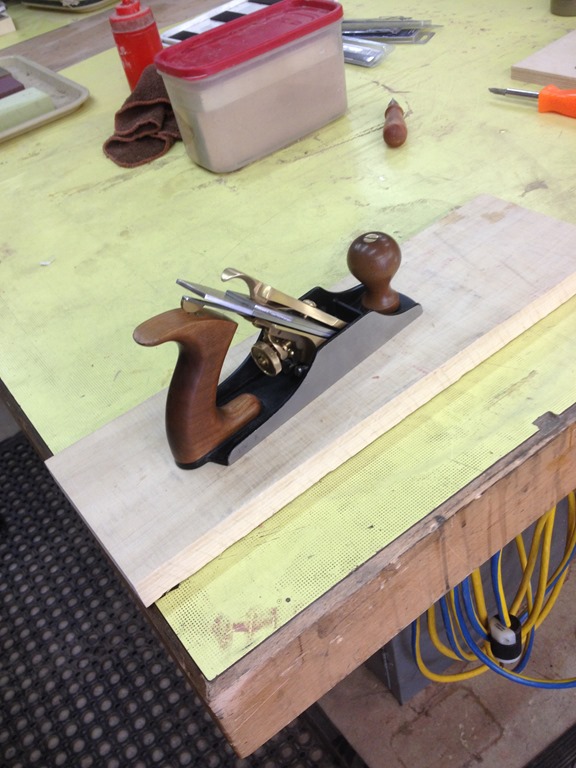
Once that was done, I worked on the honing guide, and went through the grits fairly quickly. I was first to get started, and I think I had a fairly sharp iron to start with and I was done in no time. The TA approved my work and I assembled the plane.
After that, it was the boring part of class. Actually, it was interesting, but sitting on stools listening to the instructor explain how logs can be sawn and the effects on wood isn’t exciting. It’s relevant, and important if you make fine furniture, and something I’ll struggle with choosing wood and considering the grain and cut of boards.
Then it was practical time. We each had a rough board that we locked into a workbench. The instructor showed us how to use winding sticks and a plane to flatten a board. His was fairly twisted, and it was amazing in 15 minutes that it was flat enough that it didn’t rock on a jointer bed. Not perfectly smooth, but flat.
I used my winding sticks to check my board, putting them longways along the long edges and seeing a board that was slightly dipped at one end. Then I turned them across the long edge and crouched down to look at how parallel they were.
The sticks weren’t, and I marked a few places with pencil and then started shaving off sections. I generated a lot of shavings, and was surprised at how much they were like the bundles of straws as they came out of the planer. I should have taken a picture. Maybe I’ll try next week.
I thought I had it pretty good, and when I put it on the jointer bed, I still had a wobble. Back to marking and planing, but it seemed I was fairy quickly moving from side strokes to diagonal ones. At one point it was fairly flat, but I had a few pencil marks I wanted to smooth out. Of course, I added a wobble back, but a little more work and it was flat.
Again, not smooth, and definitely some cut marks in there. but flat enough that I felt a little grab as I put it on the jointer bed. The instructor thought that was pretty good, so I cleaned up and headed home.
The one good thing was that my chisels passed inspection. They need some flattening and truing on the bottom, but they were good enough to use in class, so one less purchase.



 Voice of the DBA