Tag: Azure Devops

  • Upgrading VSTS Redgate Build Tasks

    I’ve been putting it off, but in prepping for SQL Bits demos, I decided this was a good time to just upgrade my original build and release tasks on VSTS from v1 to v2 for the Redgate tasks.

    The first step was to go into the marketplace and find the new tasks. If you browse the marketplace (click the shopping bag icon in the upper right of VSTS) and search for “redgate”, you’ll see the tasks.

    2017-03-31 16_42_13-Search results - redgate _ Visual Studio Team Services , Visual Studio Marketpla

    I picked the two on the right, the build and release tasks v2. The v1 tasks aren’t in the marketplace, but if you’ve added them to your account, they’re still there and they work in your build and release pipelines.

    Once I installed them, they appear in my list of extensions.

    2017-03-31 16_44_56-Manage extensions - Visual Studio Team Services

    Now I can edit my pipelines.

    I’ve got a release pipeline that looks like this. Note that these are the v1 plugins, because there’s no v2 on the name.

    2017-04-01 11_25_17-SimpleTalk Release Pipeline 1 - Visual Studio Team Services 

    My plan is to upgrade these to the new extensions, however, there are lots of settings. If you look to the right for any of the tasks, for example the Create task, there are lots of boxes to fill in.

    2017-04-01 11_26_34-SimpleTalk Release Pipeline 1 - Visual Studio Team Services

    This is expected as if I were doing this manually, I’d expect to have  along set of commands or switches to programs or parameters, that I’d need to pass in to a process. After all, the mechanics of implementing CI or CD aren’t hard, but they do have lots of moving parts.

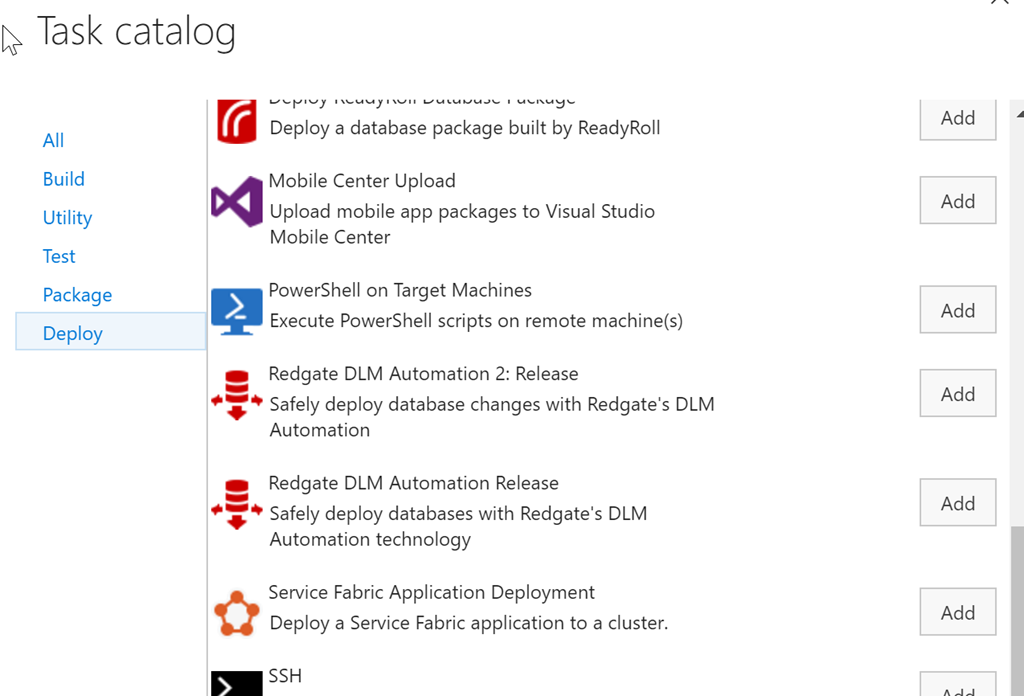
    My first step in making this easier is to add a new task. To do that, I click on the “Add tasks” button above. This will default me to the set of tasks for me particular function, in this case, release (deploy). I scroll down to see the v2 tasks.
    2017-04-01 11_29_23-SimpleTalk Release Pipeline 1 - Visual Studio Team Services

    Here I see the v1 and v2 tasks because they’re both listed in my set of tasks because I’ve installed both into my account. In this case, I’ll pick the “2” version of this task.

    Once this is added, I need to configure the task. In my case, the easiest way to do this was to click on the v1, copy the contents of a text box, and then click on the v2 task and paste the values in there.

    Once I had done this, I have both tasks listed. For this particular pipeline, I had actually added a new Agent Phase, separating my tasks out. There wasn’t any great benefit to this, though I can then just delete one whole phase and all the tasks in it (once things are working).

    2017-04-01 11_33_41-ST Pipeline_Mobile - Visual Studio Team Services

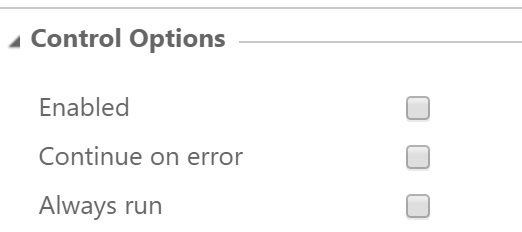
    After copying all the settings from one to the other, and checking that v2 was configured the same, I was ready to test. I first went to each of the v1 tasks and unchecked the “enabled” box. This means those tasks won’t run, but they’re still in the definition.
    2017-04-01 11_33_52-ST Pipeline_Mobile - Visual Studio Team Services

    After that, I created a release and deployed it. Not every deployment worked. My first ones did, but when I tried to hit the production environment (the far right), it failed early on. This list is from newest to oldest, so I had a few things to work out here.

    2017-04-01 11_36_20-ST Pipeline_Mobile - Visual Studio Team Services

    As you can see, this isn’t necessarily a simple, easy process. In my case, the v2 tasks have some additional path items, and I had to sort those, I also had firewall issues to production as I was traveling between the tests, which meant forgetting, and then needing, to reset the firewall rules.

    However, it’s all good now.

    2017-04-01 11_38_21-ST Pipeline_Mobile - Visual Studio Team Services

    I would encourage you to upgrade your DLM v1 tasks to v2. There are a few bug fixes, some of the deprecated cmdlets are removed, and these work slightly better. I know have pathing options to separate my environments on the agent and can easily see the code being run.

    I’ll talk about my test procedure for upgrading in the next post, because I think trying to do too much at once is how I’ve gotten into trouble and created stress for myself in the past. Now I have a better idea. 
  • DB CI: Getting Test Results in VSTS

    One of the things I struggled with a bit was getting test results to appear in VSTS from my builds.

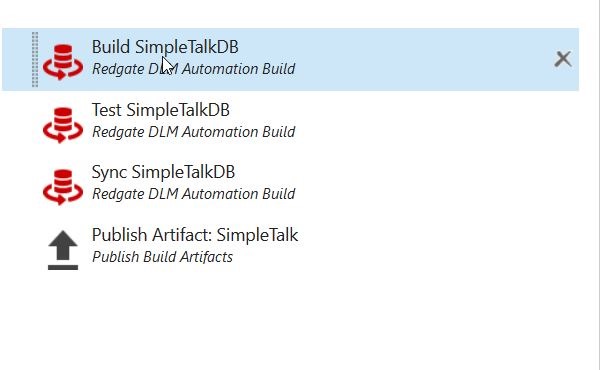
    Here’s my original Build flow:

    2016-10-07 10_50_32-Microsoft Visual Studio Team Services

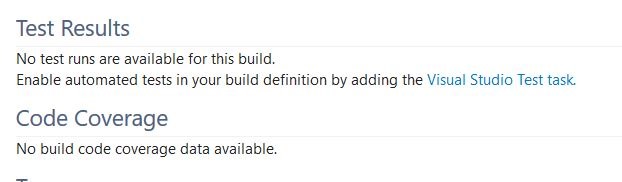
    However, when I’d run a build, I got this in the Build summary:

    2016-10-07 10_51_43-Microsoft Visual Studio Team Services

    That’s not great, and I knew this could work better, so I started to look at where my test results were. Here’s what I did to get the results to appear.

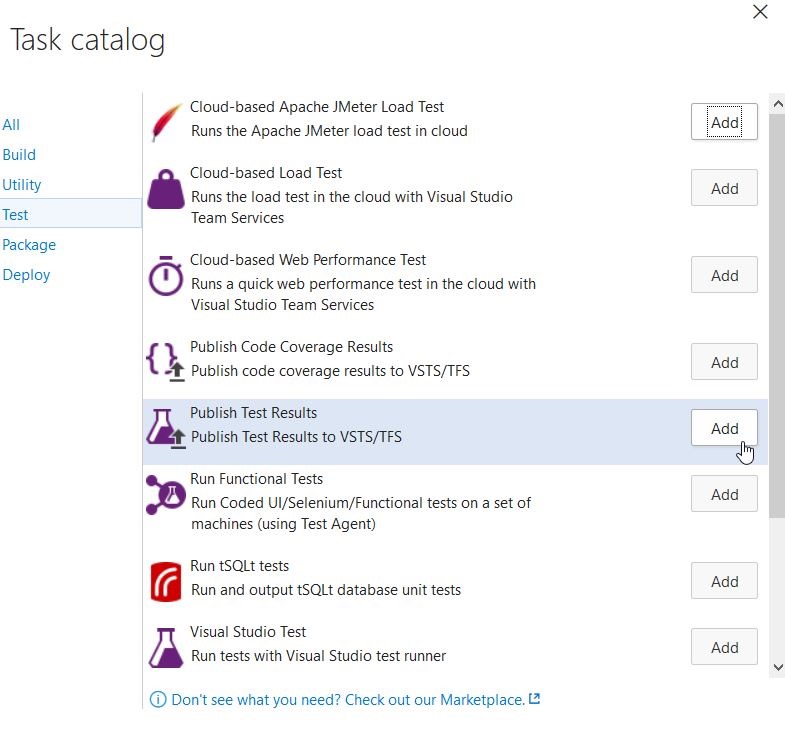
    I added a Publish Test Results task to the end. This is in the “Test” section of the Task catalog.

    2016-10-07 10_39_11-Microsoft Visual Studio Team Services

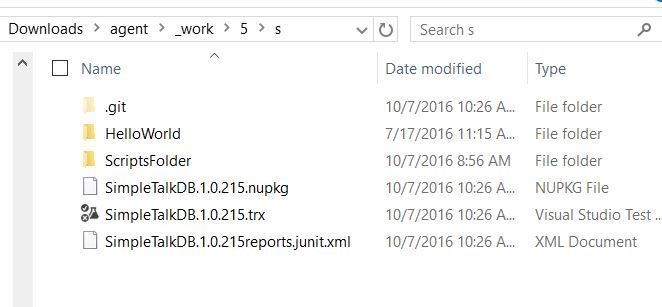
    When I looked in the output of the build tasks, I found these files:

    2016-10-07 10_31_41-s

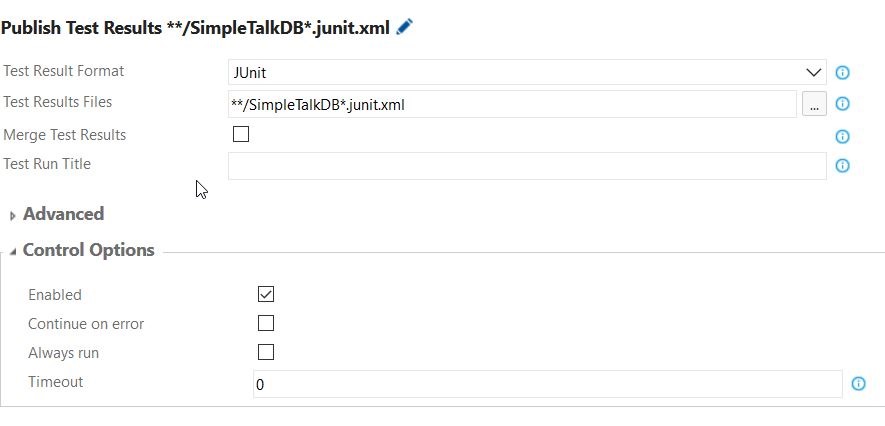
    I kept thinking I needed to get the .trx file to load, but that wasn’t correct. I really wanted the “*reports.junit.xml” file. After a little experimenting, I configured the task like this:

    2016-10-07 10_40_33-Microsoft Visual Studio Team Services

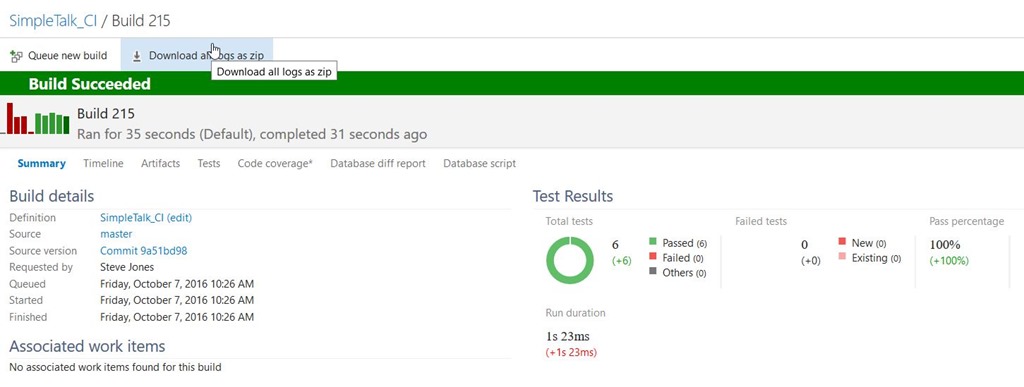
    Once I saved this (with a comment), and ran a new build, I could see test results.

    2016-10-07 10_31_50-Microsoft Visual Studio Team Services

    I could have just read the XML file in my build result folder, but that’s a pain. Typically we don’t care unless there is a failed test, but when there is, it’s nice to see what actually failed.

    Plus, having the results in the console means I can show the other developers and management that tests are being run and are checking code.

  • Adding the ReadyRoll Extension in VSTS

    As I’m doing a little development with ReadyRoll, I’m documenting some of the things I learn about the product.

    A few weeks ago I needed to do a demo with ReadyRoll for Redgate Software. I built a new project, and wanted to perform a build in Visual Studio Team Services (VSTS). However, I realized that I needed to install the extensions for my project to work. This is pretty easy, but worth a short post.

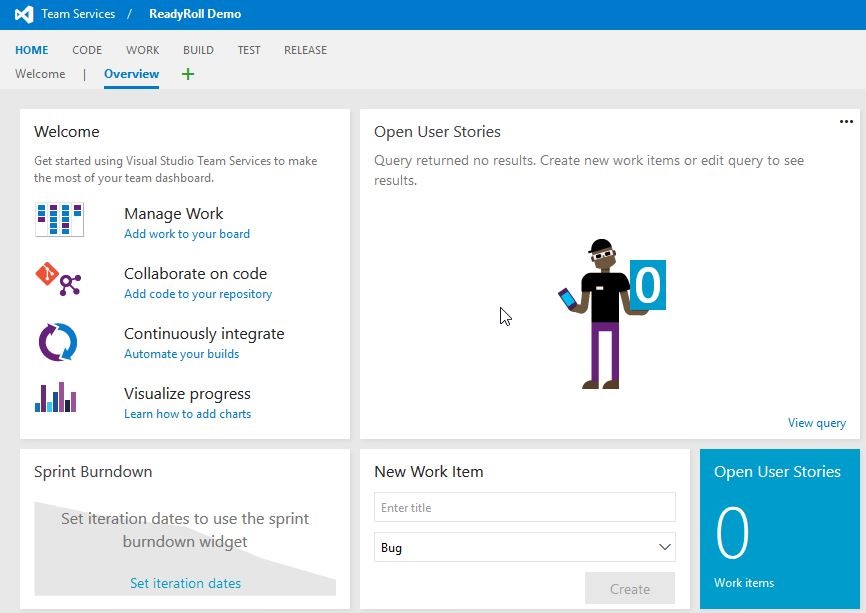
    If I create a new VSTS project, I get a blank, empty project page. 2016-07-15 11_30_27-Highlight

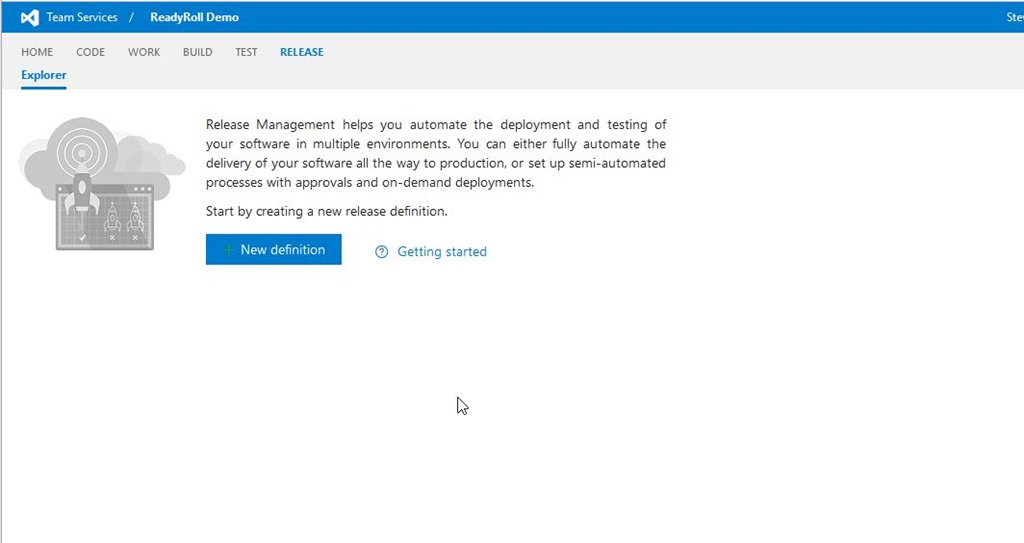
    If I navigate to the Release page, of course, I have nothing there.

    2016-07-15 11_38_51-Highlight

    And when I look to add something to a release definition, I have a fairly small list of tasks from which I can choose. These are in alphabetical order, and there’s no “r” tasks.

    2016-07-15 11_49_57-Highlight

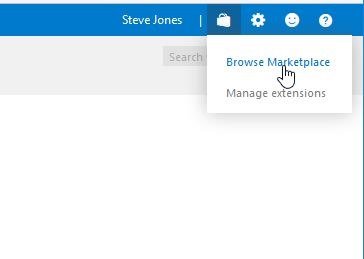
    I do need a build setup, but once that’s done, I still have the same list of three items. I want to add the ReadyRoll extension. To do that, I’ll click the shopping bag in the upper right of the screen. Once I do that, you’ll see I can browser or manage extensions.

    2016-07-15 11_41_15-Highlight

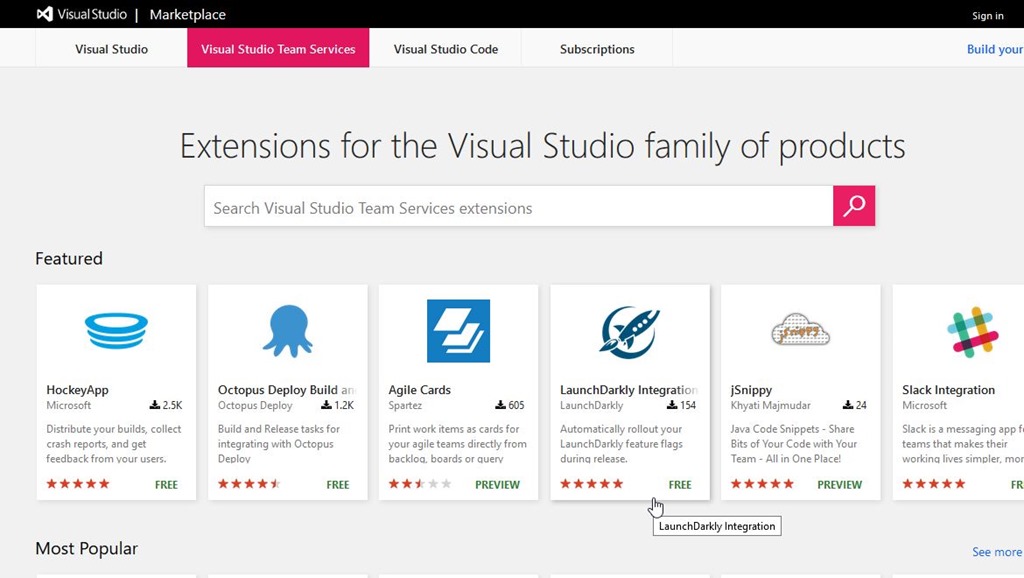
    I’ll choose Browse, which opens the marketplace. There are extensions for many, many developer tasks, and I’d encourage you to look through the list.

    2016-07-15 11_41_45-Highlight

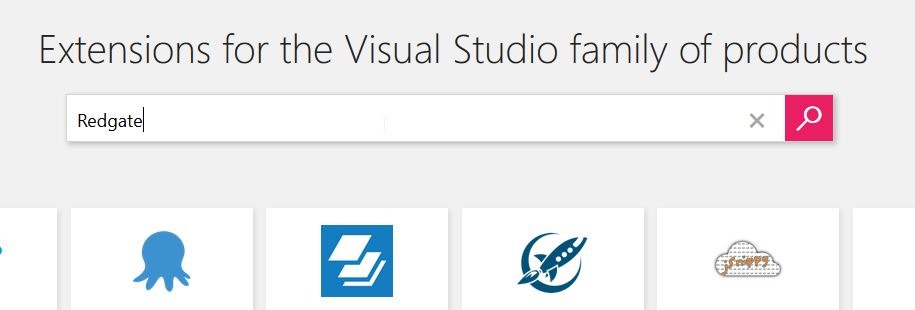
    In my case, I’m looking for ReadyRoll, so I’ll enter Redgate to search.

    2016-07-15 11_41_55-Highlight

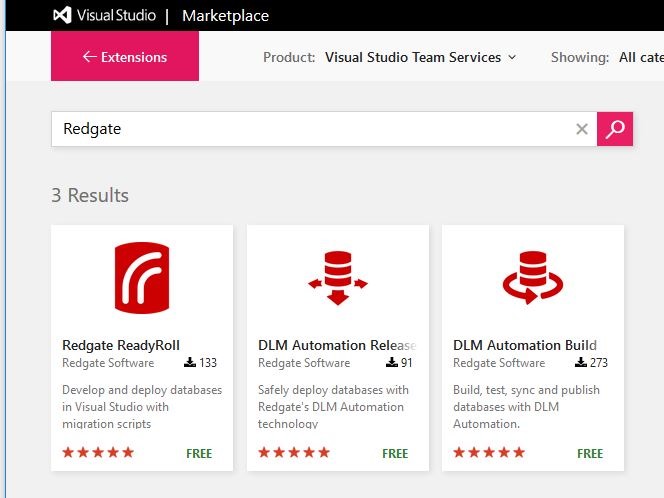
    There are three results, the first of which is ReadyRoll.

    2016-07-15 11_42_02-Highlight

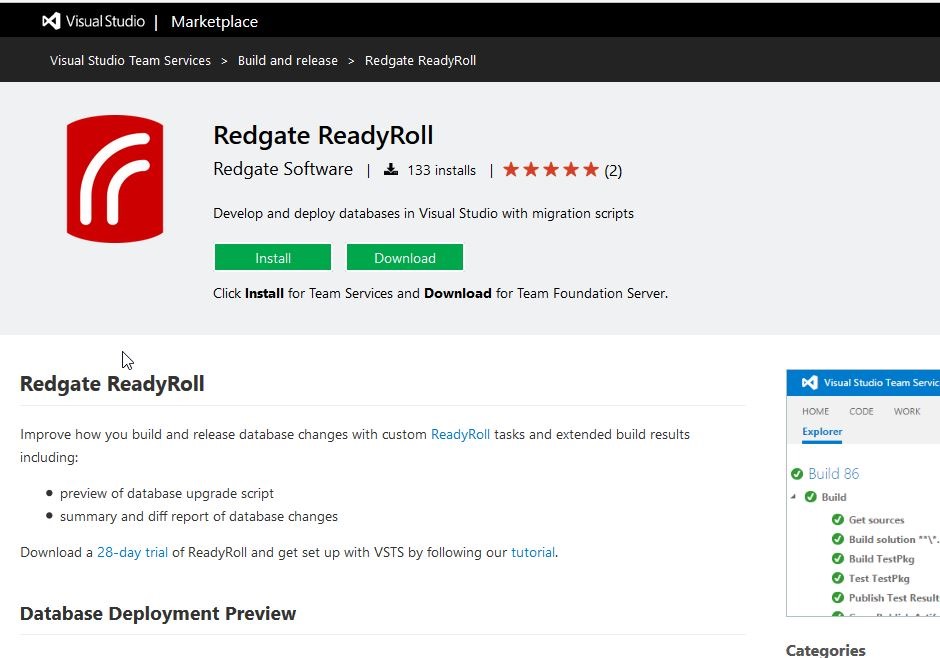
    I can click on the box, and I’ll get more details on the extension.

    2016-07-15 11_42_10-Highlight

    The extension is free, but I do need ReadyRoll on my desktop to build a ReadyRoll project in Visual Studio. As the page notes, you can download a 28 day trial to play with the product if you like.

    If I click “Install”, I’ll get a dialog asking me to confirm the installation to this account. Note there is a drop down if you have access to multiple accounts. The permissions needed are also listed.

    2016-07-15 11_47_30-Highlight

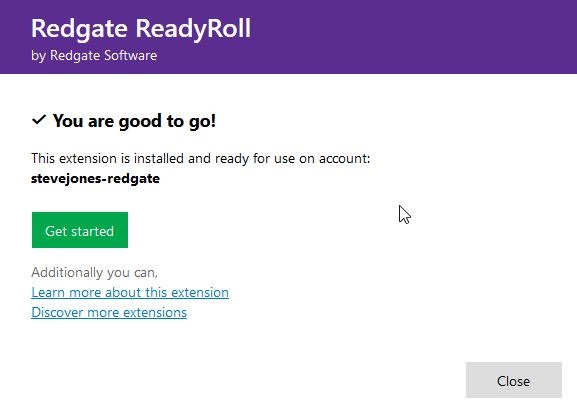
    Once this is installed, I get a confirmation:

    2016-07-15 11_48_14-Highlight

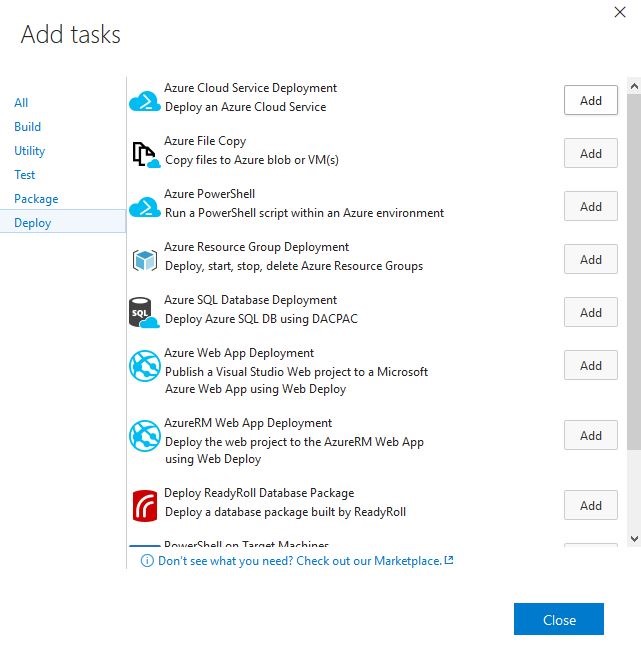
    And now when I go to add a task, I see ReadyRoll listed.

    2016-07-15 11_49_11-Highlight

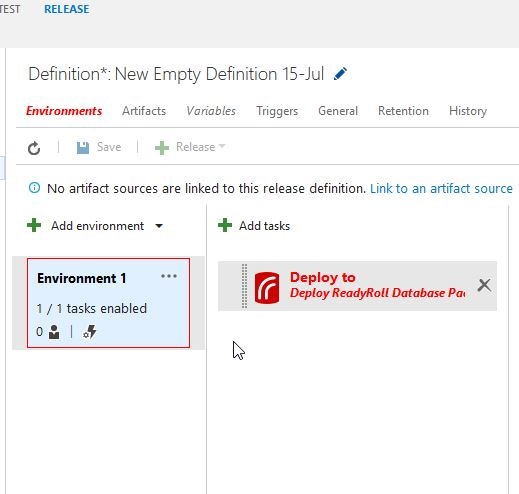
    I click “Add” and then can configure the task.

    2016-07-15 11_49_25-Highlight

    That’s how easy it is to add ReadyRoll, or really any extension to your VSTS account.

  • Building locally from VSTS

    One of the things that you need with a Continuous Integration server is that ability to build your software on some computer system and verify things work. With Visual Studio Team Services, using Visual Studio online, this seems to be a challenge.

    The VSTS team has thought of this and includes the ability to target your builds on a hosted system in the VS cloud, where you don’t need anything installed. However the hosted build agents and servers have a limited amount of software that’s supported. SQL Server isn’t on that list.

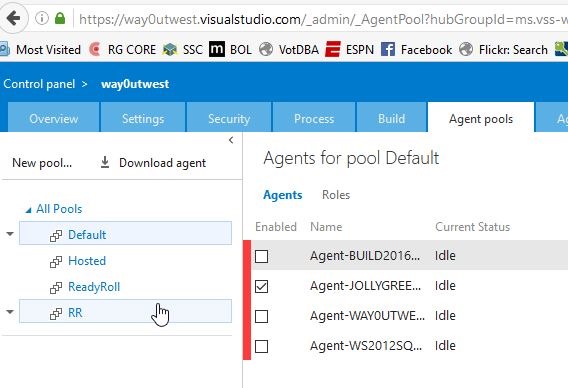
    However, there is another option. If you go to the control panel for your account, and click the Agent Pools tab, you’ll see something like this.

    2016-06-28 18_03_29-Agents for pool Default - Microsoft Team Foundation Server

    Notice the “Download agent” link. That’s what you want. As you can see, I’ve been testing and I have agents actually setup and registered on 4 machines. Here I’m going to add a fifth.

    Once I download the file, I’ll extract it to see a list of files and folders.

    2016-06-28 18_01_52-agent

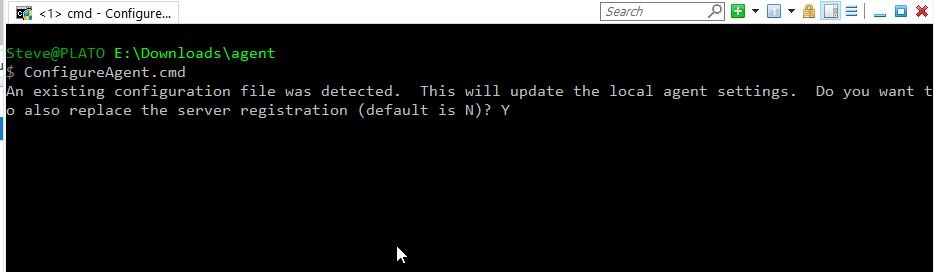
    What I first want to do is configure the agent, so I’ll enter ConfigureAgent from a command prompt. Note, I need to do this as an administrator level command prompt.

    2016-06-28 18_08_35-cmd - ConfigureAgent.cmd (Admin)

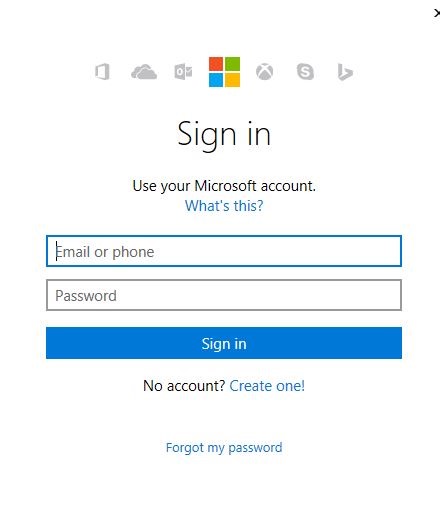
    In my case there are some settings, but I’m overwriting them as I rebuilt my machine. Once I hit Enter, I then get the chance to Authenticate.

    2016-06-29 09_18_49-

    After this, the old Agent appears. However, since I’ve rebuilt and rename this machine, I’ll change it. I answer a few more questions about configuring the agent properties. At the end I’ll also authenticate to the Azure cloud once again.

    2016-06-29 09_21_09-cmd (Admin)

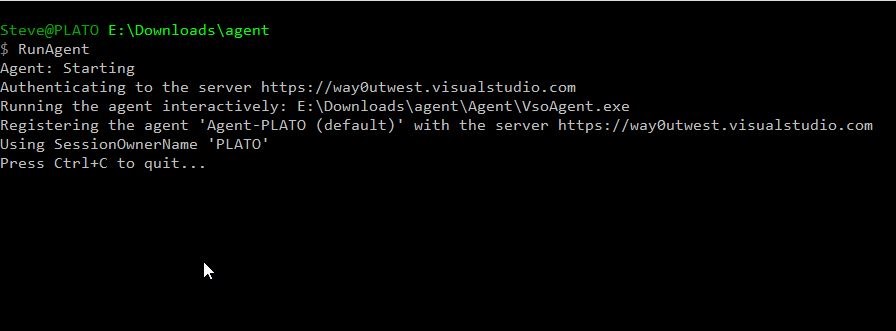
    Now that things are configured, I can run the agent. I could set this as a service, but I prefer to know the agent is (or isn’t running) and see the output. I have set this as a service before, and it works fine.

    All I have left to do is RunAgent.cmd and I have an agent running locally that takes instructions from VSTS.

    2016-06-29 09_26_45-cmd - RunAgent (Admin)

    If I go back to my control panel, I see a new agent.

    2016-06-29 09_32_41-Agents for pool Default - Microsoft Team Foundation Server

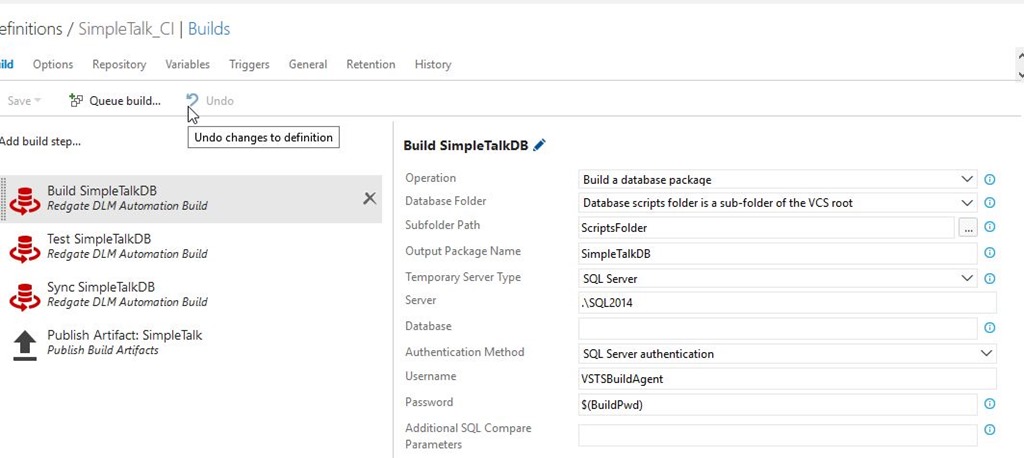
    I can also trigger a build. I happen to have one setup for a project that points to local instances. Here’s the build definition, which uses the VSTS Extension from Redgate to build a database.

    2016-06-29 09_34_05-Microsoft Visual Studio Team Services

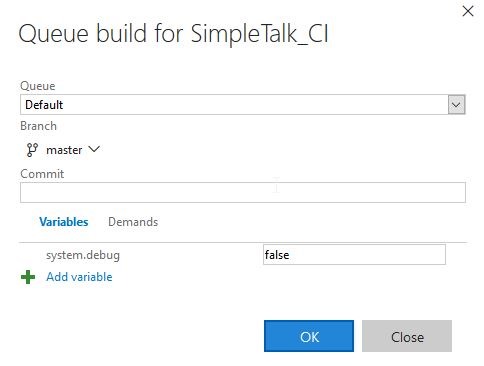
    I can click “Queue Build” and a build will start.

    2016-06-29 09_34_18-Microsoft Visual Studio Team Services

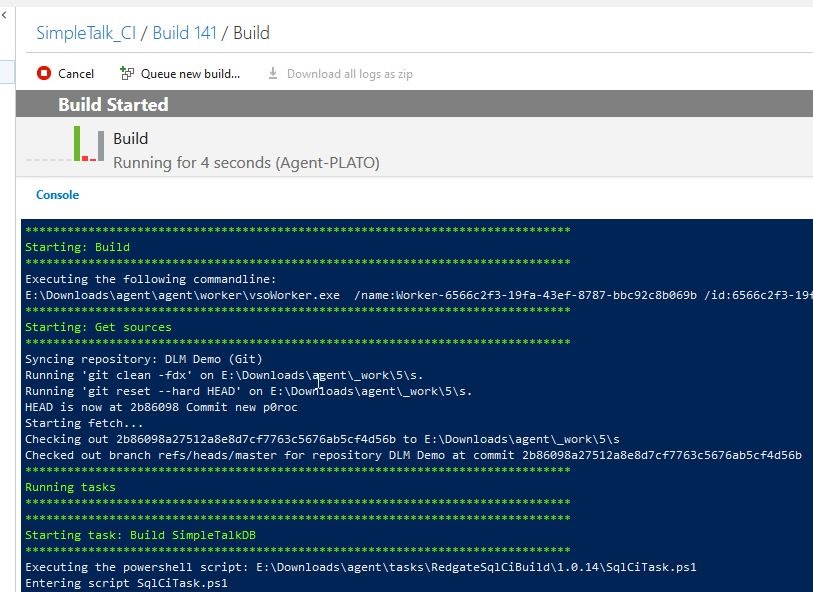
    I see the build running in the console:

    2016-06-29 09_34_31-cmd - RunAgent (Admin)

    And online in VSTS if I want. The Build Agent sends logs back to the VSTS service as it’s working.

    2016-06-29 09_36_19-Microsoft Visual Studio Team Services

    This is a basic way to get a VSTS build working on your local machine with an agent. There is a lot more to configure if you need to, and if you need multiple agents, you can certainly pay for them with a different VSTS plan.