Tag: Data Modeler

  • A Redgate Data Modeler Gotcha with Relationships

    This happened to me recently after being busy with non-data modeling tasks for a few weeks. I went to add a relationship and was confused about the behavior. Read on to see what happened and what I did.

    This is part of a series on Redgate Data Modeler.

    Adding a Relationship

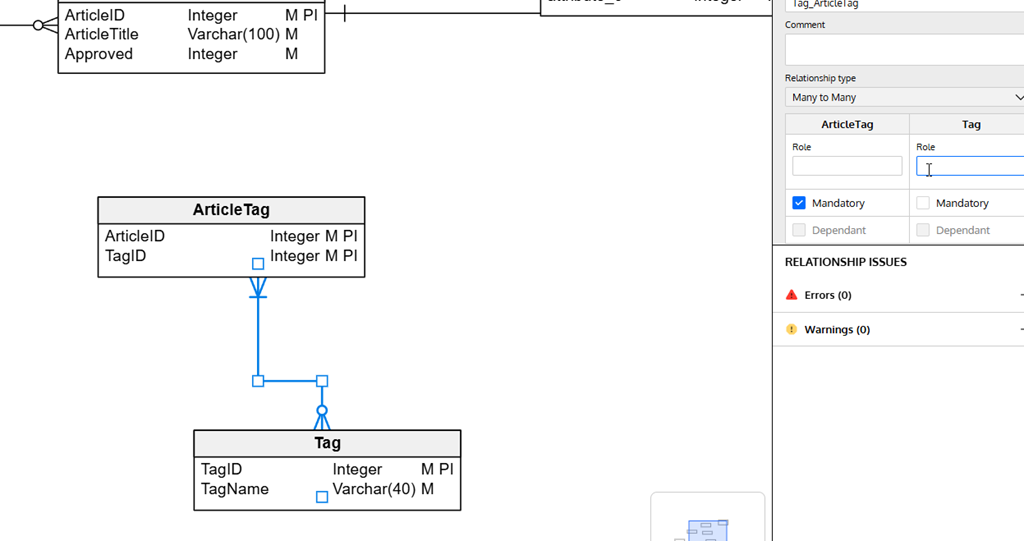
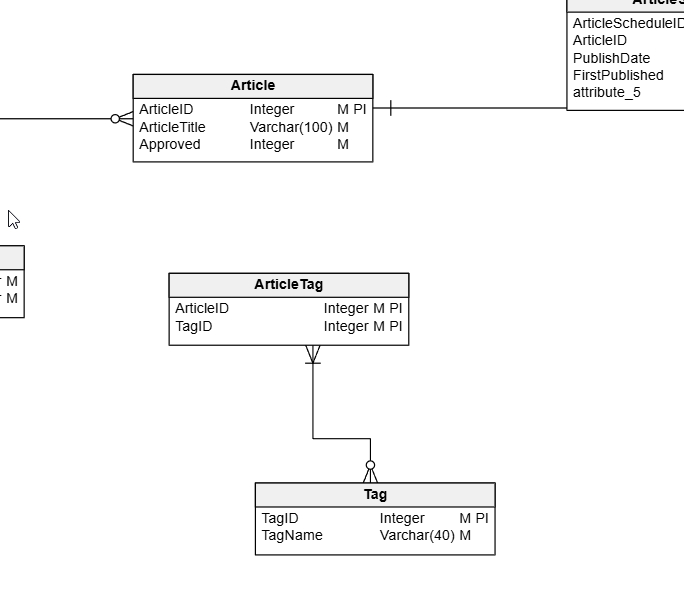
    I opened one of my models and saw something like this. Note that the Article and ArticleTag entities aren’t related.
    2026-04_0220

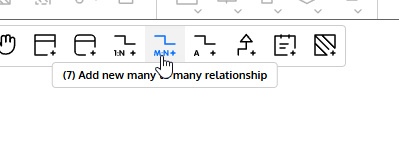
    I decided to add a relationship. This is a Many to Many, so I clicked on that icon in the toolbar.
    2026-04_0221

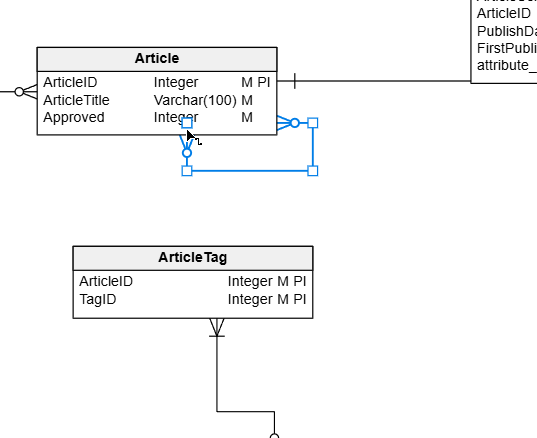
    I then clicked on the Article entity and saw this. It’s a self-referencing relationship.
    2026-04_0222

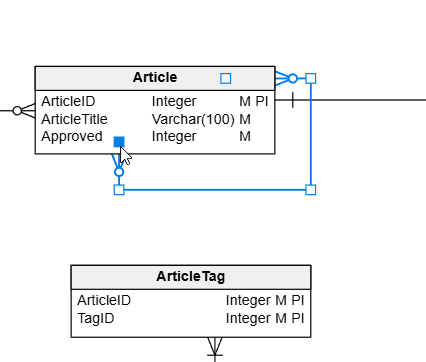
    What??? I assumed I’d click one entity, then the other. I tried grabbing various elements of the relationship to move them, but nothing worked. I could move them around within the relationship, but not to another entity.
    2026-04_0223

    I deleted and added this a few times before I decided to check the docs. On this page for relationships, I found my mistake. There is this quote: “If you’ve already selected the tool, simply drag from one entity to another.”

    Aha.

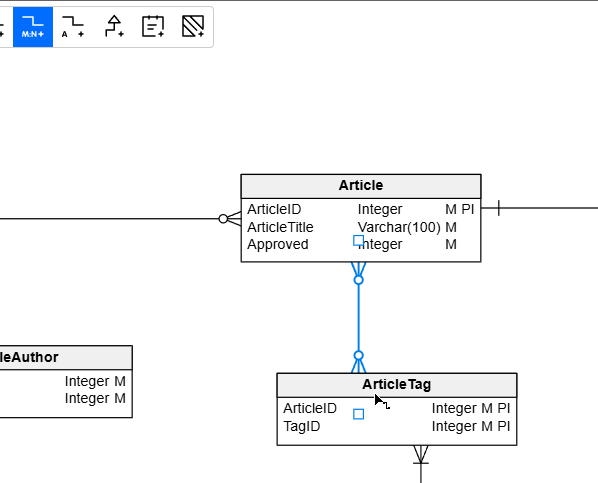
    If I click the toolbar relationship icon, and then drag from one to the other, it works.
    2026-04_0224

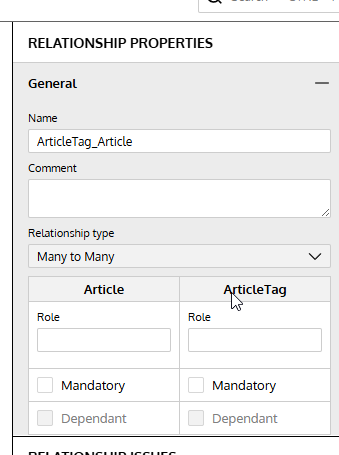
    I suspect this is an artifact of the web controls, but it was weird for me to not be able to alter the relationship targets. Even in the right properties pane, I can’t change this.
    2026-04_0225

    Summary

    A simple thing, but not quite as intuitive as I’d like. However, one needs to learn to use tools, which means reading docs or using Claude/ChatGPT andfingers crossed

    This is a reminder to drag relationships in your Redgate Data Modeler models and don’t get away from modeling for weeks, like I did.

    Give Redgate Data Modeler a try and see if it helps you and your team get a handle on your database.

    Video Walkthrough

    Here’s a short video of my working with Redgate Data Modeler and changing cardinality.
  • Changing the Cardinality of a FK in Redgate Data Modeler

    One of the things a customer asked recently about Redgate Data Modeler was how to adjust a FK constraint between two tables. The tool seemed to makes this  easy, and this post will show you how.

    This is part of a series on Redgate Data Modeler.

    Altering a Constraint

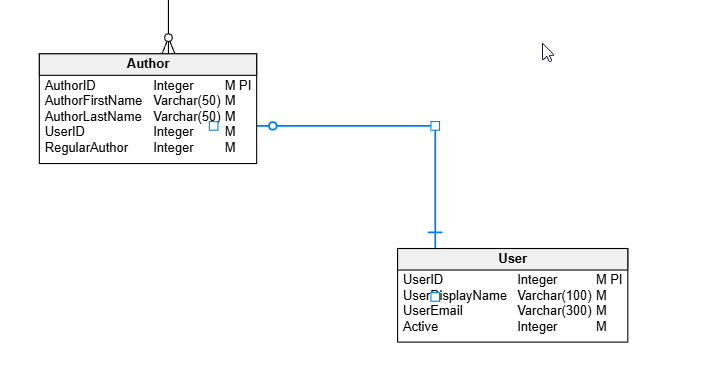
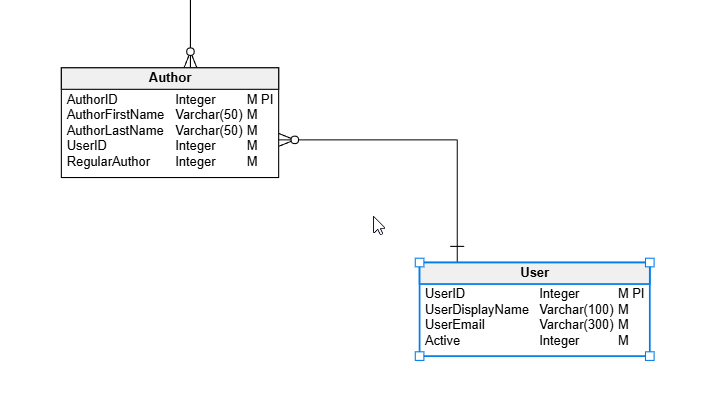
    In a previous post, I looked at adding a FK. Let’s do things a little differently here. Let’s change a constraint to better reflect the relationships between entities. In this case, let’s look at a part of my model. I have the User and Author entities linked as shown below. Note that we have a User with a 1:many relationship to Author.

    2026-04_0213

    This isn’t correct. A User cannot be a part of multiple authors. This is, logically, a 1:1 relationship. Each Author is related to one and only one User. Each User can be an author, but only one Author. So let’s fix this.

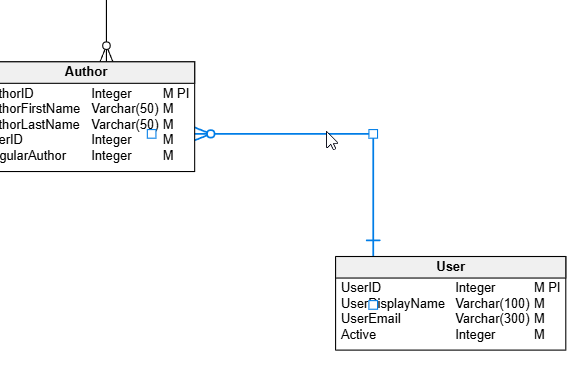
    If I click on the relationship, it turns blue and highlights.

    2026-04_0214

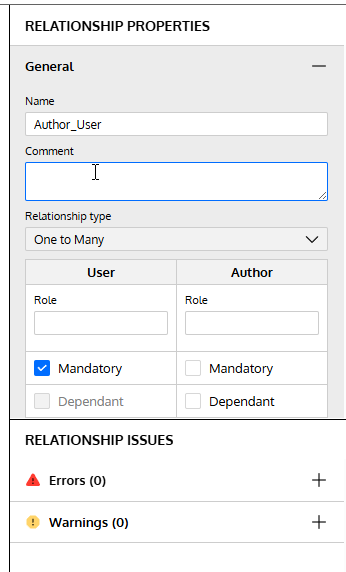
    On the right side, the properties pane displays the relationship properties. Note that there is a relationship type below the comment.

    2026-04_0215

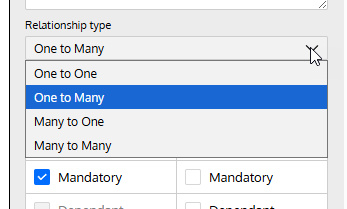
    If I click the  drop down, I can change this to whatever cardinality makes sense.

    2026-04_0216

    I’ll choose one to one. When I do that, I can see the diagram changes.

    2026-04_0217

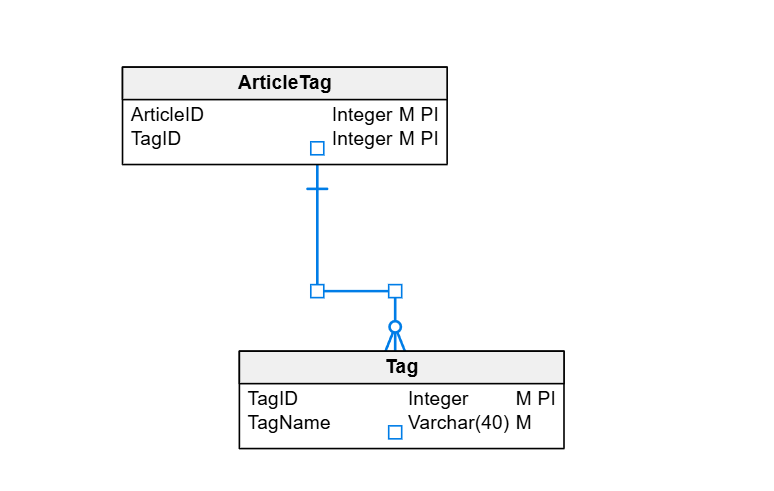
    I can also change this for other entities. Here I have a One to Many, but this is really a many to many relationship. So I need to change it.

    2026-04_0218

    I can adjust the properties in the drop down and you can see both the diagram and the right properties pane match.

    2026-04_0219

    Summary

    We may model our entities incorrectly, either because of incomplete information or simple mistakes. In any case, if you need to change cardinality in a relationship, it’s easy to do in the relationship properties.

    Give Redgate Data Modeler a try and see if it helps you and your team get a handle on your database.

    Video Walkthrough

    Here’s a short video of my working with Redgate Data Modeler and changing cardinality.
  • Setting FK Constraints in Data Modeler

    One of the things a customer asked recently about Redgate Data Modeler was how to set a FK constraint between two tables. The tool seemed to make it easy, but they encountered a few errors. Here is how this worked for me.

    This is part of a series on Redgate Data Modeler.

    Adding a Constraint

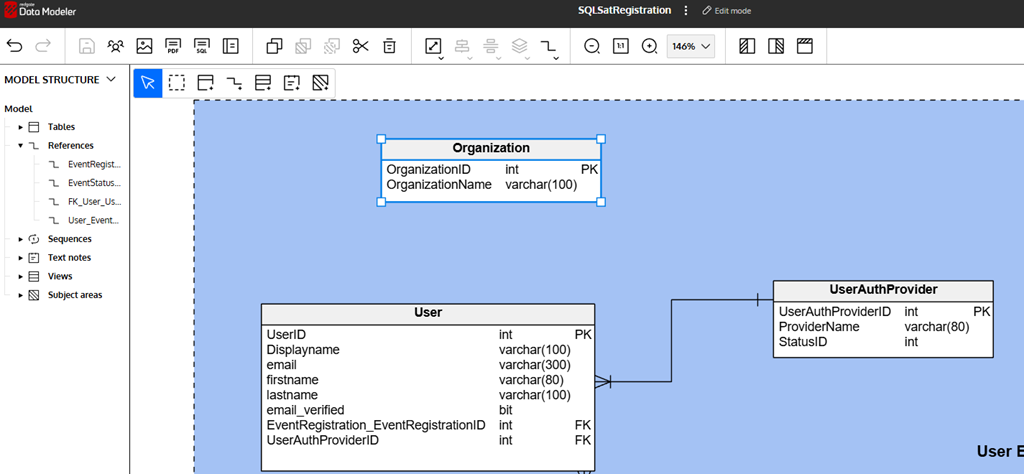
    This might make more sense in the video walkthrough, but here’s the text version. I want to add a constraint to my model that links the Organization and User tables shown below. This is a 1 (Organization) to many (User) FK.

    2026-02_0104

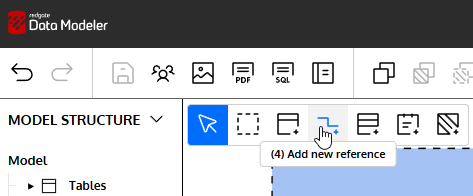
    I don’t have a good FK yet in the child table (User), but that’s OK. I’ll click the Add new reference icon in the upper left of the design surface.

    2026-02_0105

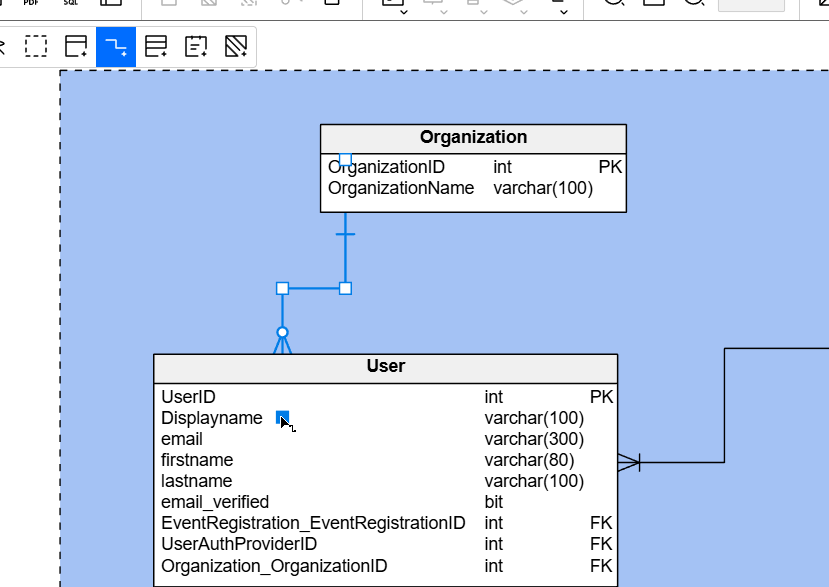
    Once I do this, I can click on the Organization table and drag to the User table. That will give me this view. Note that this defaults as a 1:n relationship, so you want to start with the parent. There also is a new “Organization_OrganizationID” column added as a FK.

    2026-02_0106

    That’s not a bad pattern, especially with modern Intellisense, where I don’t need to type everything out. This lets me know where the join should be. However, for many of us, we prefer having something simpler, like OrganizationID as the column in the child.

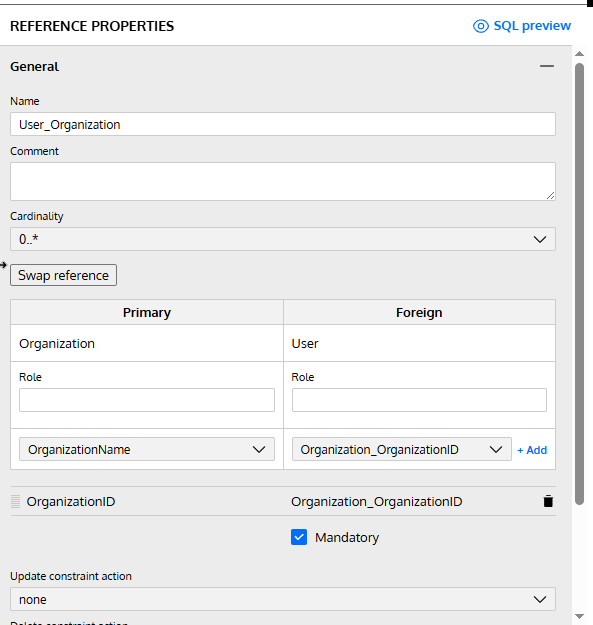
    If I want to change this, I can look to the right for the Reference Properties. Note the default name below is User_Organization, which I definitely don’t like.

    2026-02_0107

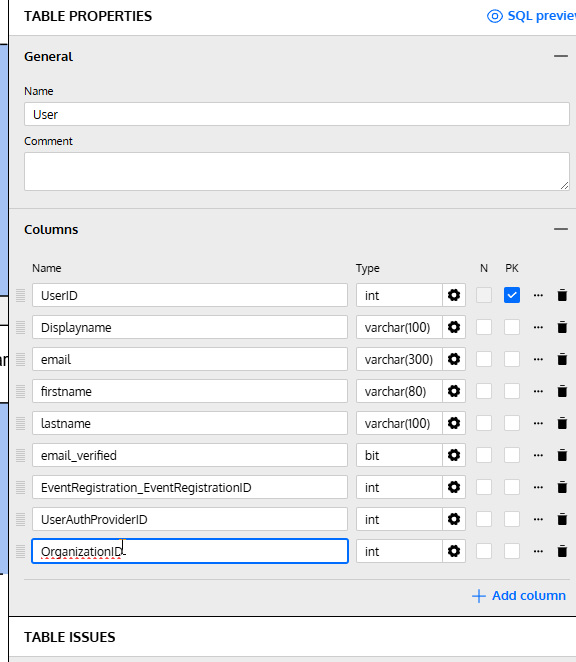
    I can adjust the name to meet my standard, which I’ll do. I can also adjust the FK column, but I’ll need to go to the child table, User, to do this. If I rename that column there, I see this.

    2026-02_0108

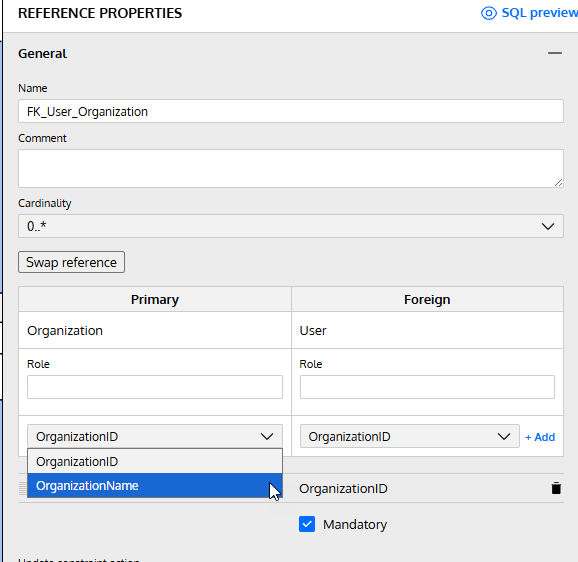
    When I click back on the reference, I see this. My change for the FK table is there, but the Primary has defaulted to OrganizationName. Fortunately, there’s a drop down where I can change this.

    2026-02_0109

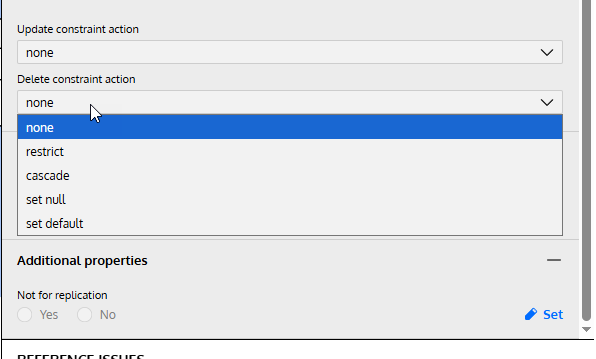
    Below this, I have other properties. There’s a color (if you care), but also I can set cascading actions. See the drop down below and the options. These can be set for update or delete. There is also the additional property to set this as not for replication.

    2026-02_0112

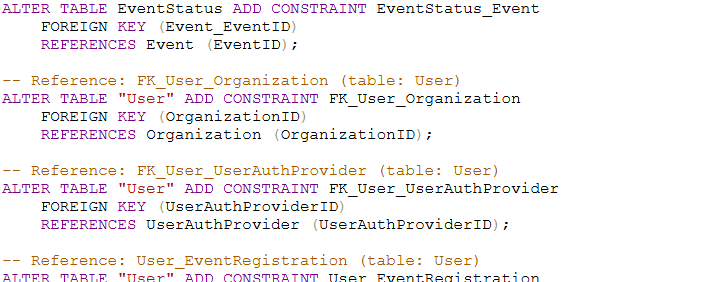
    Once I do this, the changes are saved. If I generate the SQL script, I can see my FK exists inside the script. You can see the relevant portion below.

    2026-02_0113

    Summary

    Setting accurate FK constraints is an important part of data modeling. I certainly see the reasons why some people don’t like FKs, but if you set them, you want them to be accurate. Redgate Data Modeler supports this, but it’s not as straightforward as I like. Hopefully that changes over time.

    I don’t know that the names matter that much, but in case you are concerned about naming, you can customize this.

    Give Redgate Data Modeler a try and see if it helps you and your team get a handle on your database.

  • Deploying an Updated Model with SQL Compare 16

    In a previous post, I deployed a model to a database using SQL Compare 16. This used a new feature in that connects to Redgate Data Modeler. In this post, I want to update my model, and again use SQL Compare to just get the changes deployed.

    There’s a video of this post at the bottom if you’d rather watch me work.

    This is part of a series on Redgate Data Modeler. This is also part of a series of posts on SQL Compare.

    Updating the Model

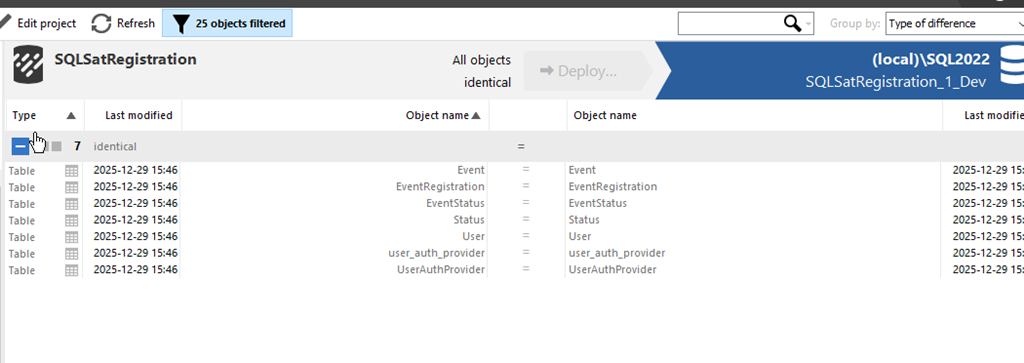
    As with the last article, everything was in sync with SQL Compare. You can see this below.

    2025-12_0099

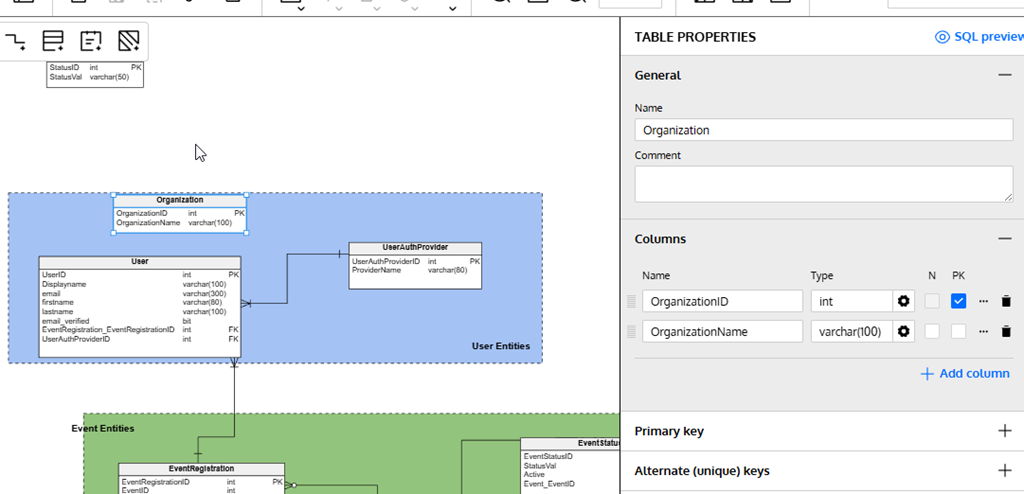
    Let’s alter a few things. First, I’ll add a new table. I wrote about this in another post, but I’ll click new table, click in the diagram and then fill in details. In this case, I’m creating the Organization table.

    2025-12_0101

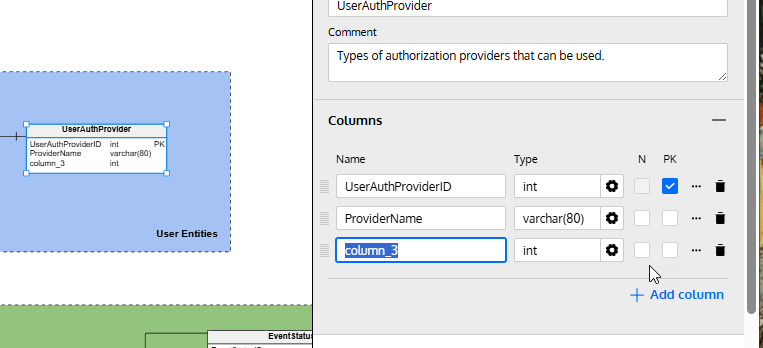
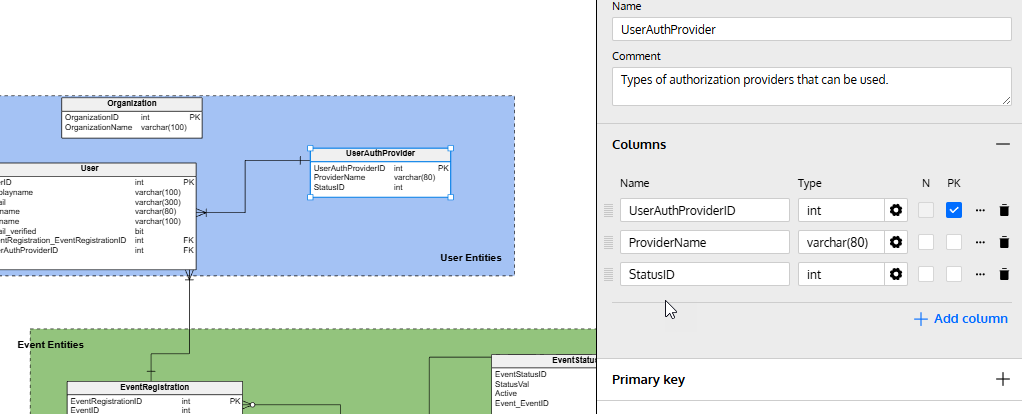
    I’ll also alter an existing table. I’ll click the “Add column” in the lower right of the properties blade after selecting the table in the diagram.

    2025-12_0102

    I fill in some details here.

    2025-12_0103

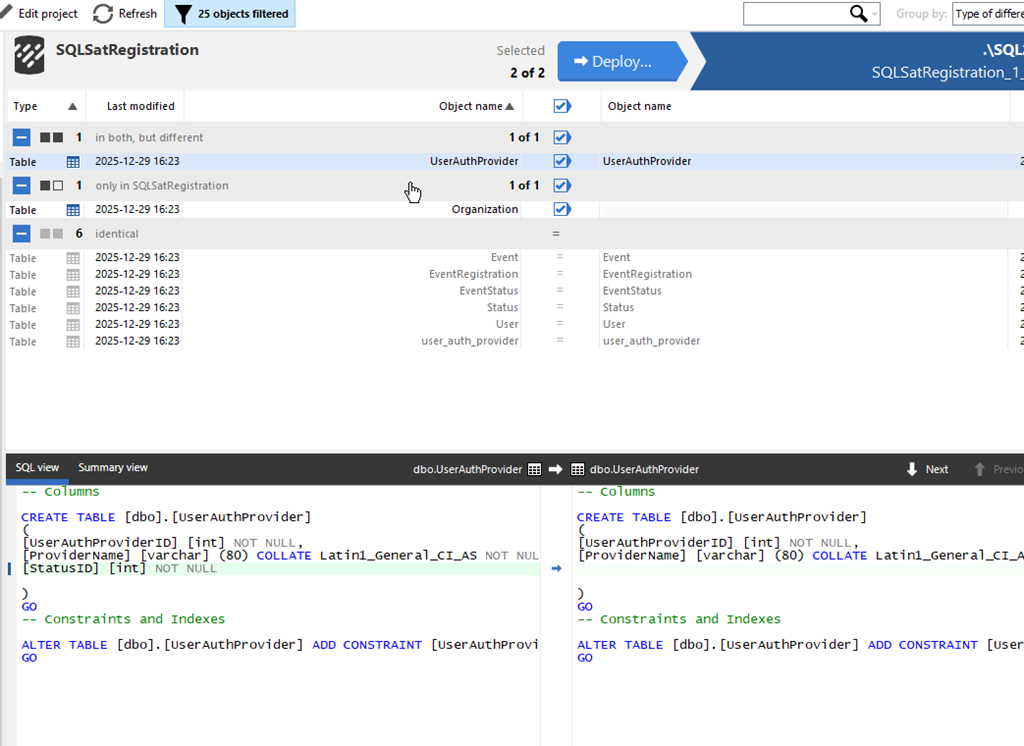
    I’ve made my changes, so let’s now return to SQL Compare and click “Refresh” at the top. This re-runs the comparison and as you can see, I have some changes. My new table is listed at the top, and I’ve clicked on the altered table, UserAuthProvider. At the bottom, I can see the change in the diff view.

    2025-12_0105

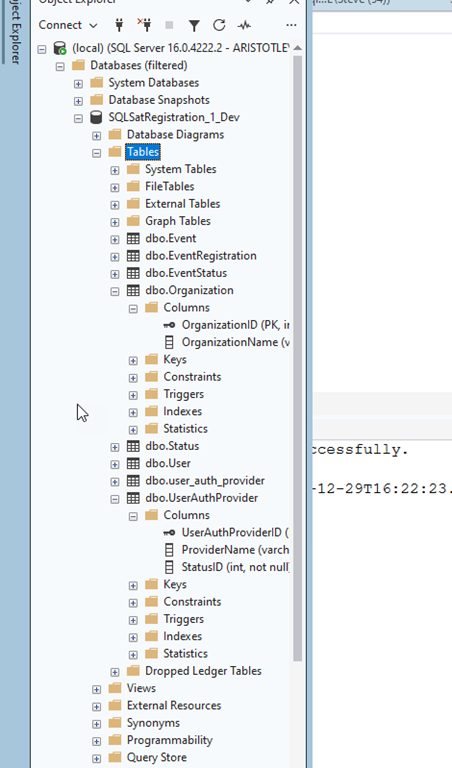
    I’ll click “Deploy” just as I did previously and run the deployment. Once it complete, I can see the changes in my database.

    2025-12_0107

    Summary

    If there’s one thing I’ve learned in many years of work, it’s that I’ll make mistakes in my design and I need to change things. Hopefully I catch these mistakes in development, but even when I do, I need to update my dev database.

    This post showed how I can adjust my model, or someone else can, and I can then pull the new changes into my database with SQL Compare 16.

    SQL Compare is an amazing tool that millions of users have enjoyed for 25 years. If you’ve never tried it, give it an eval today and see what you think. Give Redgate Data Modeler a try and see if it helps you and your team get a handle on your database.

    Video Walkthrough

    Here’s a short video of this post.