Tag: hardware

  • Desktop Repairs – Power Supply Issues

    My desktop didn’t restart after vacation a few weeks ago. That wasn’t what I wanted to have happen with a lot of work to get done before some travel. Needless to say I wasn’t thrilled when it happened.
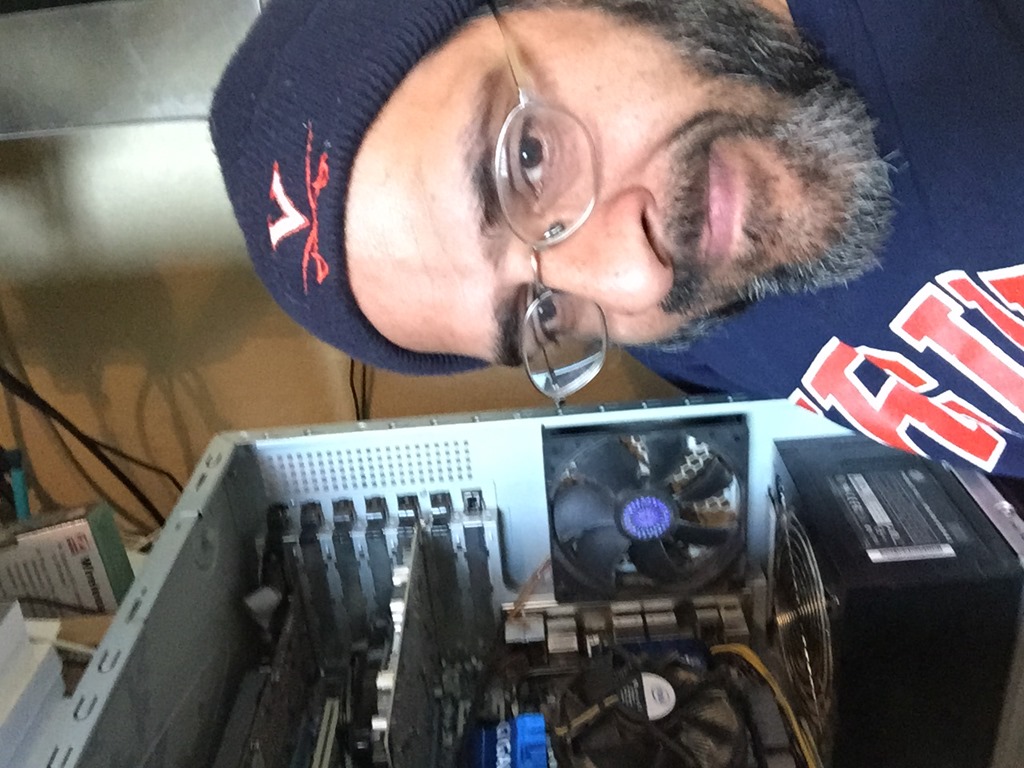
    Photo Jan 30, 8 35 47 AM

    I was worried that something major had died. However I’d replaced the main boot drive recently and I had the old one. If I could get power.

    I emailed Glenn Berry, who’s my go to hardware consultant. He suggested I check the power supply since I couldn’t get anything to happen. On his advice, I went to the local Microcenter and bought a new 650W power supply. Here’s the old one, with a stock CPU cooler. I bought a new one of those as well, since I find the heat alarm going off during some video editing.
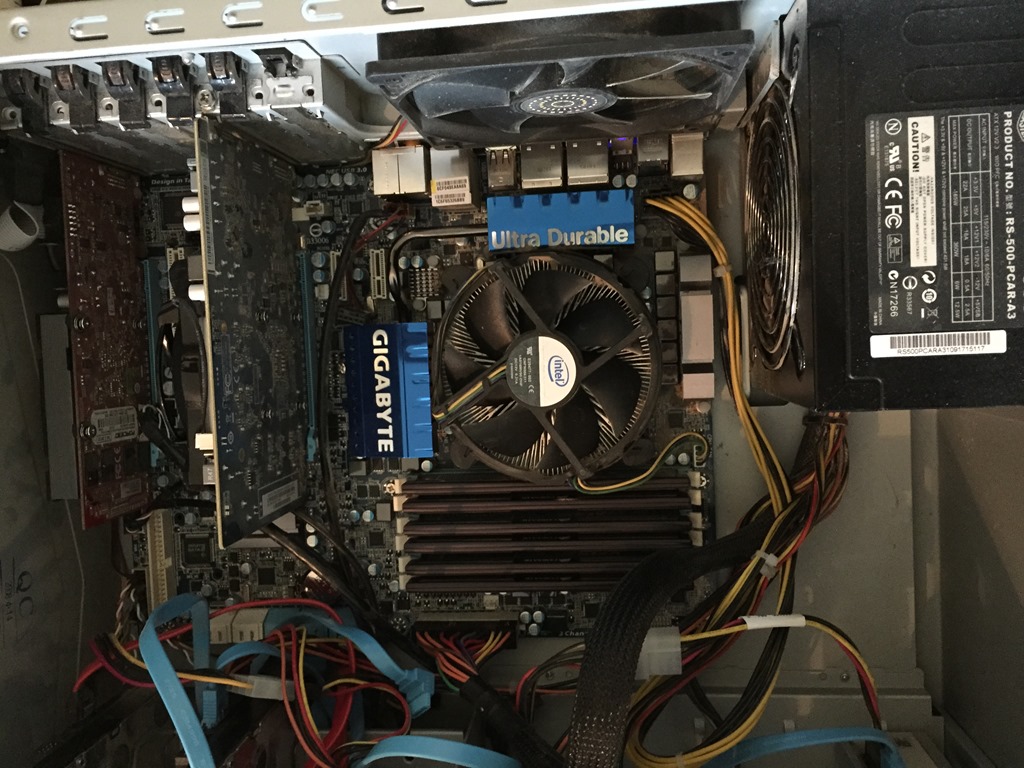
    Photo Jan 30, 10 11 59 AM

    I didn’t remove the old power supply at first. I actually disconnected it and connected the new one to the motherboard from outside the case and powered things on. Sure enough, everything came on. Lights, drives, etc.

    I then powered things down again and set about replacing the power supply. It’s actually easy, and I’m surprised I’ve never had to do this before in my life. Probably because I’ve tended to replace machines so often.

    In any case, it was a matter of removing 4 or 5 screws from the back of the case, carefully slipping out the old PS and then putting the new one in there.

    The CPU cooler was trickier. The tabs push through the motherboard and hook, but they are somewhat fragile. I was worried, and sure enough, the first time they weren’t tight. The cooler needs to be held tight to the CPU to pull off heat. It was loose and I got heat alarms once I started using the machine.

    However I kept messing with it, slowly trying to get the tabs in there and eventually they are holding fairly tight. I still get heat alarms during heavy duty video processing, so I think this cheap $25 cooler isn’t good enough. Or I don’t have enough thermal grease. Either way, I’ll probably replace this soon.

    Here’s everything together.
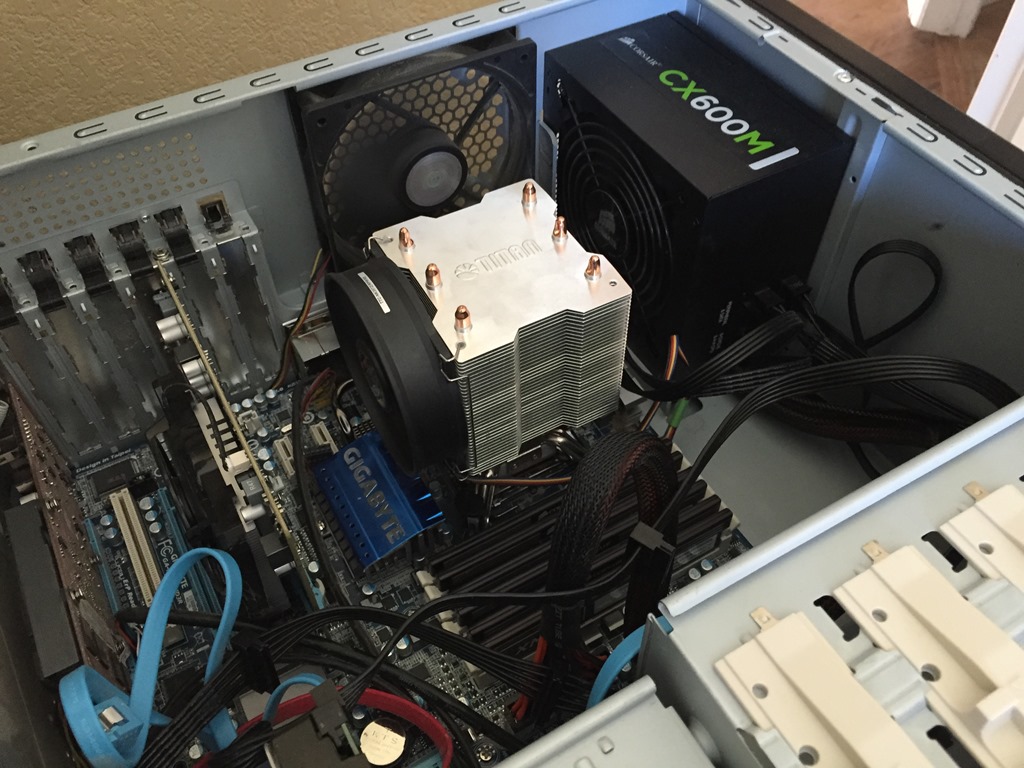
    Photo Feb 13, 10 50 03 AM

    And a happy Steve.

    Photo Feb 13, 10 50 45 AM

  • Hardware Ups and Downs

    I replaced the SSD in my desktop the other day and was pleased to not have a red bar when I booted it up and looked in Explorer. I went from a 128GB SSD (with 2GB free) to a 256GB SSD for about $130. Not a bad price, and since I have 2TB on other drives that are less than half full, this was a nice upgrade.

    However.

    The front fan was rubbing something when it ran, ticking just loudly enough to be annoying. I knew this would be an issue, so I shut down the desktop last night as I walked out the door to take my daughter to volleyball practice. This morning the machine wouldn’t boot.

    Nada. Nothing. Press the power and nothing happens. This occurred a few weeks ago when I shut down after some install instead of a warm boot. I waited, fiddled with the power cable, and things restarted. This time I see a blue LED on the back that shows there is power to the case, but nothing boots.

    Events like this are very frustrating to me. As much as I appreciate cool hardware, most of the time I’m working on something else and I just want the machine to work.

    At this point I’m unsure of whether I have a motherboard failing, a short somewhere, a bad power supply or something else. It’s very strange and I don’t have the time, or energy, to debug it today. Likely I’ve got a dead desktop for a week right now. This is a first world problem, and more annoying than anything as I can work on my laptop. It’s just less efficient for me since I get a lot done with three large monitors.

    At least I managed to get another machine working. As a birthday present for my wife, I ordered 8GB of RAM and a 500GB SSD for her Toshiba laptop. She had 4GB and a slow, 5400rpm HDD that caused her laptop to really drag. It’s an i3, and I could hear her cursing it regularly. For $270, I replaced both and now it runs much quicker for her.

    It wasn’t completely smooth. The memory went right in, but the attempts to reboot the machine from a CD that contained the Acronis software failed. Toshiba has made the BIOS difficult to get to, and very frustrating. Fortunately I used the same software I’d used with my own laptop SSD replacement and that worked well.

    All in all, a mixed day and likely I’ll be playing with hardware when I return from my trip next week. Hopefully I’ll get some idea of what to do and perhaps what to order, before I leave.

  • Out of Space

    I’ve used placeholders to ensure I don’t run out of space on my machines. That’s worked well, and usually I can delete a placeholder when I have an emergency, and then clean up the drive.

    However I got a low warning today when trying to do an iOS upgrade.

    space_a

    I’d already removed placeholders, moved all my libraries and downloads to other drives, and installed most programs in other places. However my profiles are still here and they had grown large. I couldn’t really find anything else to delete here that might clean up space.

    I thought about moving profiles, but I saw this post that noted we shouldn’t move profiles. I’m a power user, but I don’t want to debug or rebuild things on this machine, and especially not now. I want it to work.

    That left me with one real choice: upgrade the hardware.

    I asked on Twitter what people liked in SSDs, and got a number of recommendations, but it seemed that Samsung got the most votes in my informal survey. I even got a link to Tech Bargains for drives, but a few of the links I checked went to EBay or similar discounters. I don’t think there’s necessarily anything wrong with EBay merchants, but in this case I want the drive to be new, working, warrantied, and shipped quickly.

    Amazon is my go-to place for lots of stuff, partially as a Prime member, and partially because they are so easy to work with. In this case, I saw the Samsung 240GB 840 series for about $135 and decided that was a good move. I don’t expect to put much more on this C: drive, but it might grow a bit. I ordered this, and it should arrive by Friday.

    I also decided since I was upgrading things, and my wife’s birthday is coming, I grabbed an SSD for her laptop along with a 4 -> 8GB memory upgrade. Hopefully that will be a nice surprise for her.

  • Upgraded SSD

    I was going to call this an upgraded HDD, but that’s not right. Technically it’s a drive update, but really it’s an SSD upgrade.

    My new Portege Z30 came with a 128GB drive. I could have had Toshiba upgrade it, but it was more expensive than the deal I got before Christmas. Instead of Toshiba’s $400 for a 512GB upgrade, I paid $220 for a 512GB mSATA drive, and I also will have the 128GB one that came with the machine as a spare.

    I decided to upgrade the drives this weekend and was surprised how easy this actually was. I probably need to wipe the existing OS and reinstall a cleaner version of Win8.1, but for now I wanted to duplicate things.

    After powering on the machine and getting things setup (Which was easy, having my old settings of my Lenovo T430 pulled from OneDrive during setup), I needed to clone the drive. There are ways of doing this, but I settled on using the Macrium Reflect method from this MaxiumumPC article.

    I downloaded Macrium Reflect and installed it. It’s a simple GUI and connecting my new MSata drive in the external enclosure, I set things duplicating while I went off to watch my daughter’s volleyball tournament.

    The next day, I fell in love with YouTube and the community again. I found this teardown video that shows how easy it is to open up the Toshiba and get at the memory and drive. This is a slightly older model, and I didn’t need to the TORX screwdriver, but it was good to see someone show me without fumbling around or digging through poorly written documentation.

    This morning I started making coffee. I have a BUNN maker that brews a pot in about 5 minutes from start to finish, and it’s hot. I turned that on and then broke out a screwdriver. I didn’t take pictures, but it took me about the same amount of time as the coffeemaker to get done.

    I removed all the screws. I had one false start when the bottom didn’t lift up. I had missed two screws under the rear rubber feet, so I had to pry those off and remove the screws. I also needed a set of pliers to help turn one of the screws holding the drive in. This includes swapping the drives in my external case.

    I screwed things together and booted up the machine and it looked exactly like it had with the 500GB drive as it had with the 128GB one.

    Now to clean the OS and build things the way I want them.